Jura Impressa S models dispensing head revision
ID: 157342
Description: Like on almost all coffee machines the...
Steps:
- Always remove the power cord from the wall outlet.
- Lift out the coffee tray
- Remove the lid sealing the coffee bean container
- Remove all of the coffee beans you can possibly remove.
- Pull the adjuster of the coffee bean grinder straight up
- Remove the four T15 Torx screws
- Remove the cup heat plate.
- It can be opened like a book.
- Below the cup heat plate there are three more T15 Torx screws. Remove them.
- The top cover is now free. Lift ´er up and set ´er aside.
- Remove the knob for the steam valve by simply pulling it off.
- The front cover is secured with a Torx T15 screw. Remove it.
- Now the front cover can be opened like a door for a few inches. The hinge is on the left.
- Various hoses hinder the further opening of the front cover. You need to remove the steam valve keypad from the cover.
- Use a spudger to lift the two notches at the top of the front cover a bit to release the keypad at the top.
- Lift the keypad upwards and pull it to the back. The steam pipe will slide out from its connection.
- All hoses can remain connected.
- Remove the silicone hose leading from the steam valve to the coffee spout. If it is secured with a cable tie which must be removed first.
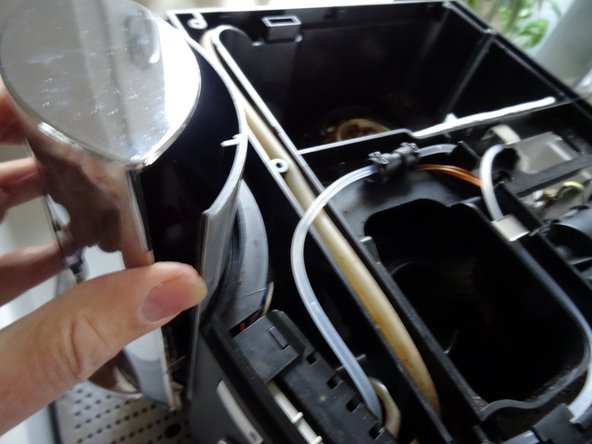
- The front cover is now free and can be opened.
- Turn the machine so that the back is facing you and push the coffee spout up as far as it will go.
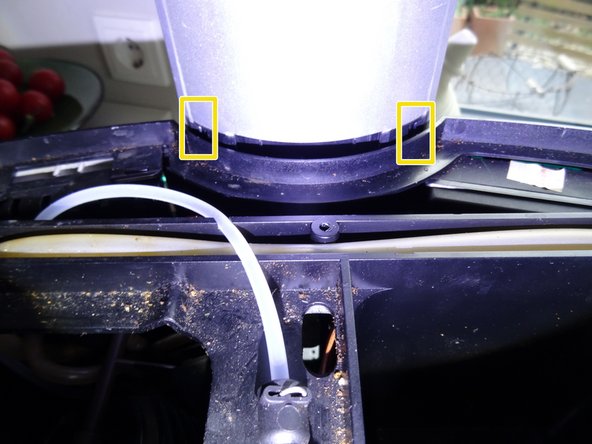
- Directly above the upper edge of the housing are two openings on the back of the coffee spout. In them you will see two detents. Carefully press the latches inwards, then you can remove the cover of the coffee spout.
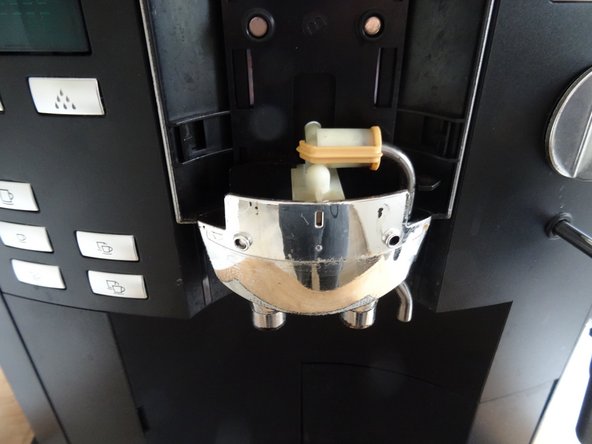
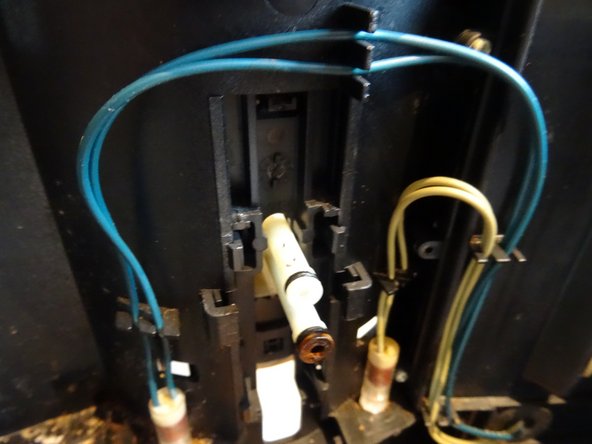
- The opened coffee dispenser looks like this.
- Open the front panel like a door.
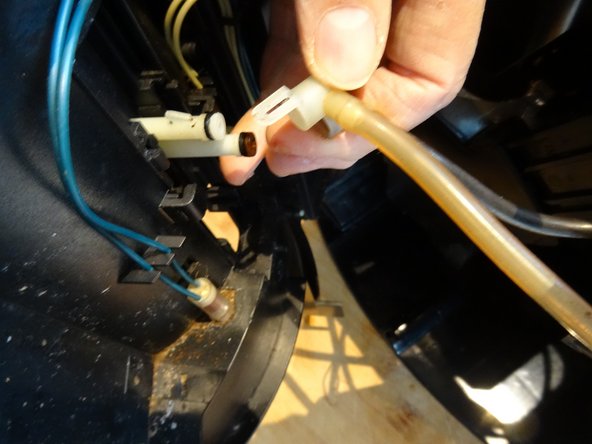
- The supply lines are connected with an angle piece. Above on the angle piece is a clip. Carefully bend it little upwards and pull out the angle piece. It might be stuck a little at first.
- The coffee spout is still clipped in with four detents. Carefully press the four latches inward - this is quite difficult - and lift the coffee spout out to the front.
- This is how the coffee spout looks from the back.
- The chrome coffee spout distributor must be slid out for cleaning. It will probably jam the first time.
- The distributor is secured with a detent. Carefully lift the detent with a metal spatula.
- Place a lever tool in the gap between the distributor and the coffee spout. Gently lift the distributor out about 8 mm alternately on the left and right.
- Turn the coffee spout upside down. The inner coffee spout must be removed for cleaning.
- This model still has a metal tube inserted for the tea water. First loosen the plastic lock, then carefully pull out the tube with wiggling movements.
- The inner coffee inlet is still clipped in. Release the catch and lift it out.
- Watch out for the magnets that act as a brake on the sliding plate. Do not lose them.
- The coffee outlet manifold of this unit was un-appetizingly dirty. The aroma of the coffee suffers. The coffee no longer went through properly.
- You can pull the distributor off completely, but it is not absolutely necessary. Clean all parts well or replace if something is damaged.