How to Reseal an Apple Watch
ID: 157344
Description: Use this guide to replace the display adhesive...
Steps:
- The following steps show how to apply new display adhesive with the display already installed. If you're installing a new screen or removed your screen jump to Step 6 of this guide.
- Apply a little bit of isopropyl alcohol (>90%) to a cotton swab, or Q-tip (or use a cleaning pad) and gently remove the old adhesive on top of the watch frame.
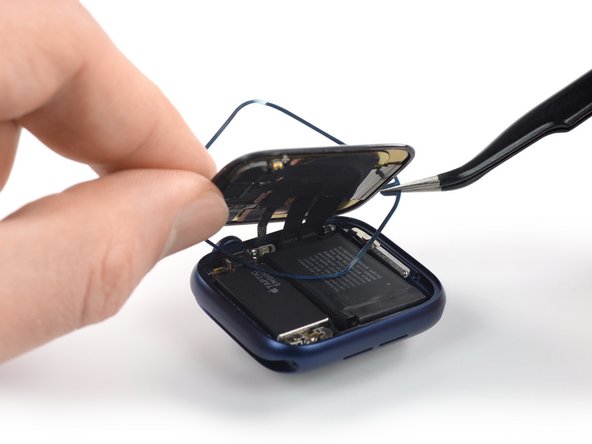
- To remove the adhesive on the side with the display cables, gently lay the display on the frame.
- Avoid straining or tearing the display cables.
- Flip the Apple Watch upside down so the display lays flat and lift the watch body.
- Avoid straining or tearing the display cables.
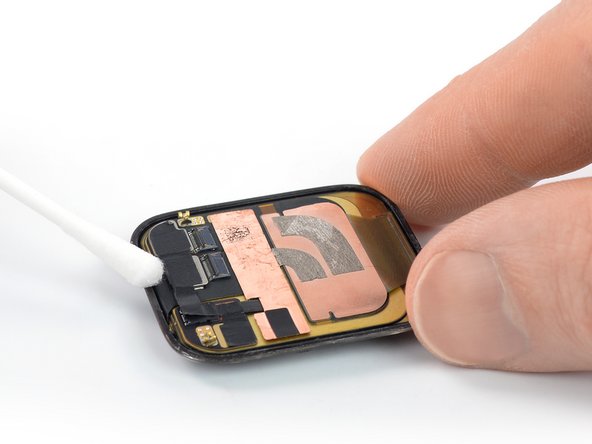
- Gently remove the old adhesive on the rear side of the display.
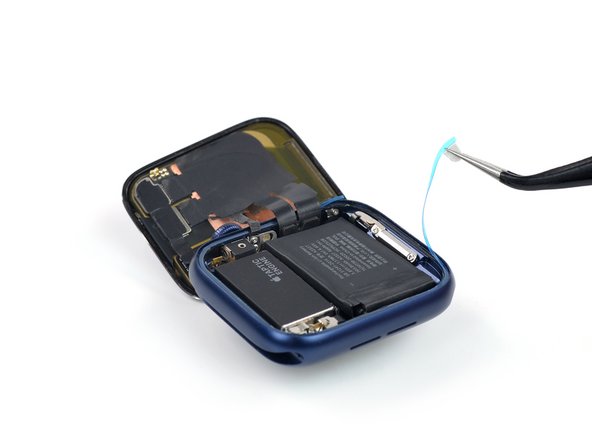
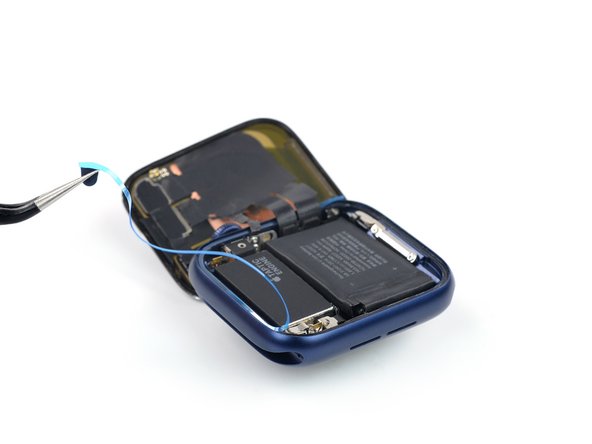
- Use a pair of tweezers to carefully remove the replacement adhesive (including the blue protective film) from the backing paper.
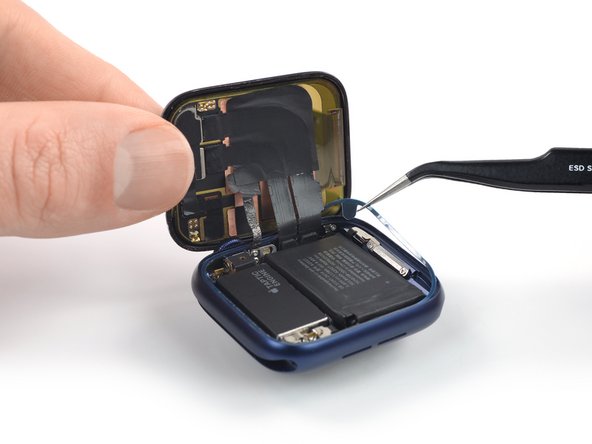
- Hold the replacement adhesive diagonally and thread it over the display.
- Slightly tilt the display forward to align the adhesive with the frame.
- Position the replacement adhesive on the watch frame, where the old adhesive was located.
- Use the pointed end of a spudger to press the replacement adhesive into place.
- To completely reseal your watch jump straight to step 14.
- Apply a little bit of isopropyl alcohol (>90%) to a cotton swab, or Q-tip (or use a cleaning pad) and gently remove the old adhesive on top of the watch frame.
- To remove the adhesive on the side with the display cables, gently fold the cables down.
- Don‘t fold the cable sharply and only bend them to avoid cable damage.
- If you‘re reusing your old display you need to remove the leftover adhesive from its rear side.
- Gently remove the old adhesive on the rear side of the display.
- Use a pair of tweezers to carefully remove the replacement adhesive (including the blue protective film) from the backing paper.
- Hold the replacement adhesive diagonally and thread it over the display cables.
- Slightly tilt the display cables forward to align the adhesive with the frame.
- Position the replacement adhesive on the watch frame, where the old adhesive was located.
- Use the pointed end of a spudger to press the replacement adhesive into place.
- Lay your display flat on your working surface.
- Hold the watch body in an upright position and grab the display cables with a pair of tweezers.
- Before inserting the cables into the connectors, make sure the ZIF connector flaps are in an upright position. Otherwise, you risk damaging the cables.
- Align the display cables parallel to the ZIF connectors and push them in.
- No force is needed to push the cables into the connectors. If the cable doesn’t insert easily, it’s probably misaligned and needs to be gently removed and repositioned.
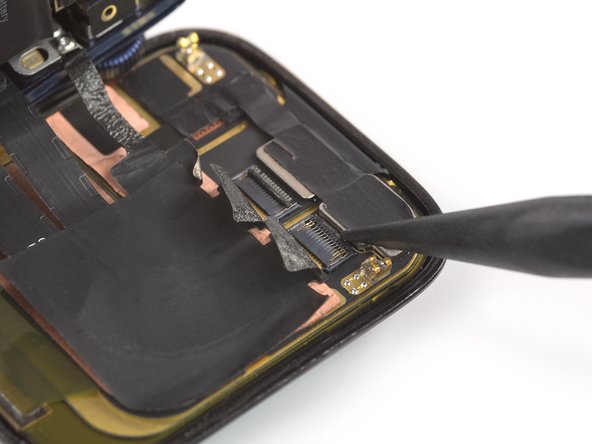
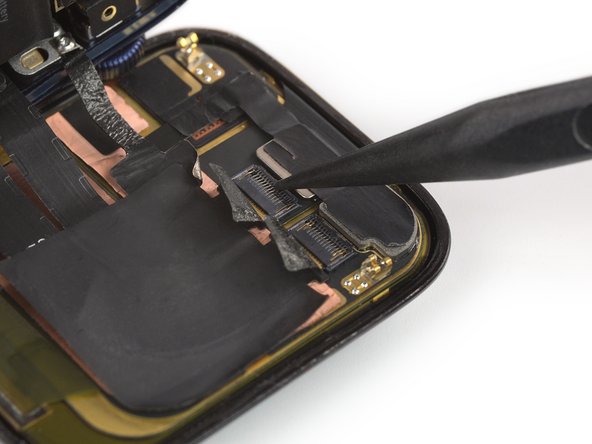
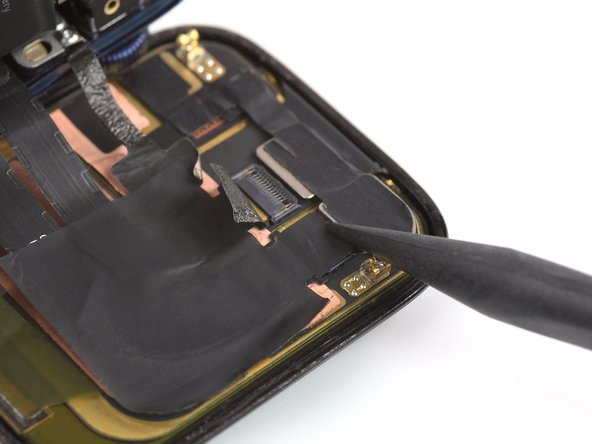
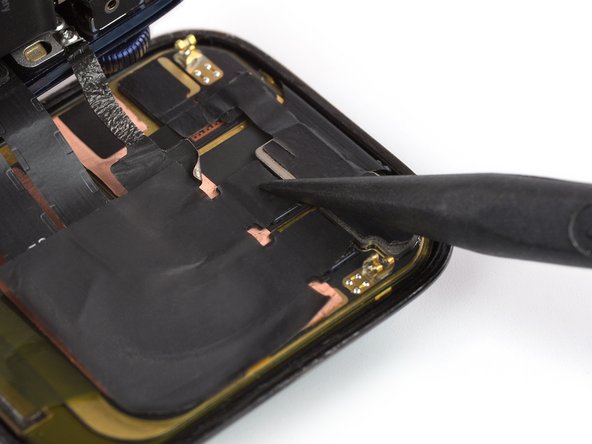
- Use the pointed end of a spudger and fold down the black flaps on top of the ZIF connectors to secure the cables.
- Carefully adhere the old heat dissipation stickers to the ZIF connectors on the rear side of the display or apply new heat dissipation stickers where the old ones were located.
- Use tweezers and a pair of scissors to lift and cut a corner of the protective film.
- Remove the film from the display adhesive.
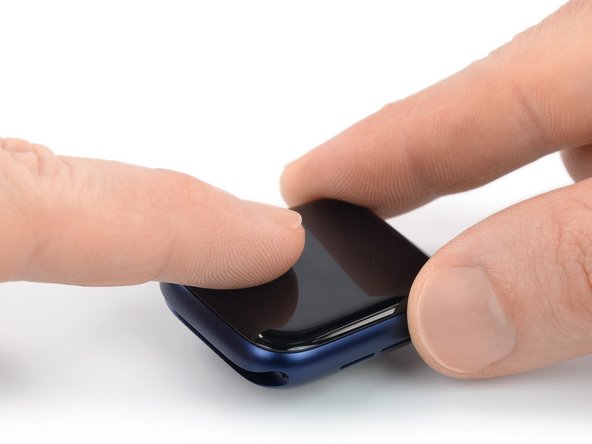
- Align the screen and press it down firmly onto the adhesive.
- To improve bonding of the adhesive, apply a heated iOpener to the display. Then apply pressure for a few hours —for example, place your Apple Watch under one or two heavy books overnight.
- Alternatively, you can use screen vice clamps around the perimeter of your device to set the new adhesive.