XMAX V3 Pro Disassembly
ID: 157413
Description: This guide will walk you through the steps to...
Steps:
- Remove battery door
- Remove the battery from the device
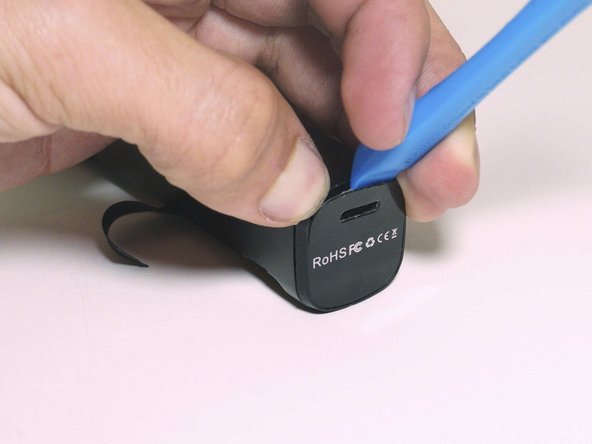
- Apply heat from a hair dryer to help soften the glue
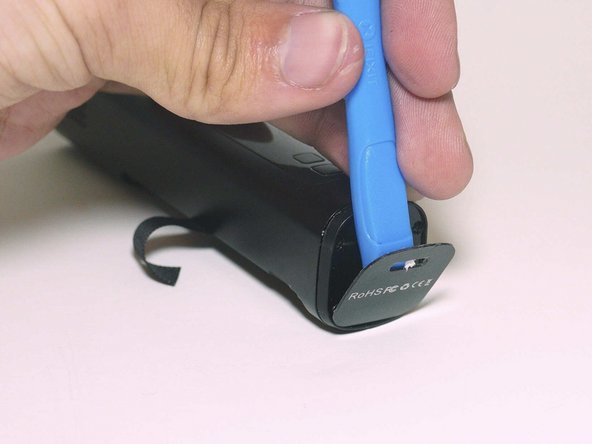
- Use a spudger to pry off bottom cover
- This might result in physical damage of the plastic bottom and cover by deforming the material
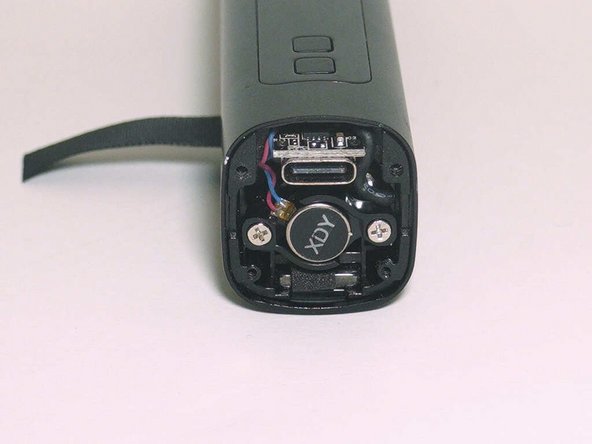
- Remove four PH000 screws
- Remove plastic cover
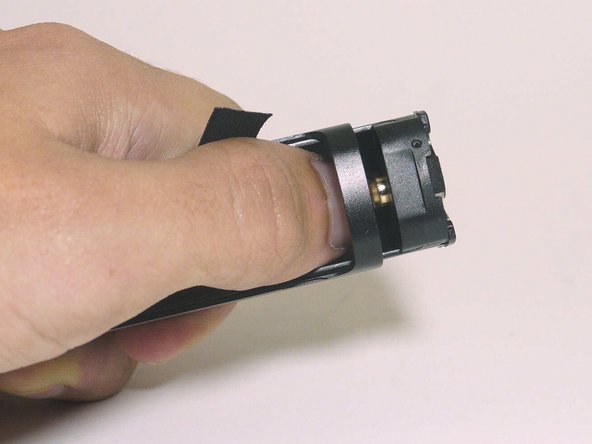
- Use your thumb to apple pressure in the direction of the arrow
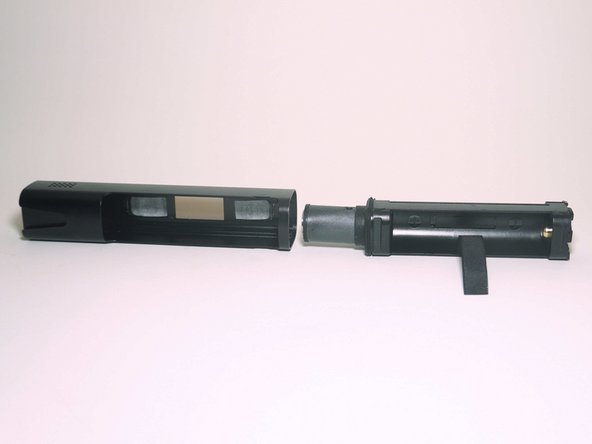
- The entire assembly should slide out of the metal case
- Remove both P00 Screws
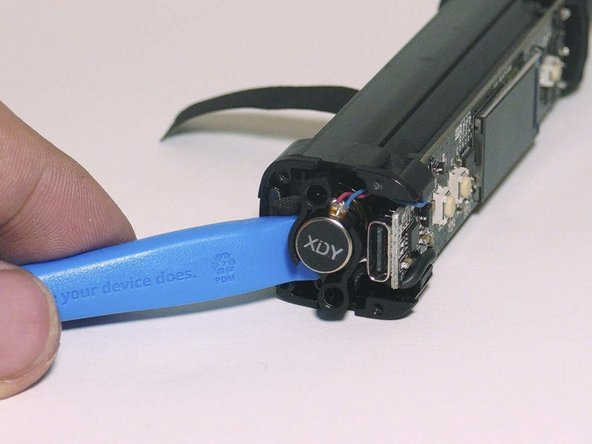
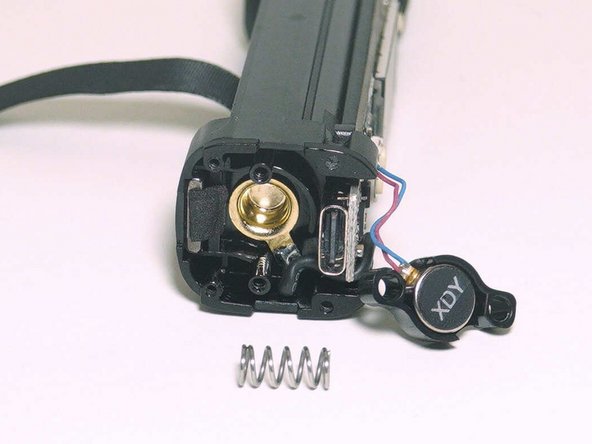
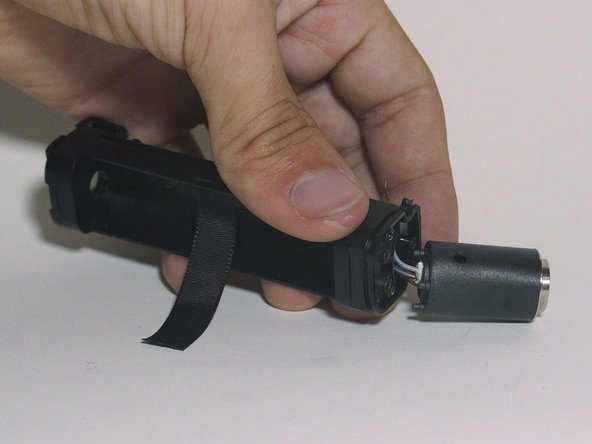
- Use a spudger to remove the vibration motor and spring
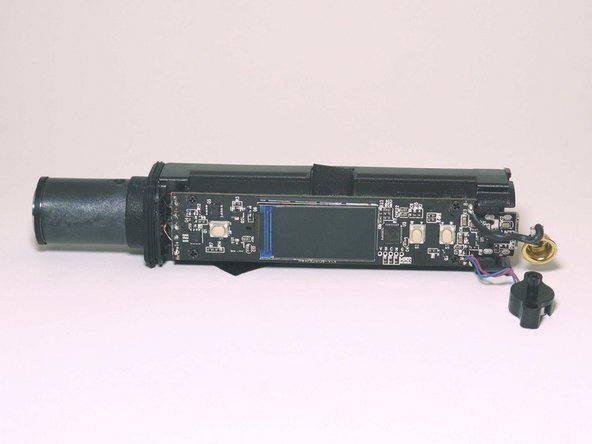
- Here is an overview of the internal assembly on top of the metal case so you can see the airpath
- The rubber gasket that can be seen better in step 11 stops air from entering the heating assembly from the motherboard area and only allows it to be drawn in the the side perforations.
- Air enters though the area within the red square and then goes though the hole within the red circle
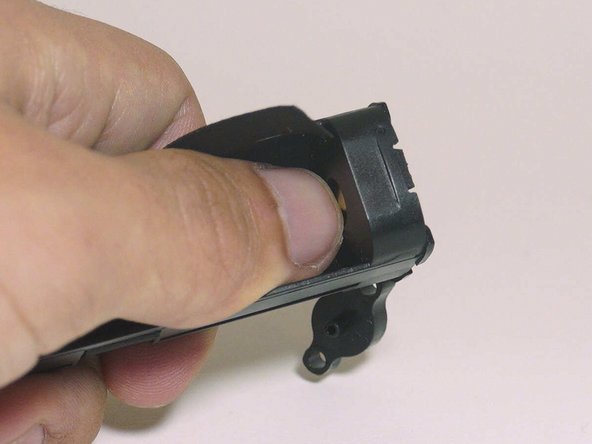
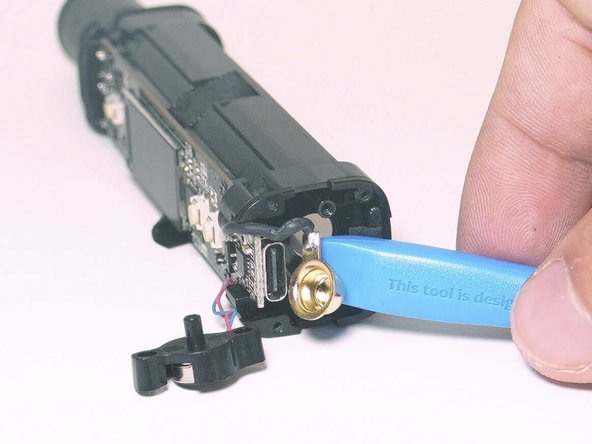
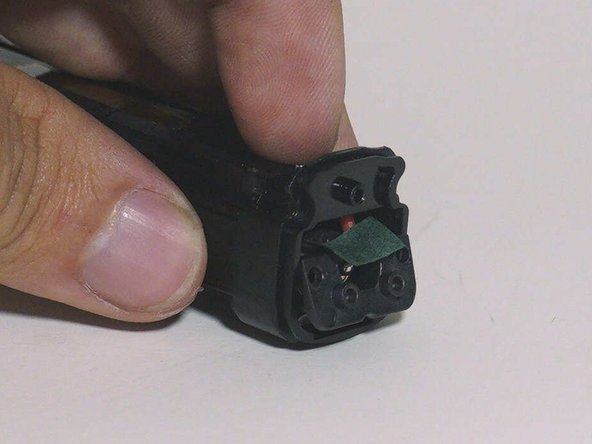
- Use your thumb to push in the gold contact
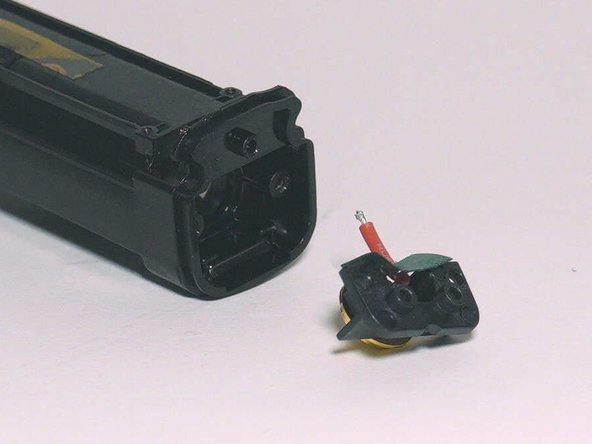
- Use a spudger to completely remove the gold battery contact from case
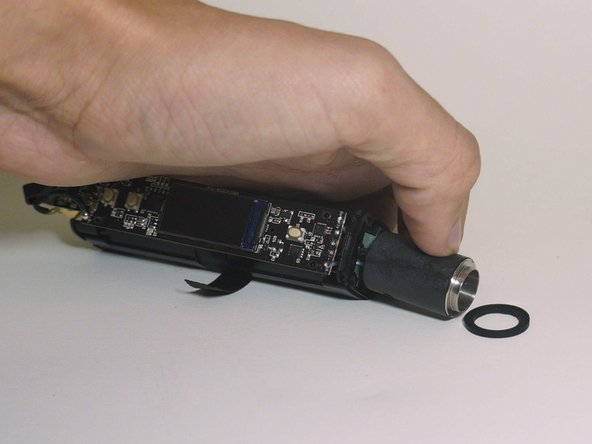
- Remove rubber gasket, simply slide it down the heater assembly
- Remove rubber o-ring
- Remove four P000 screws
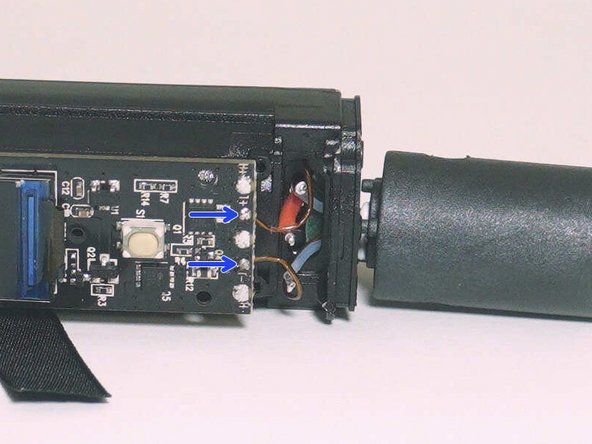
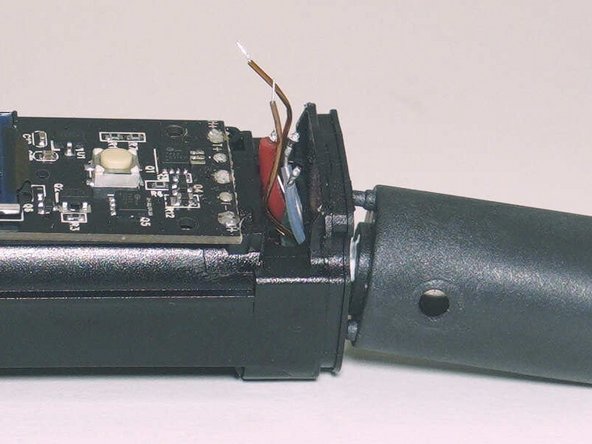
- Desolder positive battery terminal and both heater wires
- Desolder both temperature probe wires
- Use your fingers to pull off the heater assembly
- Remove both P000 screws
- Pull out positive battery terminal assembly
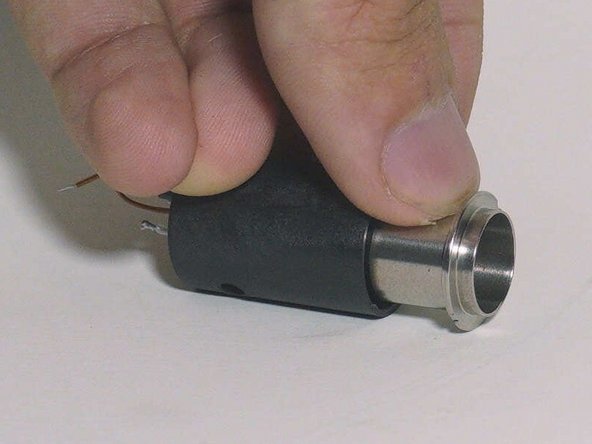
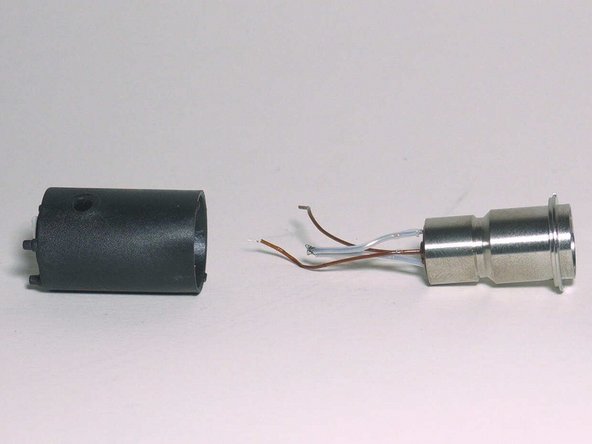
- Use a nail or spudger to remove the heater core from the outside housing
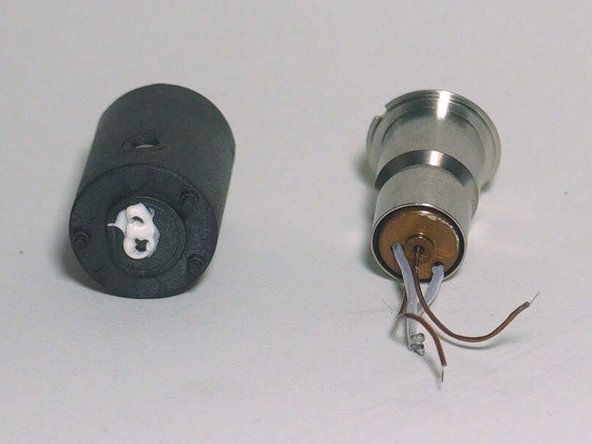
- There will be some epoxy on the bottom of the casing that is securing the wires
- This epoxy needs to be placed before reassembling the device. It stops air from the electronics and motherboard area from entering your mouth.
- Some more photos of the heater assembly