Sol Republic Punk Preparing a new battery for Replacement
ID: 157494
Description: The 18490 Li_Ion battery for the Sol Republic...
Steps:
- Here is the original battery for the Sol Punk. The battery is a 18490 Li_ion 5.18Wh 1400mAh 3.7V
- The battery control board is connected to the battery via two nickel strips. The Blue arrow shows the negative (-) and the Red arrow the positive (+) connection
- First thing to do is to desolder those connections.
- Desoldering thos strips is easy enough and one can see they are strictly just bend over to form a solder tab.
- Do the same for the other tab
- Both contacts have been desolder and battery control board is now off the battery
- Since the 18490 battery seems to be scarce, I opted for the 18500 model. It has identical electrical specs then the 18490 but is readily available.
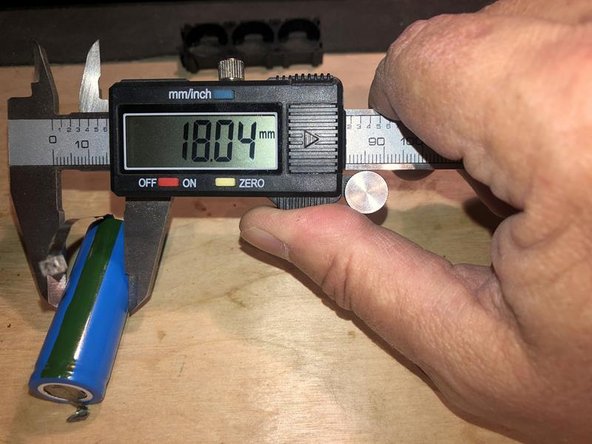
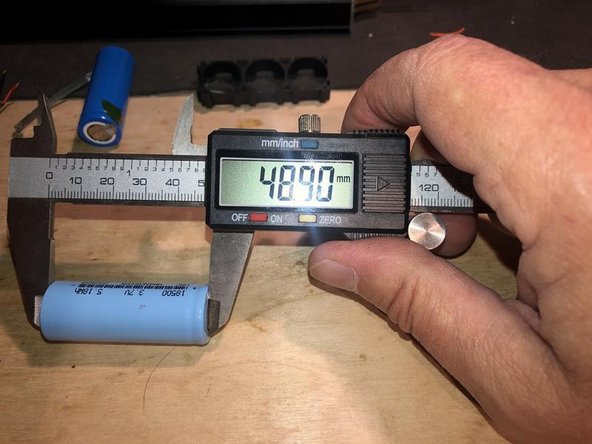
- 18490 length is 48.9 mm and the diameter is 18.04 mm
- The 18500 is 48.9mm in length
- but it is 18.10 mm in diameter. The difference will not interfere in the Sol Punk. There is room to accommodate that size
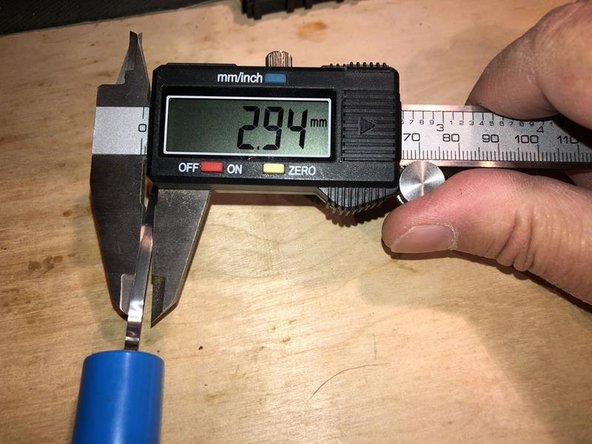
- The nickel strips used on the old battery are ~3 mm in width.
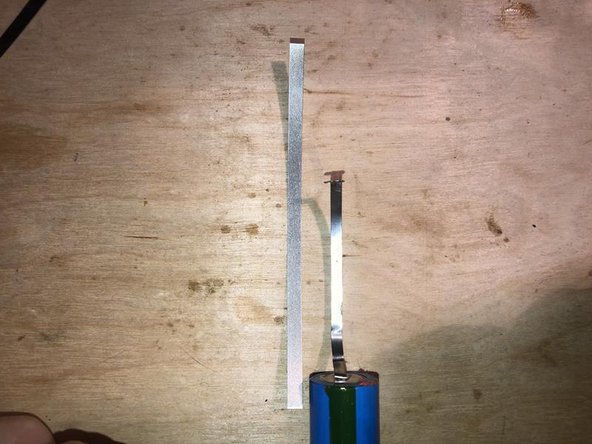
- The only strips available at this time are 4 mm strips
- Checking to see if the 4mm strip will fit. There is enough room on the solder pads of the battery control board, to accommodate that size strip.
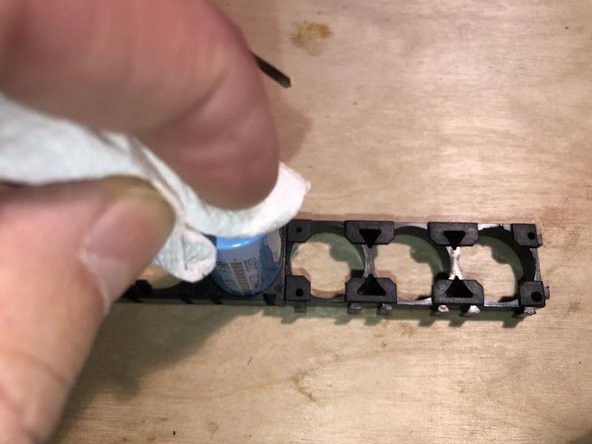
- Clean the contact side of the battery in preparation for the weld of the strip
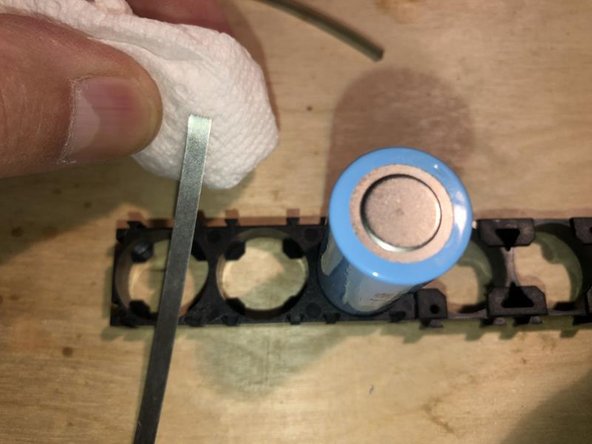
- and clean the strip itself as well
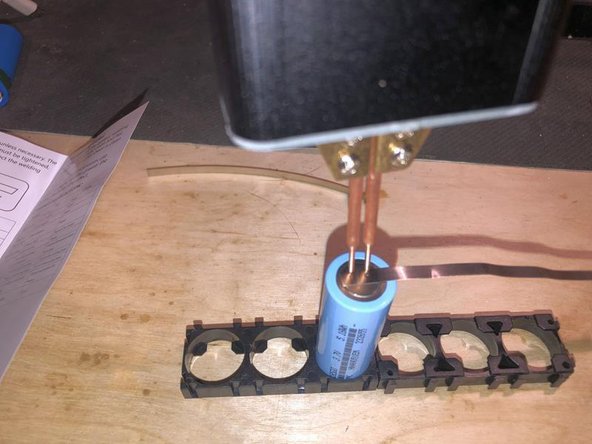
- Here is the spot welder being used and it's settings are indicated by the blue LED's
- Lay teh nickel strip straight on the battery contact and use the spot welder according to its instructions. This one does not have a trigger and will weld when it senses contact with both post.
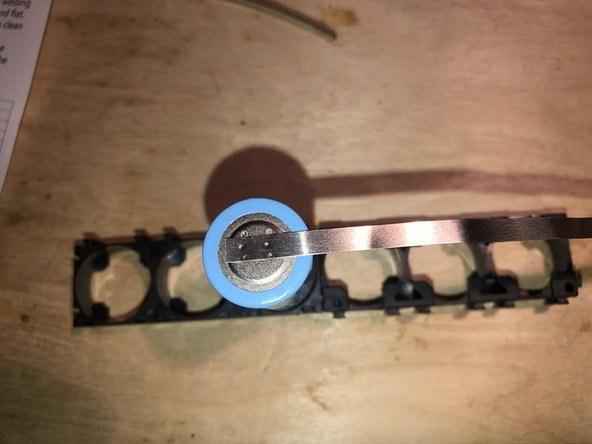
- Nickel strip solidly attached. The miss on the top is related to not wearing eyeglass when needed :-)
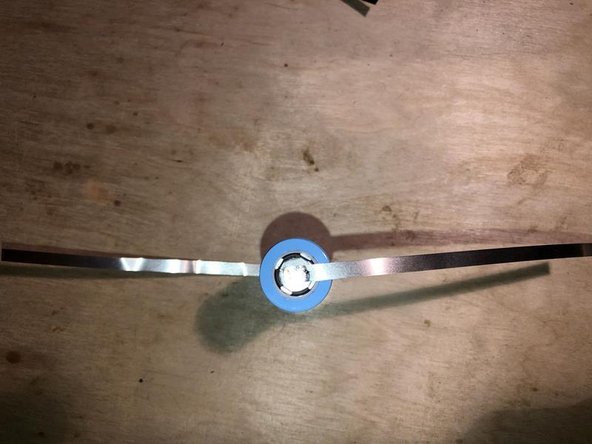
- Bottom or Negative Strip welded to battery. Use the battery control board to ensure the direction of the Top or Positive Strip.
- Spot weld the Top or Positive strip the same way as prior done with the negative. Place the strip at a 180 degree from the negative
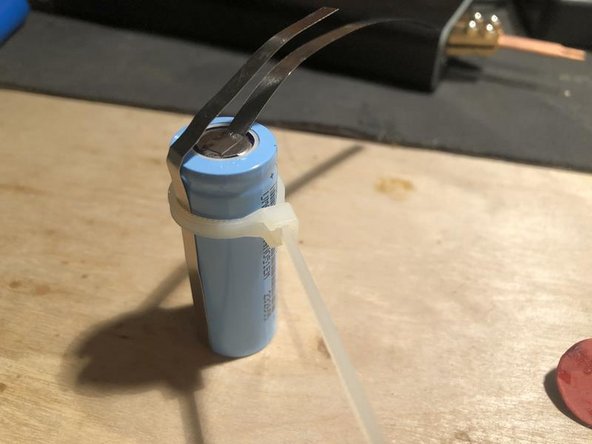
- Now bend the Bottom or Negative strip up while having it tight to the body of the battery. Use something like a rubber band, or zip tie etc to ensure it is close to the body.
- Place the battery controller on the top and measure the Negative strip. Bend it and cut it so it covers the solder pad. Do the same for the Positive strip
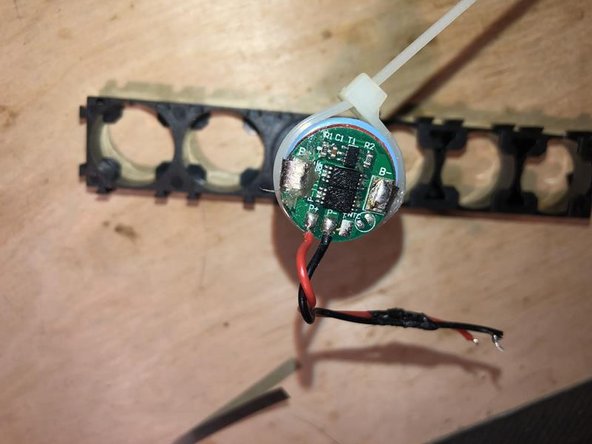
- Then solder both tabs to the battery control board in conventional manner.
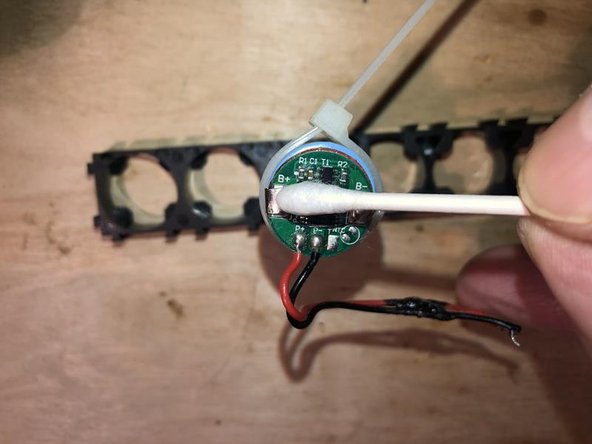
- After soldering clean the flux with a cotton tip applicator and some isopropyl alcohol
- Here is the new battery ready for installation