How to Fix a Thrustmaster Eswap X Pro Controller Trigger
ID: 157720
Description: Use this guide to fix your faulty controller...
Steps:
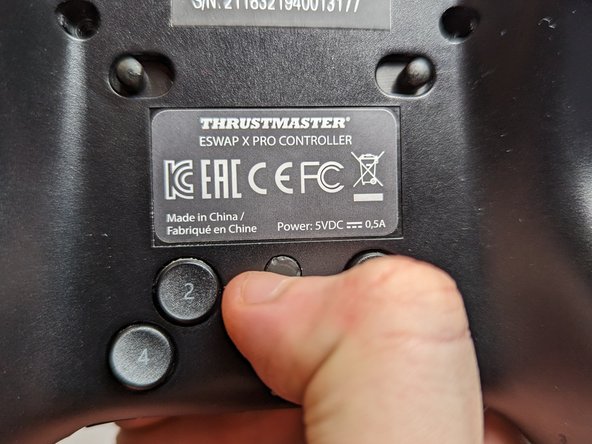
- Flip the controller so the backside is facing up.
- Flip both of the switches away from the center.
- Flip the controller over so the top is facing up.
- Pull out both the joystick and the directional pad modules.
- Flip the controller over again so the backside is facing up.
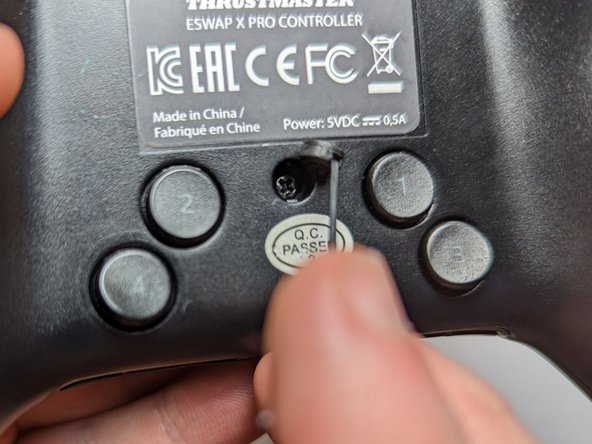
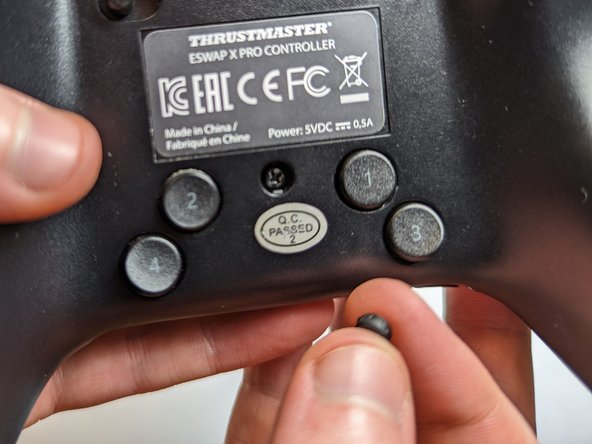
- Use a spudger to remove five rubber screw covers.
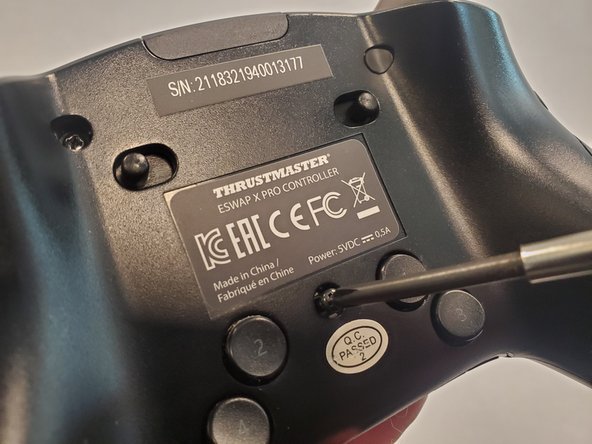
- Use a Phillips #1 screwdriver to remove each of the 4.0 mm exposed screws.
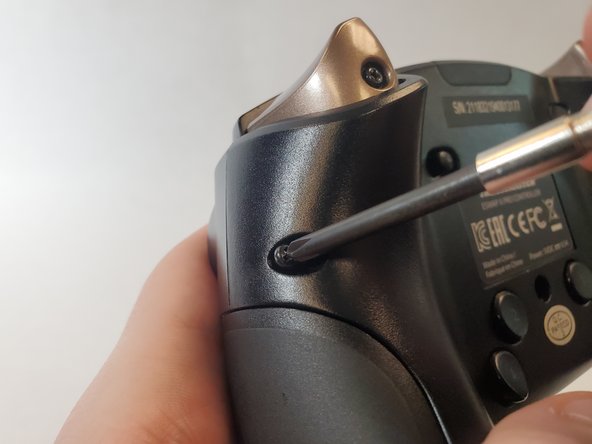
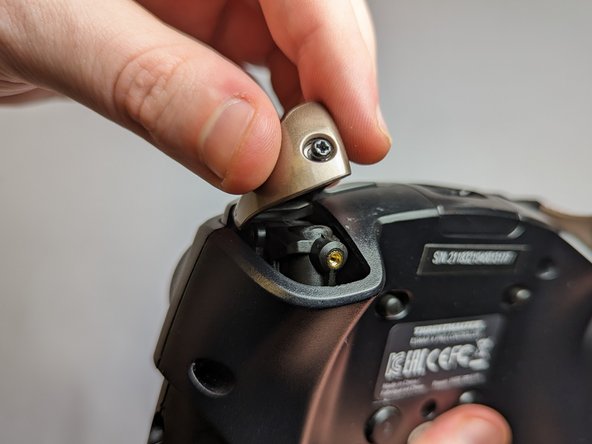
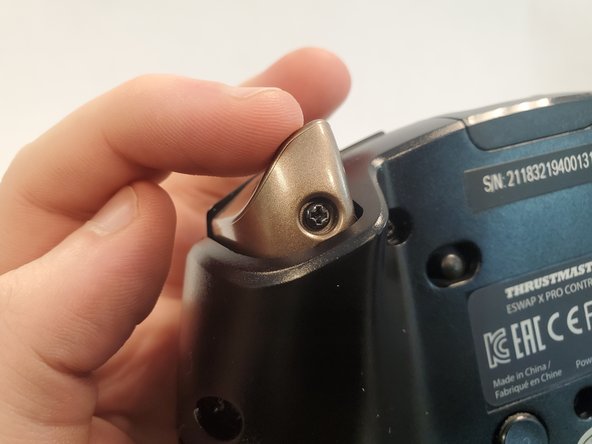
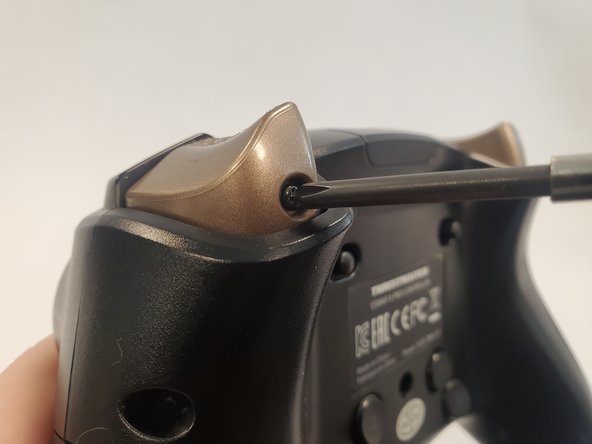
- Use a Phillips #1 screwdriver to loosen the captive screw and remove the trigger button.
- Rotate the controller 90 degrees.
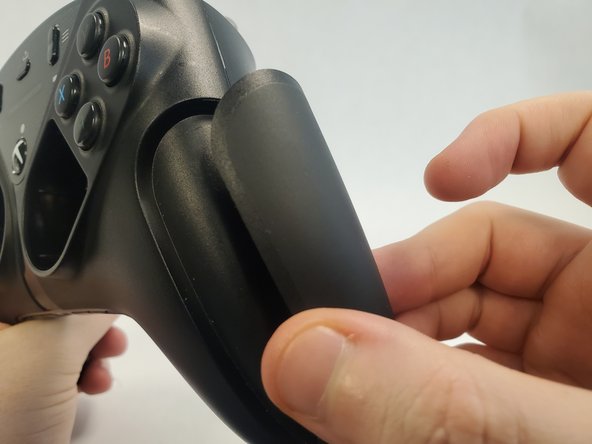
- Pull off the magnetic side cover.
- Lift the back cover slightly from where you removed the trigger button.
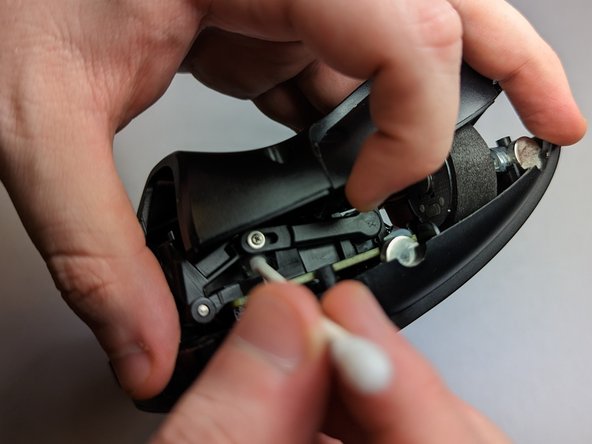
- Use a Q-tip dipped with isopropyl alcohol to clean the surrounding area.
- Additionally, wipe down the top face of the trigger with a Q-tip.
- Reattach the trigger button onto the controller.
- Use a Phillips #1 screwdriver to tighten the screw securing trigger button.
- Use a Phillips #1 screwdriver to reattach the 4.0 mm screws to the back of the controller.
- Notice that the notches on the rubber covers correspond with the notches on the screw hole.
- Reattach the rubber covers above the screws.
- Place the joystick and the directional pad modules back in their respective spots.
- Reattach the magnetic side cover.
- The controller is fixed!