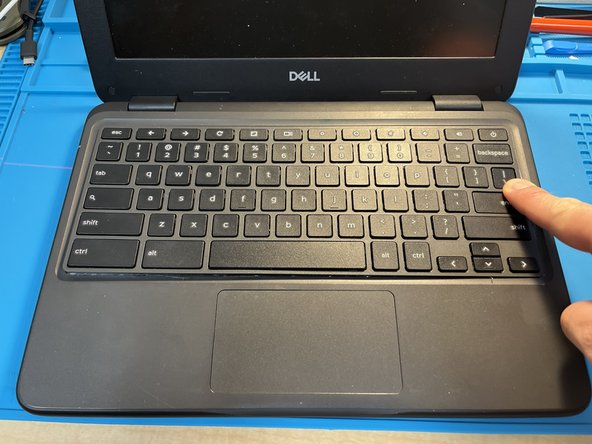
Dell Chromebook 3100 Keyboard Replacement
ID: 157737
Description: In this guide I will show you how to replace...
Steps:
- Loosen the 9 screws from the bottom cover with the Phillips #1 screwdriver. NOTE: You don't need to fully remove the screws. They will remain attached to the cover.
- Once all of the screws are loose, use the opening tool to pry the cover from the frame. NOTE: I like to start near the hinges as shown in the pictures. There is a gap that allows for enough leverage to open the cover.
- IMPORTANT: If you feel resistance when lifting the cover, loosen the screws again. The plastic if very fragile and will break if too much force is applied when removing the cover.
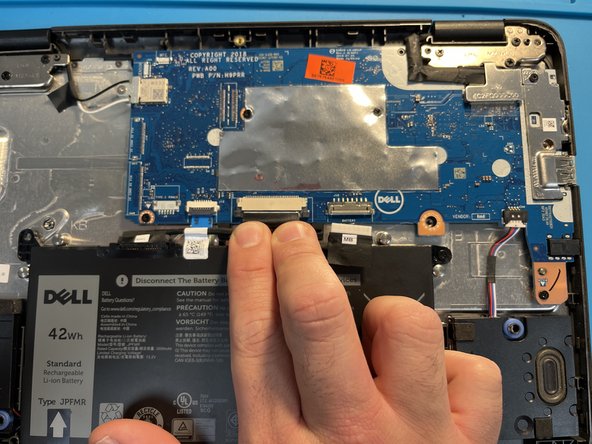
- Locate the ribbon connecting the battery to the main board. Firmly grip the attached fabric and pull away from the main board.
- IMPORTANT: Do not lift up from the main board. This can cause damage to the connectors.
- Locate the keyboard ribbon and the two black clips on both sides. NOTE: These clips hold the ribbon in place and slide back and forward.
- Slide the clips towards the battery to release the ribbon. Lift the ribbon out.
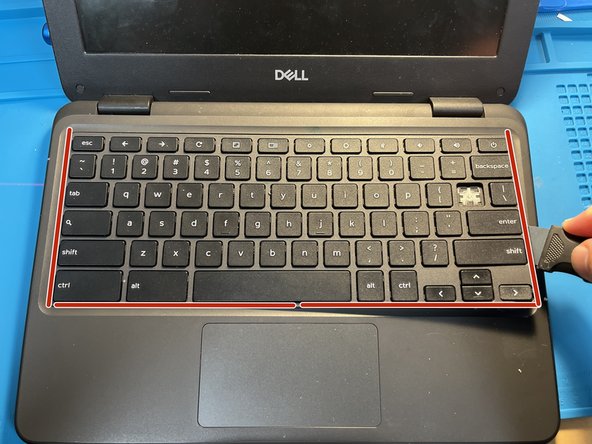
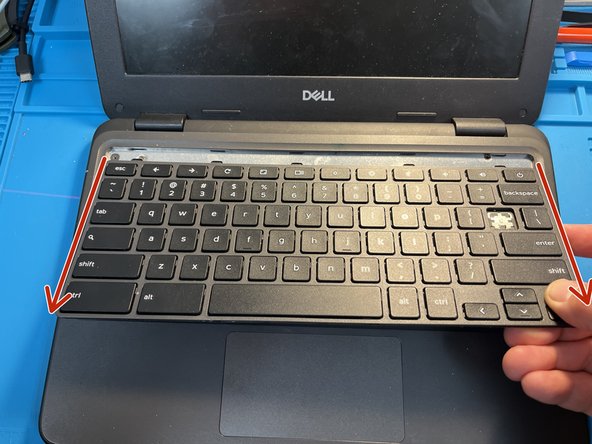
- Turn the device over. Using your Jimmy, firmly press between the keyboard and the frame to separate it. Repeat this process along both sides and the bottom of the keyboard near the track pad.
- IMPORTANT: This portion requires a bit of patience and a balance between the right amount of force and prying.
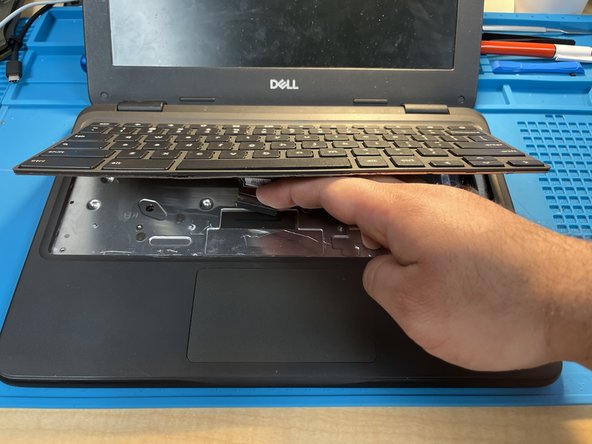
- Once the three sides have been pried open, lift the keyboard slightly and pull towards you.
- Line up the tabs on the keyboard with the frame and slide it forward.
- Before setting the keyboard down, feed the ribbon through the slot in the frame.
- Press firmly on all side of the keyboard to snap it into place. NOTE: There are several connectors between the keys that also need to pressed into place.
- Flip the device over. take the ribbon and insert it back into the main board slot.
- Slide the clips forward to secure the ribbon.