Repairing a Clogged MakerBot Smart Extruder+
ID: 157781
Description: If your MakerBot Smart Extruder+ isn't...
Steps:
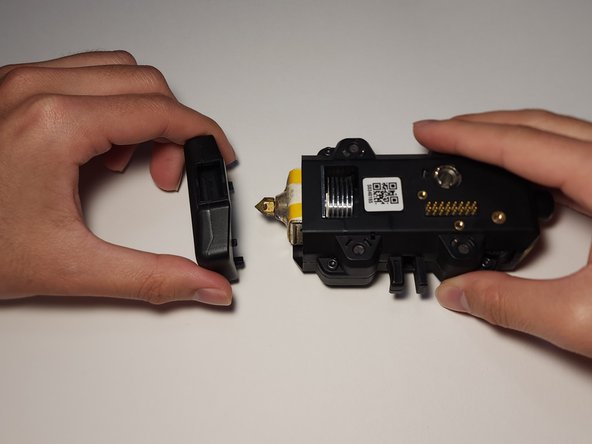
- Place the extruder on a flat surface with the connection pins facing up.
- Remove the 4 screws on the outer edge of the extruder using the 2 mm hex wrench.
- Remove the fan shroud from the extruder.
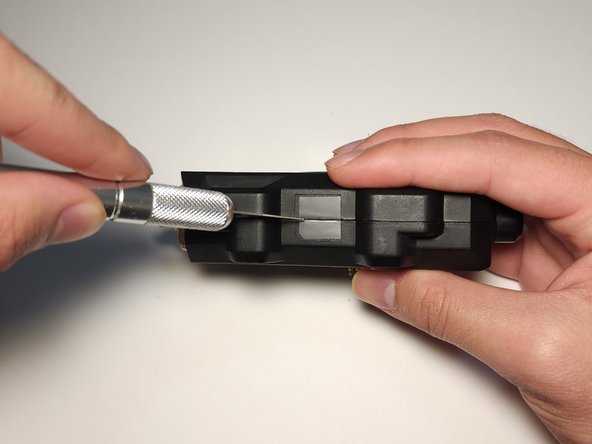
- Turn the extruder on its side and cut through the black seal using the X-ACTO Knife.
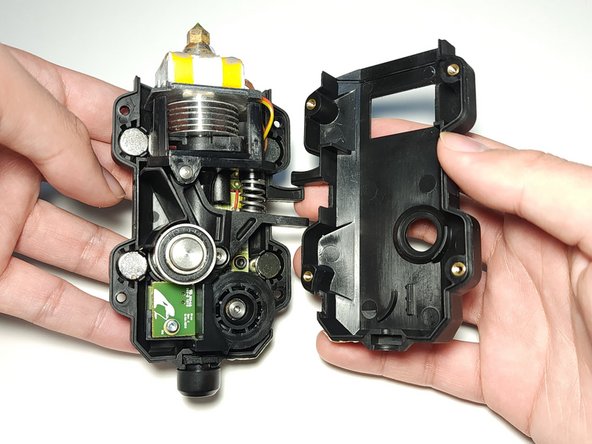
- Gently pull the two halves of the extruder apart.
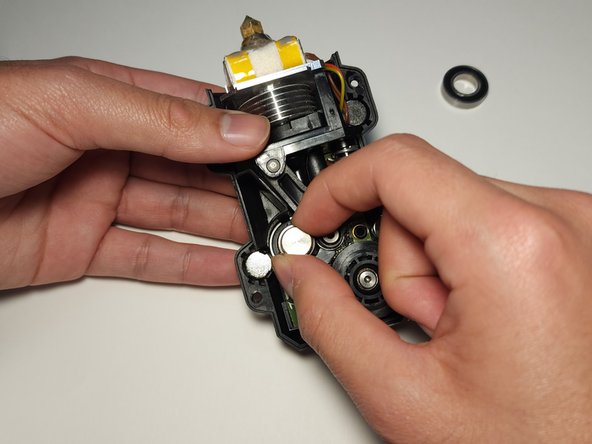
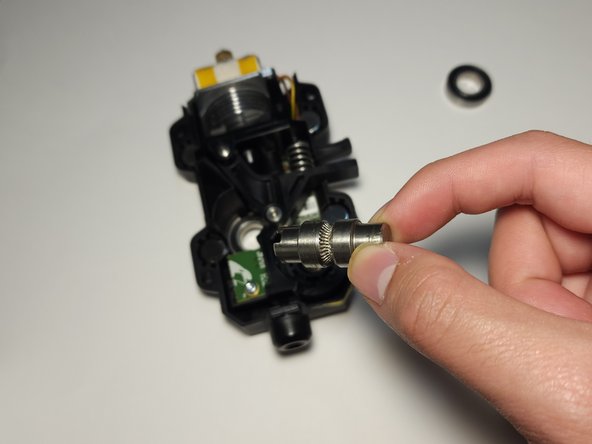
- Remove the bearing and the hobbed bolt.
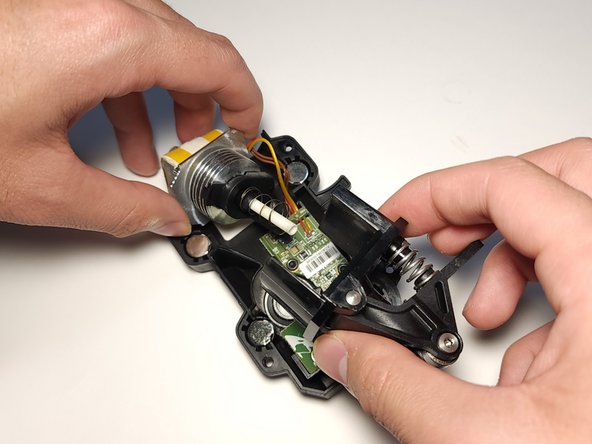
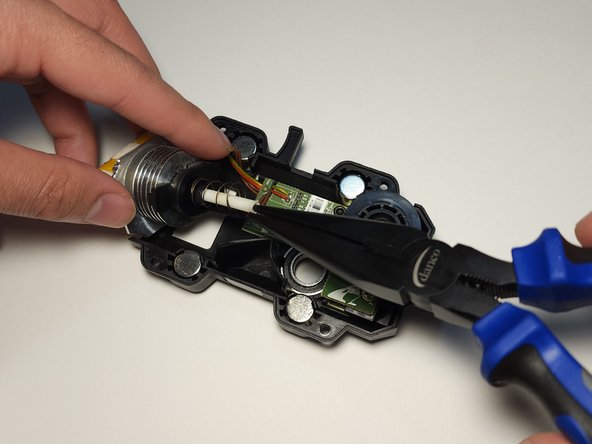
- Remove the freed nozzle and use needle nose pliers to pull out the filament that is clogging the extruder.