Atmega328P Microcontroller Replacement for Arduino Board
ID: 157813
Description: This is a guide on how to replace a ATMega328P...
Steps:
- Place the Arduino UNO R3 board on a flat clean surface.
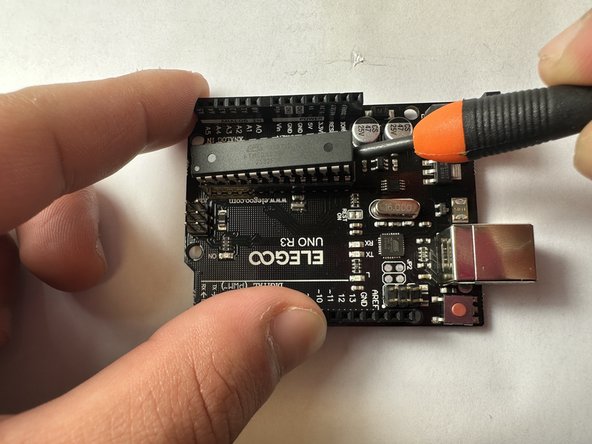
- On the right side of board, position a nylon spudger in between the microcontroller and the dip socket, and gently lift upwards to pry it out.
- The bottom of the microcontroller can be scratched if not done carefully. Do not use a metal tool for this step.
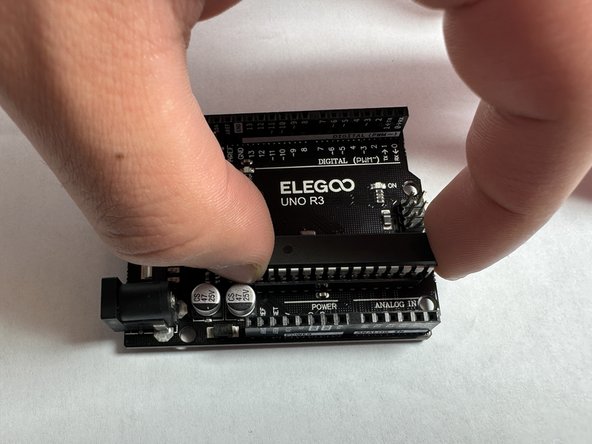
- Repeat the same process on the other side.
- Lift both sides evenly to prevent any damage to the pins.
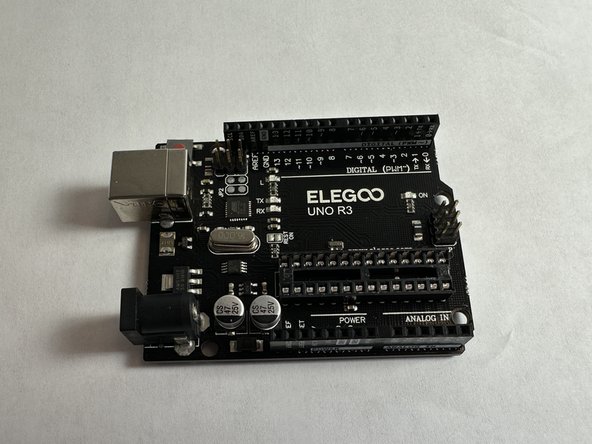
- Repeat steps 2 and 3 until the microcontroller is loose enough to remove out of the socket.
- Remove replacement microcontroller out of packaging.
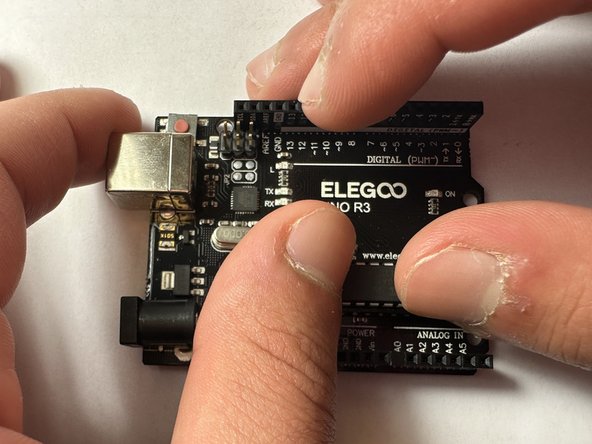
- If needed, straighten the pins of the replacement microcontroller and place it directly over the dip socket.
- Make sure the notch on the side of the microcontroller is facing the right, matching the white lines on the board.
- Gently press the microcontroller into the dip socket