Midea WHJ1705B Thermal Component Replacement
ID: 157831
Description: In this guide, we will be replacing the thermal...
Steps:
- Use a T5 [Torx] screwdriver to remove the three screws from the base, and remove the bottom cover.
- Use a pair of needle-nose pliers to unplug the power cord at both ends of the heat pipe
- WARNING: Make sure the kettle is completely unplugged from any power sources before attempting this as serious injuries could occur otherwise.
- Use a Phillips #0 screwdriver to remove the three screws on the left, right, and bottom that are attached to the assembly.
- Use a pry tool or sharp object to pry off the plastic frame holding the assembly.
- Caution: Be careful to gently pry and not hurt yourself in the process of removal.
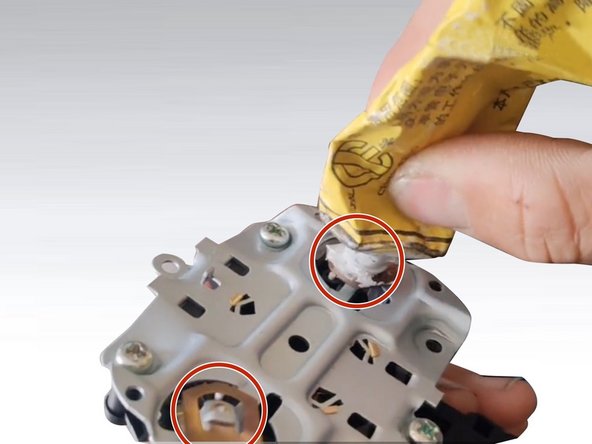
- Apply a small dab of thermal silicone approximately the size of a coin to the new assembly.
- Repeat on the opposite side using the thermal silicone.
- Fix the new assembly into place.
- Use a Phillips #0 screwdriver to secure the new assembly into place with the three Phillips screws.
- Insert the red and blue heat pipe into the thermostat.
- Retrieve the three Torx T5 screws to secure the base.
- Use the T5 [Torx] screwdriver to reattach the base to the assembly.
- If you have misplaced or damaged any of the screws, refer to the tools section to learn where to buy more.