How to Repair the Lining of a Leather Wallet
ID: 157873
Description: Use this guide to repair a torn wallet lining...
Steps:
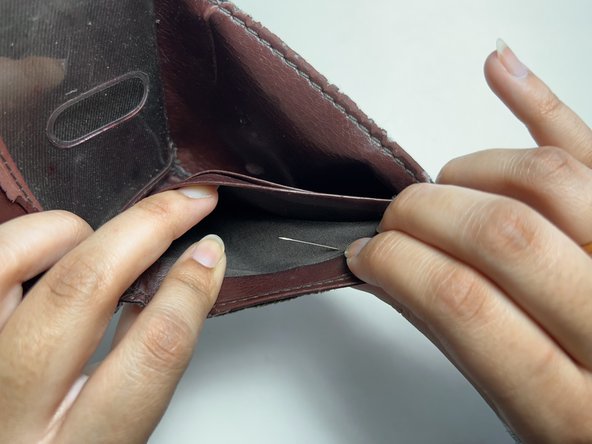
- Use scissors to cut any hanging threads.
- Flip the entire wallet inside out.
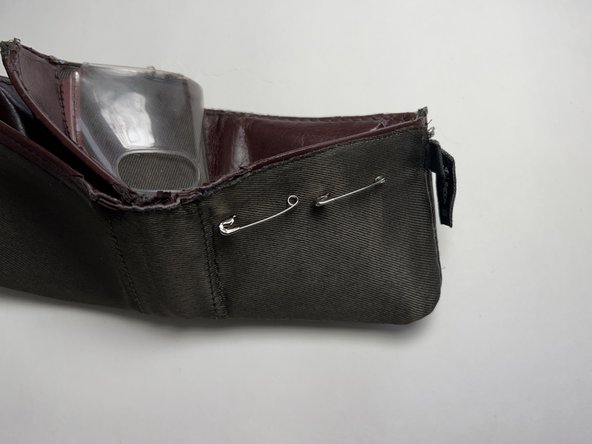
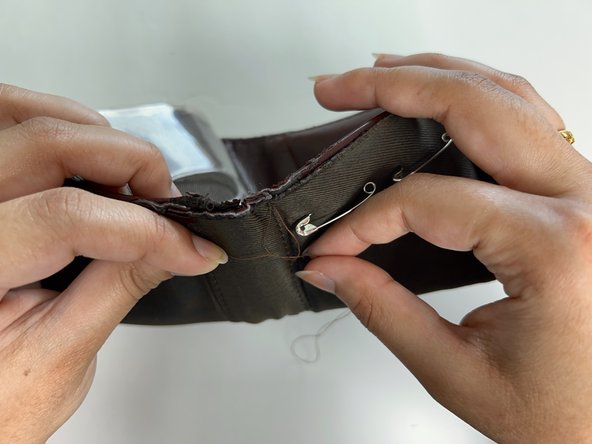
- Pin the cloth into place with safety pins.
- Make sure not to poke through the leather. If there is no way to do this without damaging the leather, skip this step.
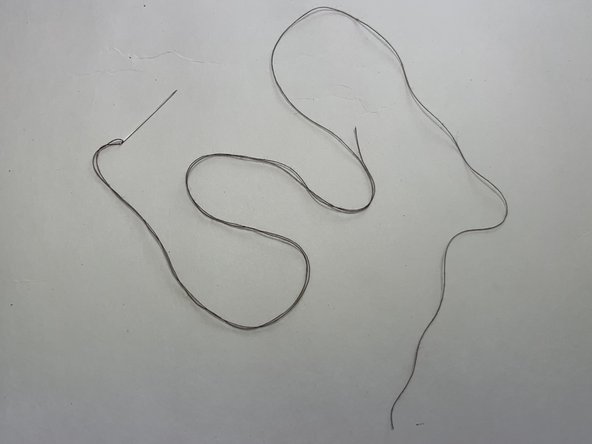
- Cut about a centimeter off the end of the sewing thread to get rid of any fraying.
- Guide the thread through the hole at the top of the needle.
- Pull about 20.32-30.48 cm of the thread through to prevent the thread from slipping out while sewing.
- If it is too difficult to get the thread through the hole, wet the end of the thread and roll it between two fingers to create a pointed end and try again.
- Cut about 0.91 meters of thread from the spool.
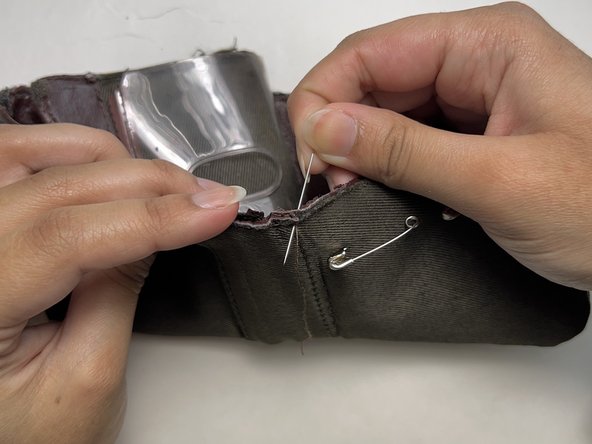
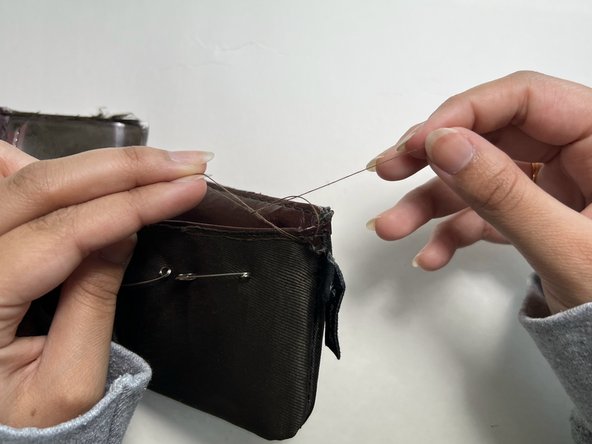
- Starting at the beginning of the tear, sew thread from the inside of the wallet to the outside.
- Sew thread back from the outside of the wallet to the inside of the wallet.
- Tie the threads together 2 or 3 times.
- Leave very little gap between first and second stitch hole.
- Locate holes in the leather from existing stitches and sew through them, making sure to avoid damaging it.
- Perform a standard backstitch: skip one of the holes and sew from the inside of the wallet to the outside through second hole, then sew from the outside to the inside through the hole that was skipped.
- Repeat until the lining is completely reattached.
- At the end of the tear, sew from the inside of the wallet to the outside, leaving a sizable loop of thread.
- Sew thread back from the outside of the wallet to the inside, leaving very little space between stitches.
- Tie the loop and the hanging thread together 2 or 3 times.
- Cut any extra thread and remove the safety pins.
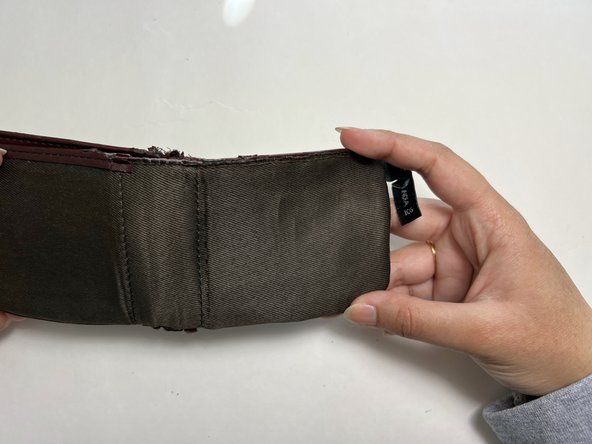
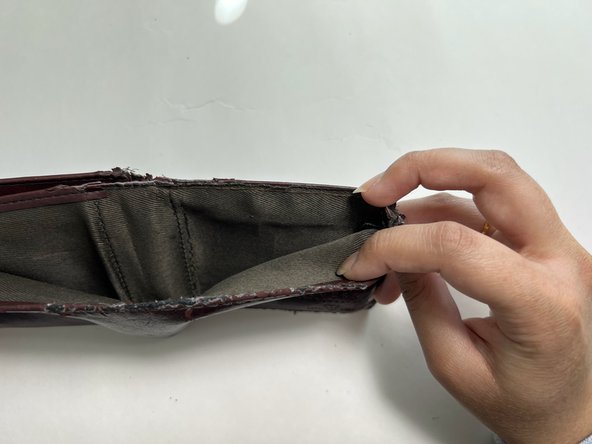
- Flip the wallet back so the lining is on the inside.
- The lining should be securely attached to the interior of the wallet!