How to fix a Chipped Snowboard Edge
ID: 157937
Description: After multiple snowboarding trips, people tend...
Steps:
- Apply the snowboard onto a clean and stable surface, making sure it won't move a lot.
- Clean the board of any dust and dirt.
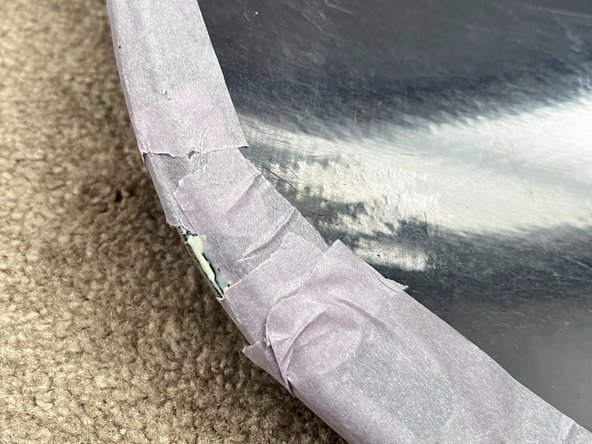
- Apply painter's tape around the damaged edge, leaving the damaged edge exposed.
- This will protect the board while sanding the damaged edge.
- Always use painter's tape. Regular tape can be damaging to the boards outer coat.
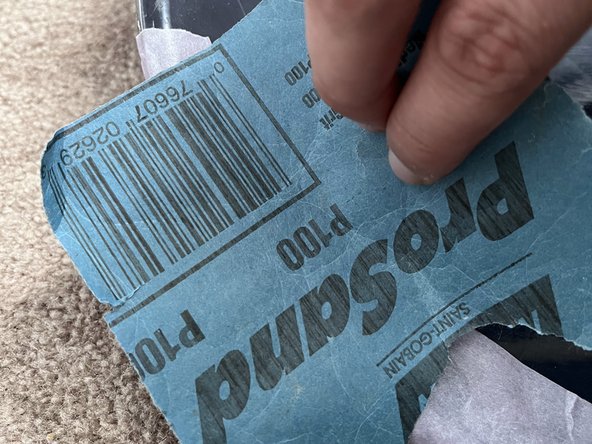
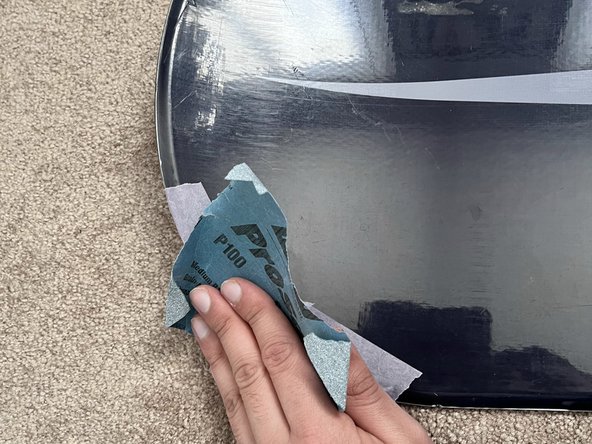
- Sand out the chipped area so that the indent is smooth.
- There should be no more rough edges where the chipped area is.
- After your done sanding, make sure to clean away any leftover dust with warm water and a clean cloth.
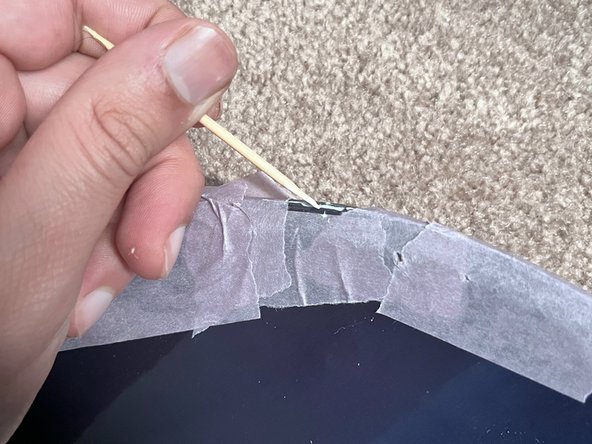
- Squeeze out a little epoxy into the chipped area.
- Use a toothpick to guide the epoxy into the crevasses.
- The epoxy can be very hard to work with, be slow with it.
- Clamp the chipped area to make sure it stays tight and compressed.
- Let it stay clamped for 1-2 hours to allow the epoxy to harden.
- After the epoxy is hard, sand the excess epoxy until it's flush with the board.
- Carefully and slowly remove the tape.
- Allow the epoxy to cure for at least 24 hours before use.
- A full cure is typically achieved between 24 hours and 7 days. Refer to your epoxy container for cure times.