Macintosh Classic II Hard Drive Removal
ID: 157946
Description:
Steps:
- Here is one of the vintage computers in my possession. It is a Macintosh Classic II M4150. Apple considers this obsolete and " information about these products is no longer updated as of 9/1/98 "
- On powering it up, It originally greeted me with a checkerboard pattern that quickly converted into this pattern. The checkerboard pattern is/was commonly caused by bad Ram memory. Considering the age of this computer, leaking capacitors are a strong possibility. Time to check.
- This computer contains a CRT. That means there are some high voltages involved when working on this. Use proper CRT safety while working on it.
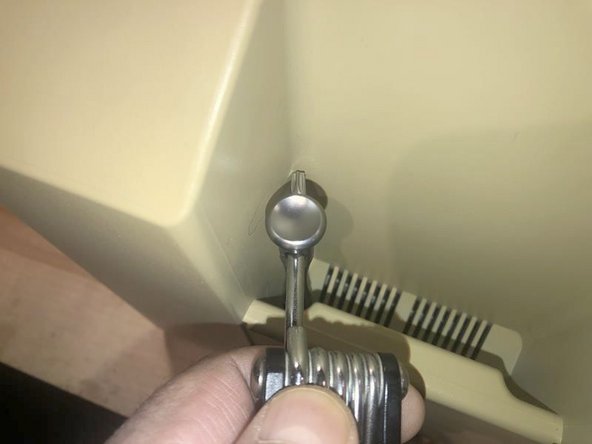
- The cover is held in place by four (4) T-15 screws. Two (2) on the bottom
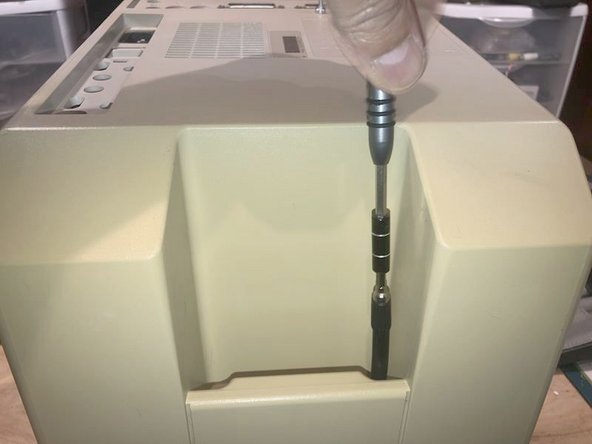
- and two (2) under the top (handle)
- The bottom ones are easy to remove
- The top ones are a bit of a challenge due to the depth of the holes.
- There was just not enough room to get a good grip on the driver.
- Luckily this iFixit driver has a hole on the top part. I used a tool to gain some mechanical advantage. While applying downward pressure on the driver, turn the tool to the left to loosen the screw
- Once loosened, the iFixit extension that came with my set, works perfectly to remove the screw,
- Here are the four (4) screws. The two bottom screws are M4X15mm The top screws are those typical found in plastic to sheet metal joints.
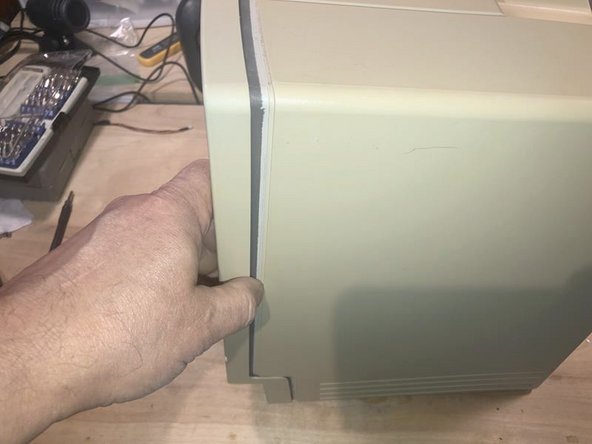
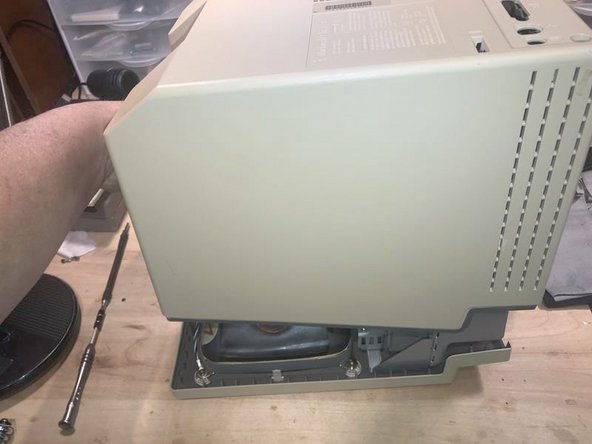
- With the screws removed the cover will slide off.
- BEst practice is to lay it down and pull the case straight up. It may take some force due to the tight fit and years of storage etc.
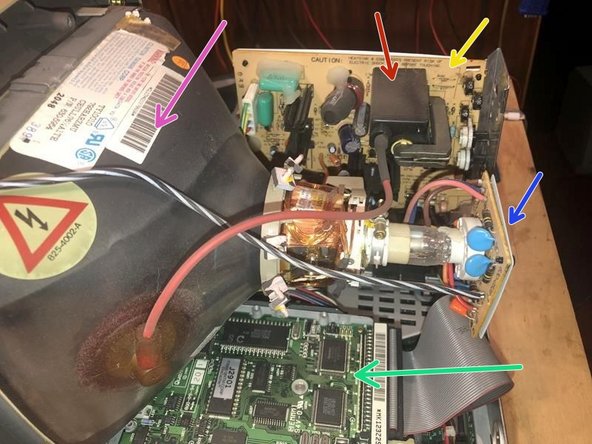
- Here is what the inside looks like.
- Remember the High Voltage. Do not touch anything with bare hands etc. Right now it's look but don't touch
- Power supply (Sweep Board)
- Flyback Transformer
- Video card
- CRT
- SCSI Hard drive
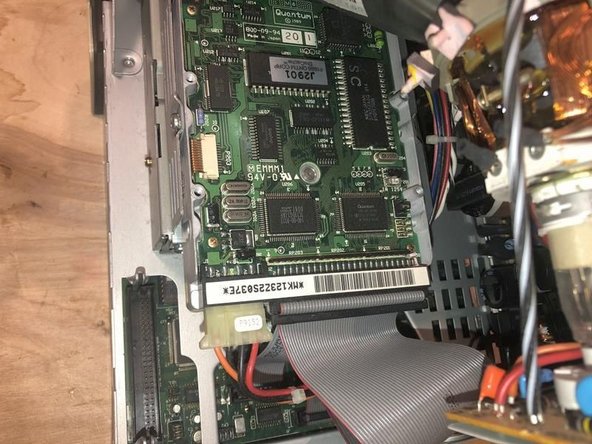
- Hard drive on top with the Floppy drive on the bottom
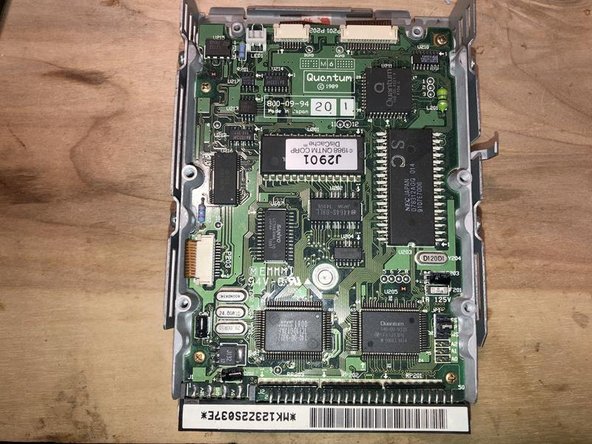
- Here is the Hard Drive. It is actually mounted upside down. You are looking at the drive controller board
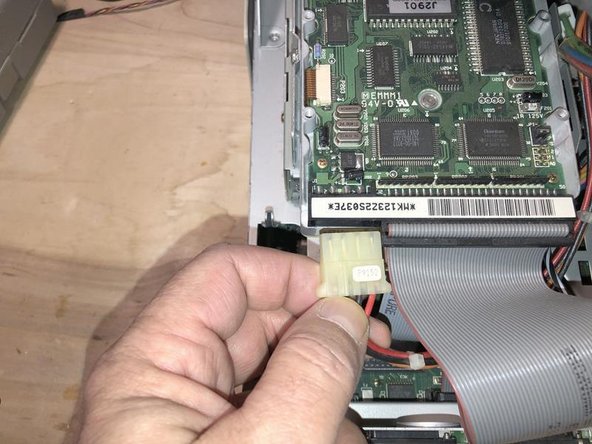
- Remove the power cable
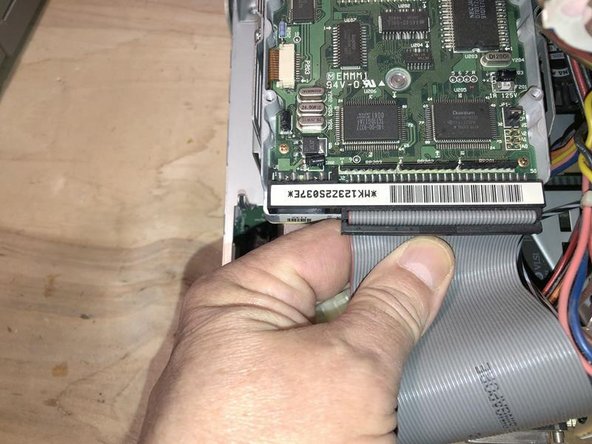
- Next remove the data cable. The red stripe always connects to pin 1 of the connector
- To remove the cable, simply pull it toward the back. No locking tabs etc. on these.
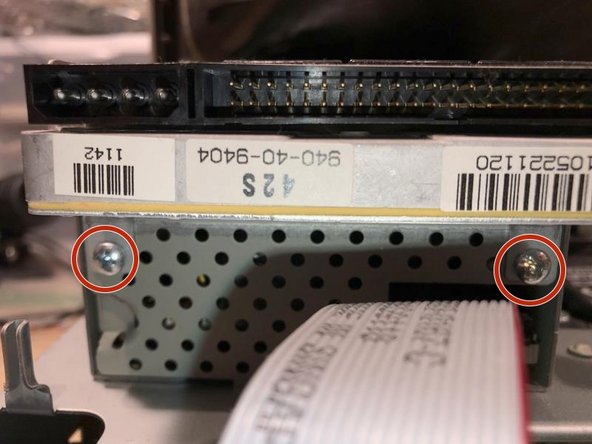
- There are two (2) Philips head screws that hold the HDD caddy. Remove those
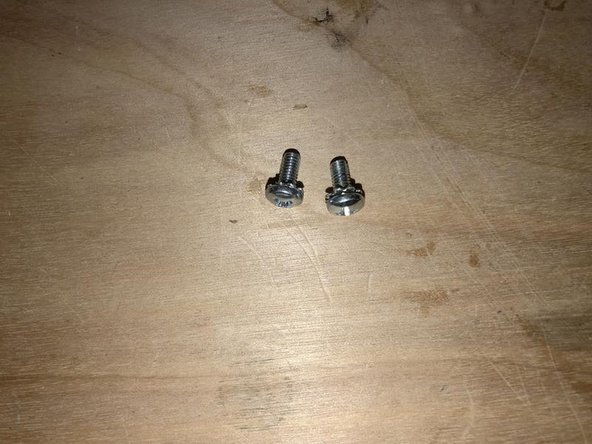
- The screws are M3 by 8mm machine screws
- With the two (2) screws removed, simply remove the Hard Drive with caddy out of the chassis.
- The drive is a Quantum ProDrive LPS 42S 40GB SCSI Hard Drive - Apple 940-40-9404