How to Replace Fabric and Stuffing in a Dog Bed
ID: 157963
Description: Does your dog (or cat!) have a favorite bed? Is...
Steps:
- Open a hole in the base of the bed (or the fabric you intend to replace) using the scissors or seam ripper, or a combination of the two.
- Remove all of the old stuffing from inside the bed.
- Set aside the stuffing you want to reuse; dispose of the rest in an appropriate manner.
- Remove the rest of the fabric being replaced with the scissors or seam rippers.
- Optional: You may want to wash the fabric you are keeping before moving on to Step 4. Make sure the fabric is dry before moving on.
- Lay the top fabric (or the fabric you are keeping) on top the new base fabric.
- Trim the new fabric to about one (1) inch longer in both height and width than the existing fabric.
- If you have a soft tape measure, use it here for a more precise measurement.
- Caution! Do not trim the new fabric to the exact size of the existing fabric. You need overhang to create a strong seam.
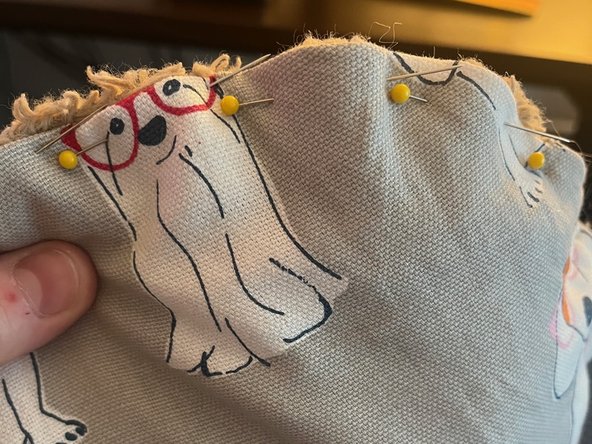
- Line up the fabrics for pinning; center the smaller on top of the larger.
- You always sew inside out, so the "top" side of the fabrics should be facing each other.
- Place pins about one (1) inch apart, starting at the edge and going in towards the center of the fabric.
- If you are sewing by hand, here is the Wiki How for hand sewn seams.
- If you are using a sewing machine, make sure the bobbin is filled with your chosen thread and line up the fabric for a 1/4" seam.
- Sew three (3) sides of your fabric, pulling out the pins as you go along.
- When you complete your three sides, backstitch about 1/2", pull the fabric away from the sewing machine to give yourself a long tail of thread, and then snip the thread.
- Flip the bed right-side out by pulling the fabric through the opening you have left.
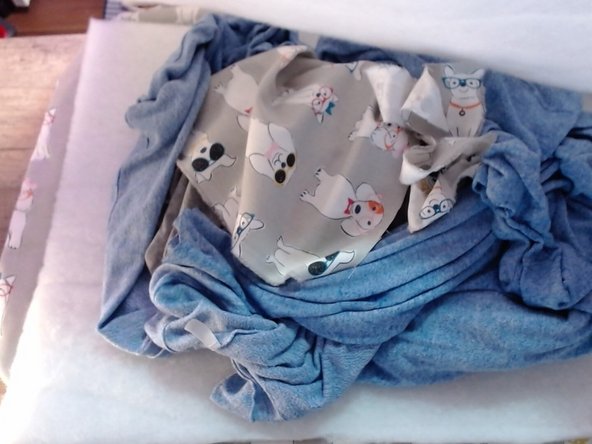
- Start filling the bed with your chosen stuffing.
- We're using poly-fil, old clothing with our scent, and the scraps from our new fabric.
- If using the optional foam densified board, you need to factor in the height of your bed and trim it down to the appropriate length and width. Image 3 shows how you can use two (2) pieces to sandwich in the other stuffing.
- Sew the final side closed.
- Optional:To make this step easier, you can pin the edges closed together.
- If you would like to use an invisible closure, usually called a pillow closure, here is the YouTube video on how to do a pillow closure.
- Your dog bed repair is now complete!