Galaxy S23 Teardown
ID: 158006
Description:
Steps:
- First we heat the rear glass of the phone to melt all the adhesive that glues the glass to the rest of the phone. We can do it either with an iOpener or with a heat gun.
- Now with a flat object or with an opening pick we cut the remaining adhesive by inserting it between the glass and the rest of the phone and passing it along the entire edge.
- Now we can raise the back panel and we're done.
- Unscrew the 6 Phillips #00 screws that weld the wireless charging base and the NFC antenna.
- Disconnect the connector connecting the two antennas and remove everything.
- Unplug the connector to disconnect the battery.
- Remove the 7 #00 Phillips screws that secure the charging board to the rest of the phone.
- Use a fine tool to pull out the SIM tray.
- Remove the connector with your fingers or a flat tool.
- Remove the connector with your fingers or a flat tool.
- Remove the connector with your fingers or a flat tool.
- Unscrew the 5 Phillips #00 screws that secure the front camera protector to the rest of the phone.
- Unplug the front camera connector and remove it.
- Remove the two Phillips #00 screws that secure the rear camera protector to the rest of the phone.
- Unplug the three connectors of the three rear cameras and remove them.
- Unscrew the three Phillips #00 screws that secure the docking board to the rest of the phone and then remove it.
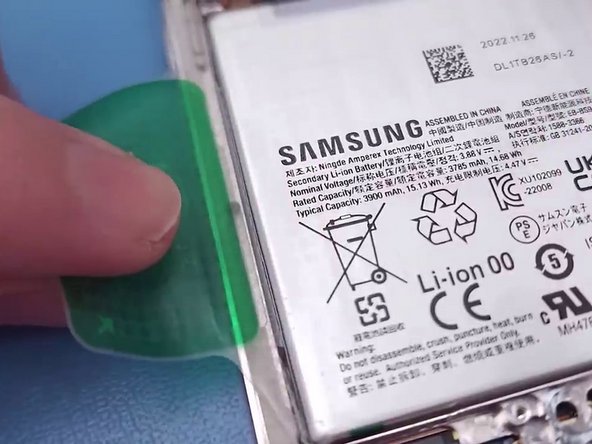
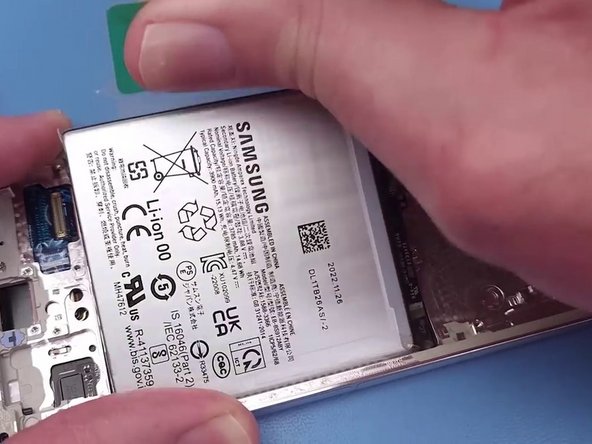
- With the special tab, detach it and pull to facilitate the removal of the battery.
- Remove the volume keys motherboard and them too.
- We have completely disassembled the new Samsung Galaxy S23.