JBL Flip 5 Battery Replacement
ID: 158216
Description: Use this guide to replace a worn-out or dead...
Steps:
- Before starting repairs, turn off your device and unplug any cables.
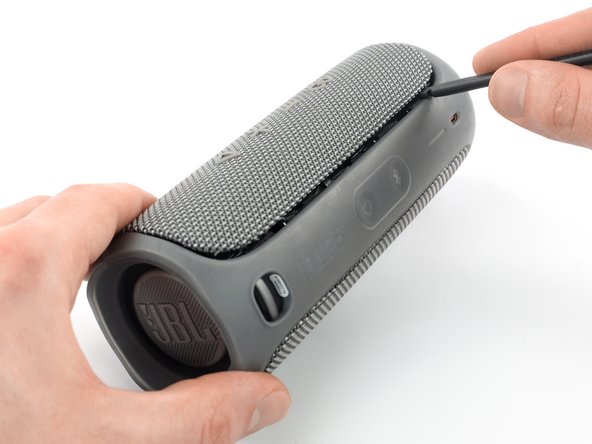
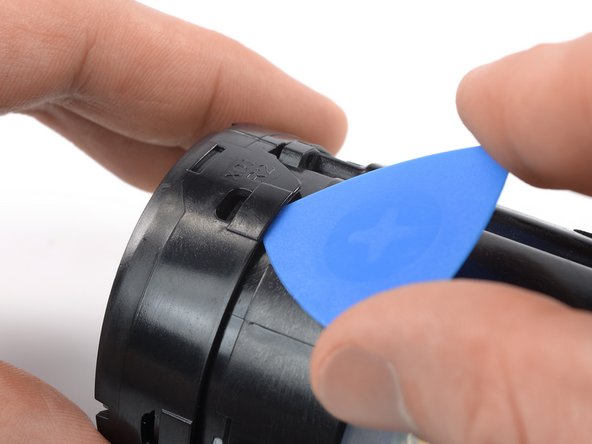
- The fabric cover of the JBL Flip 5 is secured by plastic clips.
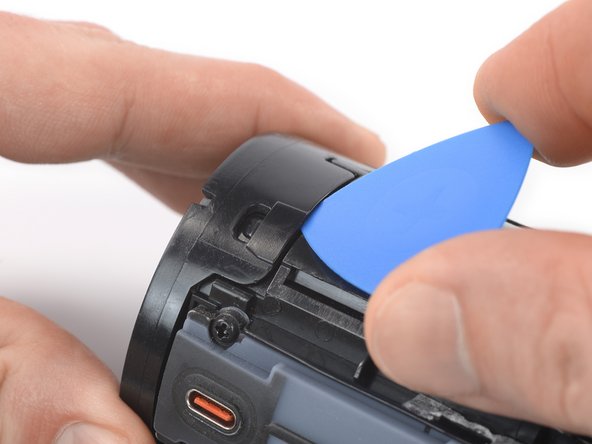
- Insert the flat end of a spudger underneath a corner of the fabric cover.
- Pry up to release the plastic clips securing the fabric cover.
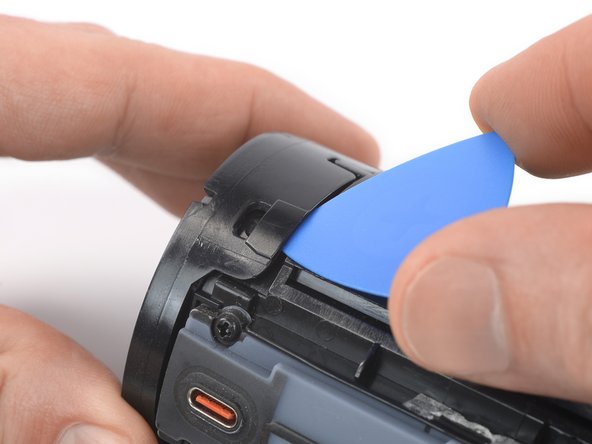
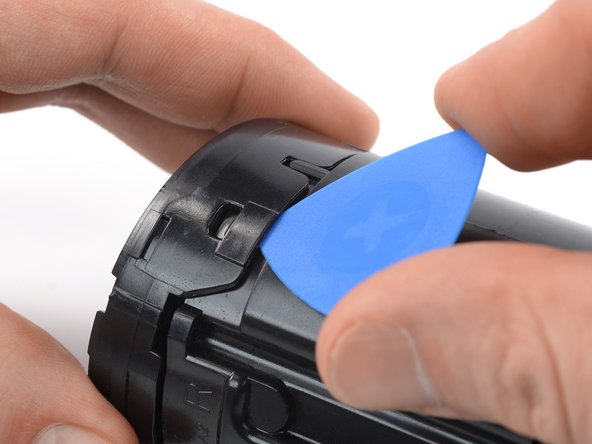
- Slide the spudger along the edge of the fabric cover while prying up to continue to separate the plastic clips.
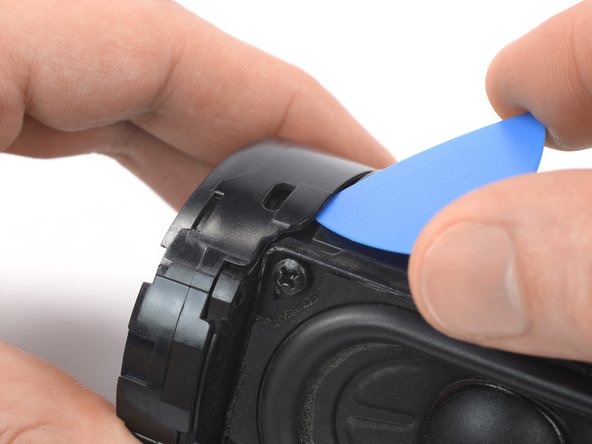
- Release the remaining plastic clips to fully separate the fabric cover.
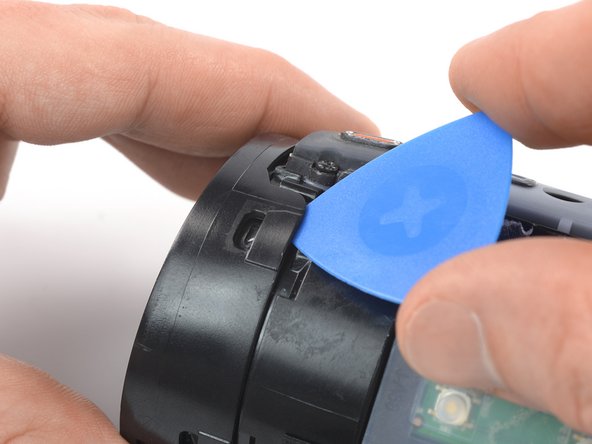
- Repeat the previous steps to release the plastic clips and to fully separate the opposite edge of the fabric cover.
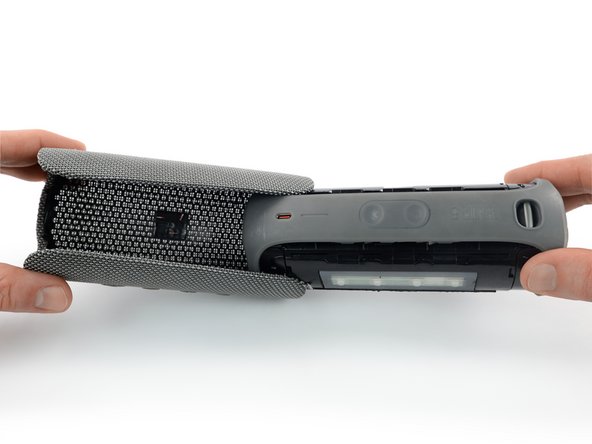
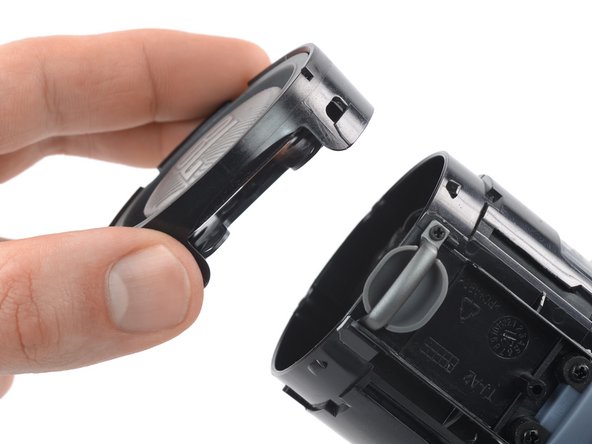
- Use one hand to spread the edges of the fabric cover apart and your other hand to pull the speaker assembly away from the cover.
- Remove the fabric cover.
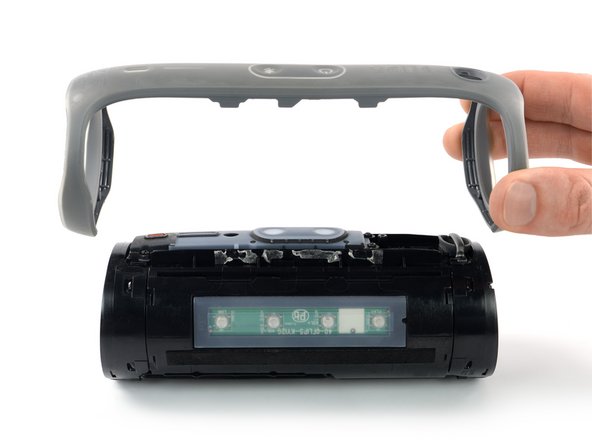
- During reassembly, this is a good point to power on your device and test your repair before reinstalling the fabric cover.
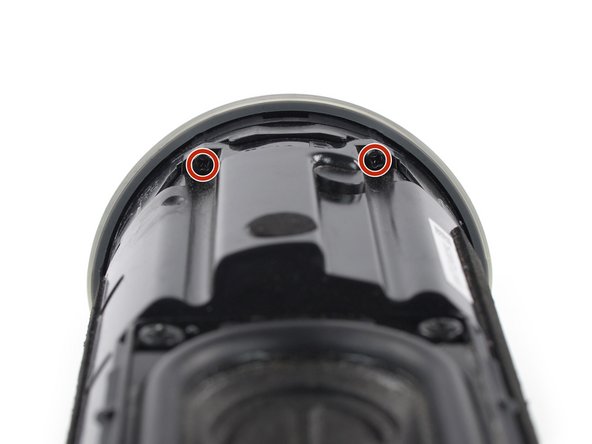
- Use a Phillips screwdriver to remove the four 17 mm-long screws securing the passive radiator brackets.
- The passive radiator bracket is held in place by mild adhesive around its center. If you‘re having trouble removing it, you can prepare an iOpener and apply it to the bracket for one minute to soften the adhesive.
- Peel the passive radiator bracket off of the speaker assembly and remove it.
- The passive radiators are secured by plastic clips.
- Insert an opening pick into the cutout next to the left passive radiator housing.
- Push the opening pick underneath the passive radiator housing.
- Pry upwards to release the plastic clip securing the passive radiator.
- Repeat the prying procedure for the three remaining plastic clips securing the left passive radiator.
- Remove the left passive radiator.
- Repeat the prying procedure for the four plastic clips securing the right passive radiator.
- Remove the right passive radiator.
- Use a Phillips screwdriver to remove the four 9.6 mm-long screws securing the woofer.
- Don't try to remove the woofer all the way yet, as it‘s still connected to the motherboard.
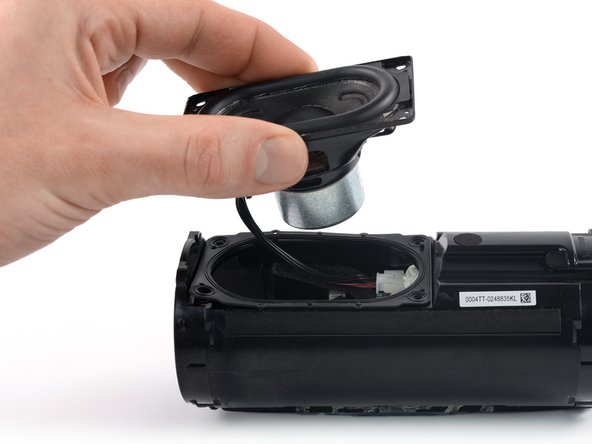
- The woofer cables are long enough allowing you to place the woofer outside the speaker assembly, but avoid straining or sharply folding the cables when you lift the woofer out of its recess.
- Lift the woofer out of its recess and place it next to the speaker assembly.
- Use the tip of a spudger to push the woofer JST connector straight out of its socket to disconnect it.
- Remove the woofer.
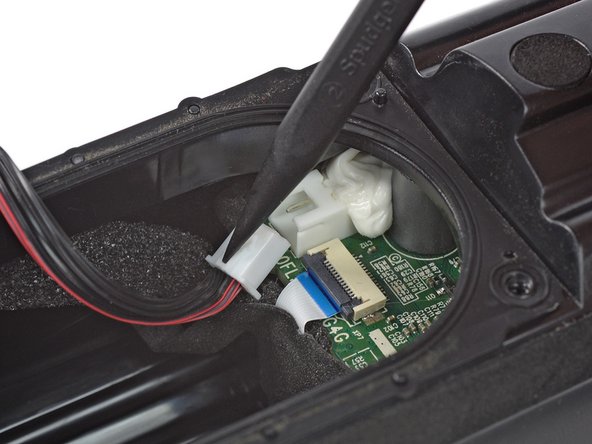
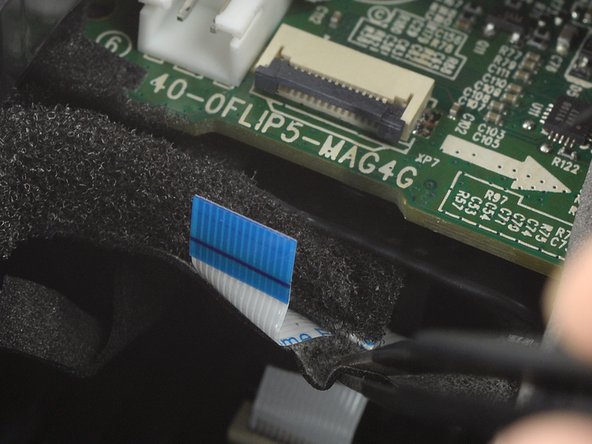
- Use the tip of a spudger or your fingernail to flip up the small, hinged locking flap on the power button cable's ZIF connector.
- Use a pair of blunt nose tweezers to pull the power button cable straight out of the ZIF connector.
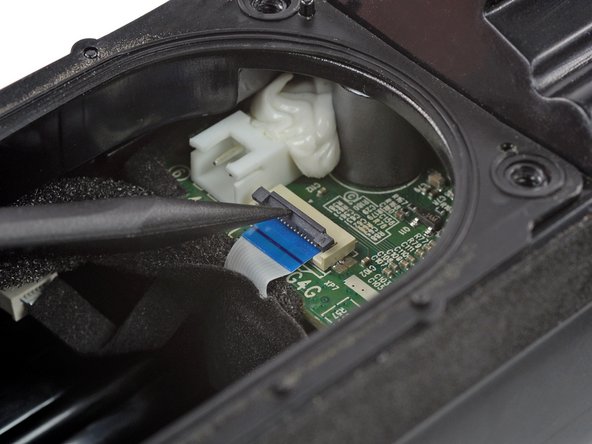
- Use a pair of blunt nose tweezers to pull the volume button cable straight out of its connector to disconnect it.
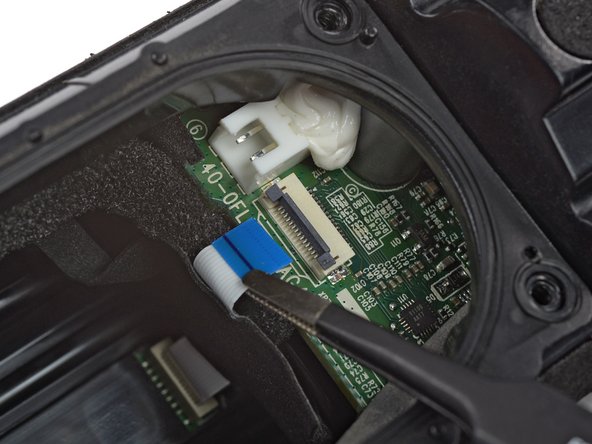
- Use a spudger to push the charging cable connector straight out of its socket and disconnect it.
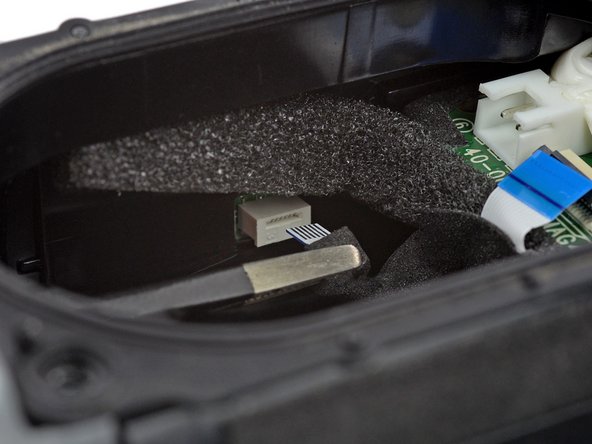
- The power button cable is lightly adhered to the motherboard with tape.
- Use a pair of blunt nose tweezers to peel the fabric tape securing the power button cable off the motherboard‘s edge.
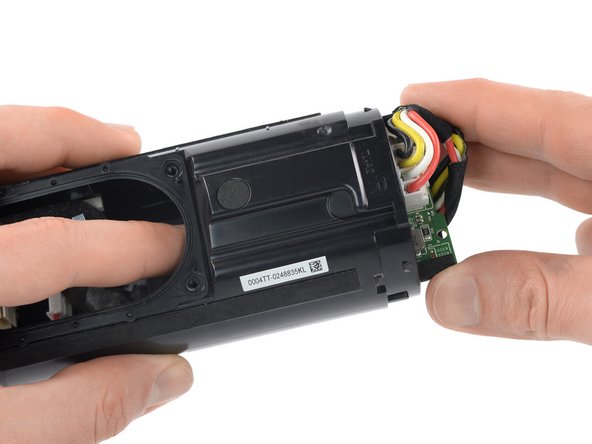
- The antenna cable is still connected to the motherboard, and the volume button cable is adhered to the speaker housing. Avoid straining or tearing them in the following step.
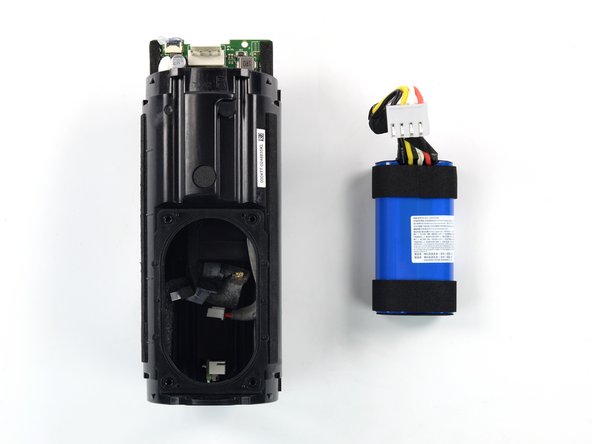
- Push the motherboard out of the speaker assembly until you get free access to the battery connector.
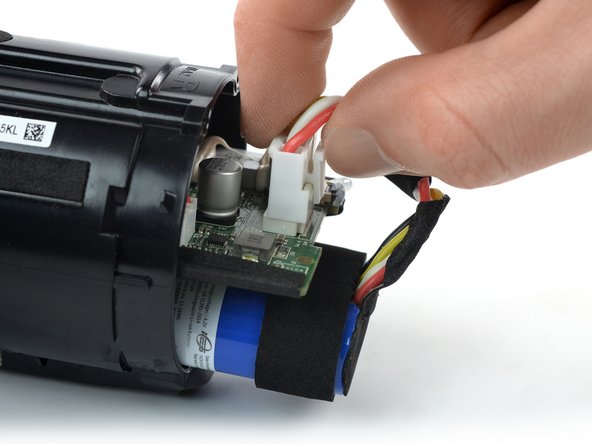
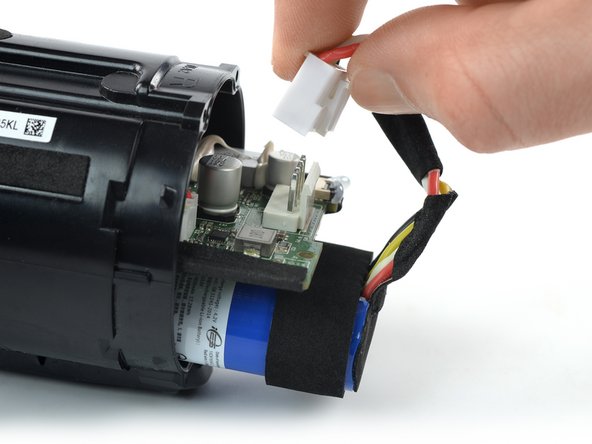
- Squeeze the tab against the power cable connector, and pull the connector straight up from its socket to disconnect the battery.
- Pull the battery out of the speaker assembly and remove it.