How to Replace Apple Magic Key (iPad Pro 12.9 inch 5th Generation)
ID: 158340
Description: Use this guide to fix the keys on you iPad Pro...
Steps:
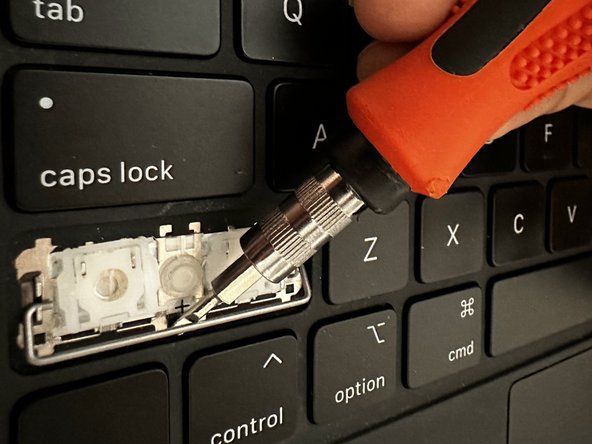
- Hold the screwdriver vertically so that the flat end is facing the side of the key.
- Make sure to place the screwdriver at the bottom right corner of the key.
- Apply a slight amount of pressure with the screwdriver to the side of the key.
- Turn the screwdriver clockwise under the key until you hear a click.
- Move the screwdriver back and forth along the side of the key, using a sawing motion.
- Apply gentle pressure to the screwdriver. Applying too much pressure will break your key.
- Repeat the same procedure to the bottom left of the key but this time turn it counterclockwise until you hear a click.
- Apply pressure very gently otherwise it might break the key.
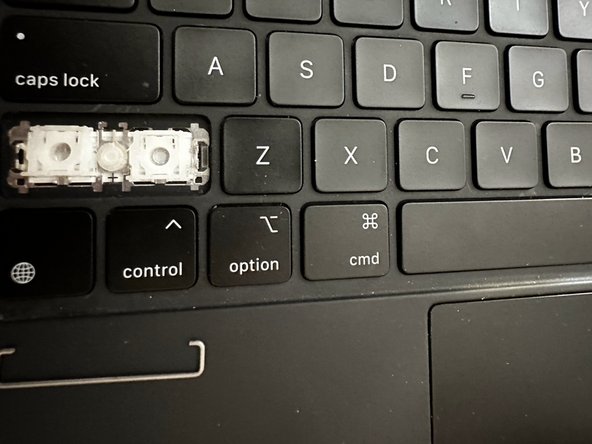
- Once both sides are popped off, take your key and slide it to the front.
- The circles at the back of the key are the slides and the square marks are the clips. It's important to slide the key from the top, downward, to not break the slides.
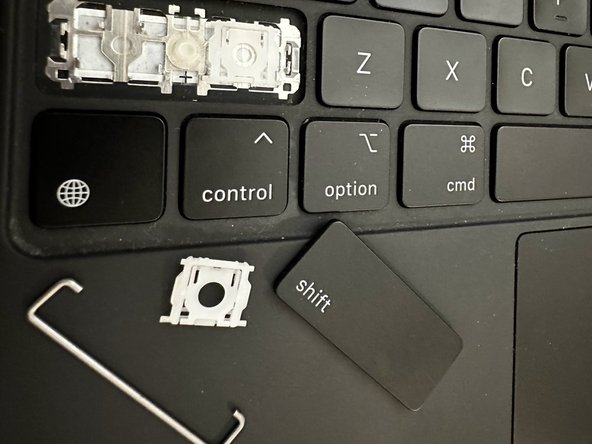
- Use the screwdriver to lift the metal bar from the key.
- Set it aside in a safe place where it won't get lost.
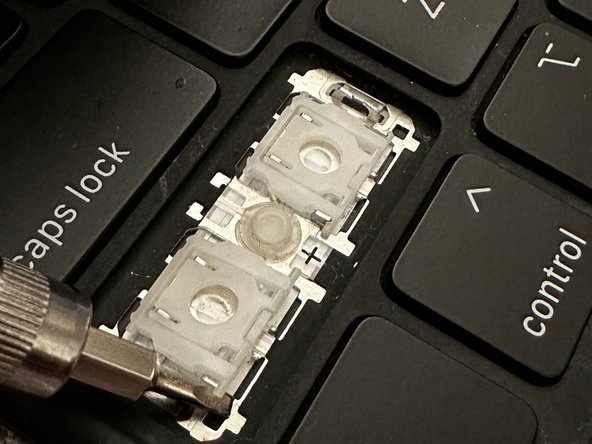
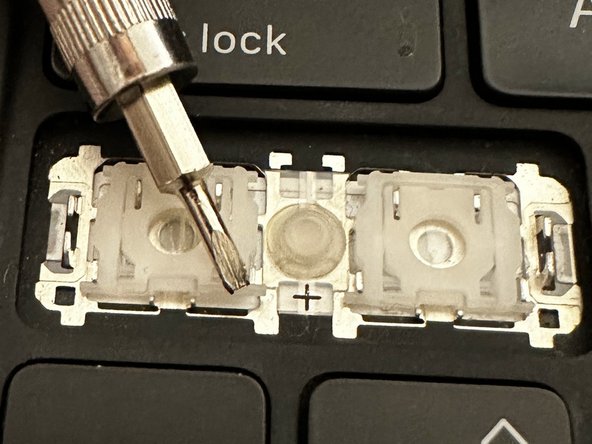
- Place the flathead screwdriver under the bottom right corner of the plastic mechanism.
- Gently apply pressure until you hear a "click."
- Repeat the same step under the bottom left corner of the plastic mechanism until you hear the click.
- Remove the plastic mechanism.
- Apply a brush to the surface for any dust and debris.
- Clean any sticky leftovers under the unreachable corner spots of the key using a cotton swap.
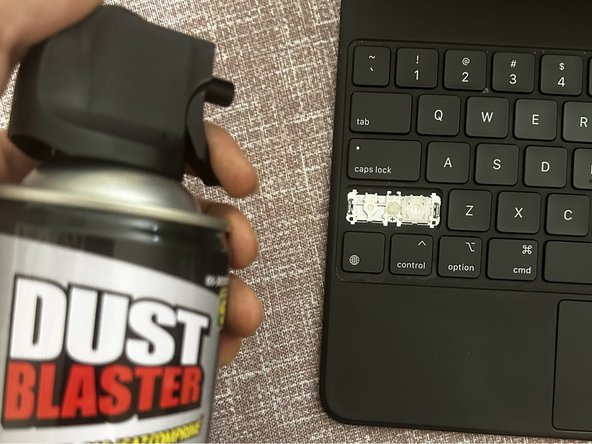
- Spray the compressed air under the key.
- Ensure the can nozzle is 5-10 cm from the surface.
- This helps clear dust under the key.
- Slide the top of the plastic mechanism under the hooks and push it down until you hear a "click."
- Gently slide the top of the plastic mechanism under the hooks and push it down until you hear a click.
- Do not slide downward. It can break the key.