LED Fairy Lights Wire Repair
ID: 158344
Description: These sets of instructions are the process of...
Steps:
- Leave the batteries in the pack and switch the light on.
- Hold the disconnected wires to the terminals and try to reconnect the circuit.
- If it isn’t turning on, try switching the wires.
- Mark one of the wires to differentiate them.
- Switch the lights off and remove the batteries.
- Cut off the frayed ends of each wire with pliers.
- Using a box cutter or wire stripper, strip about ¼ inch of the insulation off each wire's end.
- Twist the end of each wire to prepare it for tinning.
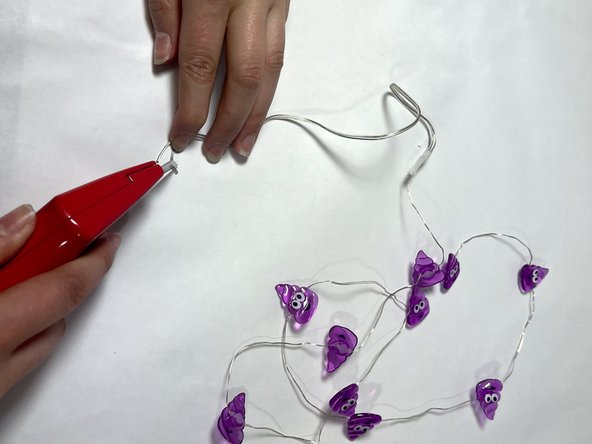
- Plug in the soldering iron, and wait for it to heat up
- The soldering iron gets very hot. Leave it on the stand and away from flammable objects.
- Make sure you are soldering in a well-ventilated area and wearing safety glasses. Check out this guide for more information on soldering.
- Hold the solder to the wire to melt it, and apply a small bead to the end of the wire.
- Repeat for the second wire.
- Wait for the solder to completely cool.
- Be sure that the solder is solidified before proceeding.
- Cut two ½ inch heat shrink tubing sections, and slide it onto each wire.
- Slide it up as far away from the end of the wire as you can.
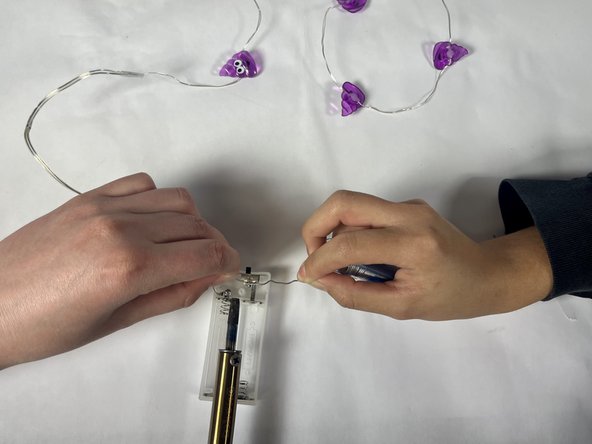
- Place the wire where you will be soldering it, and use the soldering iron to melt the solder to connect the wire to the battery terminal. Repeat for the second wire.
- Having another person with you to help hold the wire is helpful!
- Make sure you know which wire should be connected where. You should repeat the test in Step 1.
- Insert batteries and switch on the light to check if it worked.
- If the light doesn’t turn on, try desoldering the wire, cutting it down, and repeating Steps 4-9.
- Remove the batteries. Slide the heat shrink tubing down to the end of the wires.
- Make sure it covers all exposed wiring.
- Use the soldering iron to apply heat to the heat-shrink tubing, which will make it shrink to fit the wire. Repeat for the second wire.
- Do not touch any other parts with the soldering iron!
- Insert batteries and test if it works. If it does, you’re done!