HDD Removal
ID: 158569
Description:
Steps:
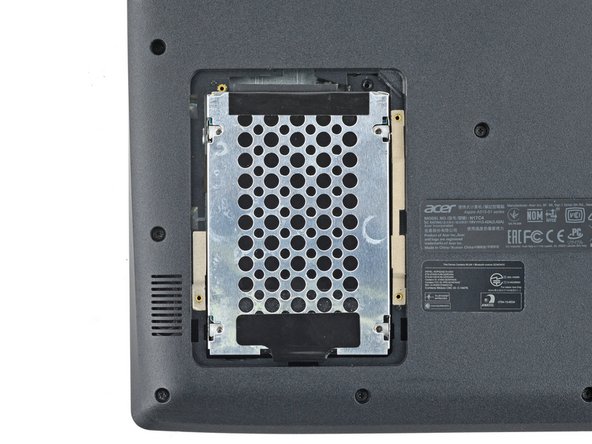
- Use a Phillips screwdriver to remove the screw securing the HDD hatch on the bottom left of the lower case.
- Insert the flat end of a spudger under the cutout on the top right corner of the HDD hatch and pry it up.
- Remove the HDD hatch.
- Your HDD assembly may be secured to the lower case with screws. If it's not, skip this step.
- Use a Phillips screwdriver to remove the four screws securing the HDD assembly.
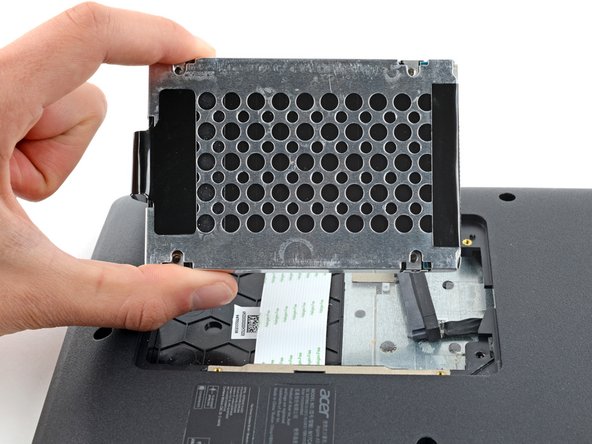
- Firmly grip the HDD assembly and HDD cable connector head.
- Pull the HDD cable connector out of its socket.
- Remove the HDD assembly.