LG WM3050CW Main Board Replacement
ID: 158599
Description: Use this guide to replace the main board in...
Steps:
- Before you begin your repair, perform the following:
- Turn off the main water supply
- Unplug your washer
- Disconnect all water connections at the rear of your washer
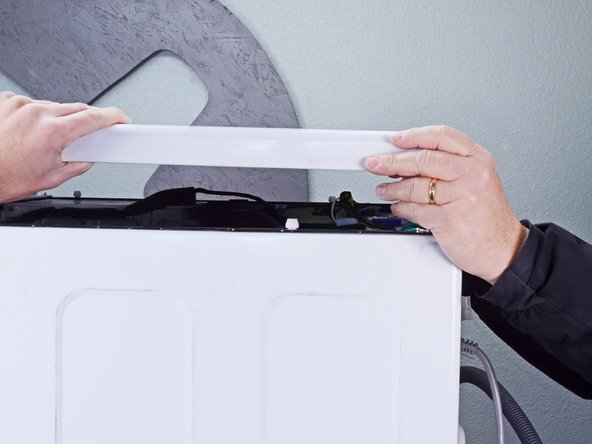
- Use a Phillips driver to remove the two bottom 16.5 mm-long screws securing the top panel brackets.
- Slide the top panel 1-2 inches towards the rear of the device to disconnect its clips.
- Tilt the top panel upward to completely disconnect it from the chassis.
- Remove the top panel.
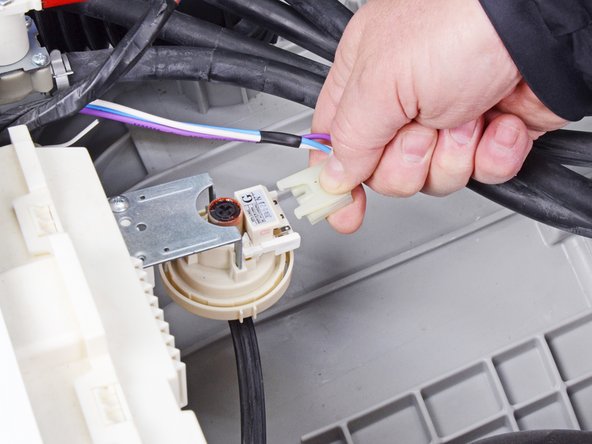
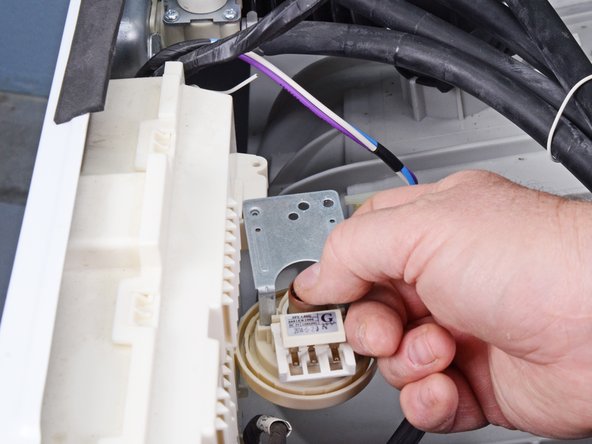
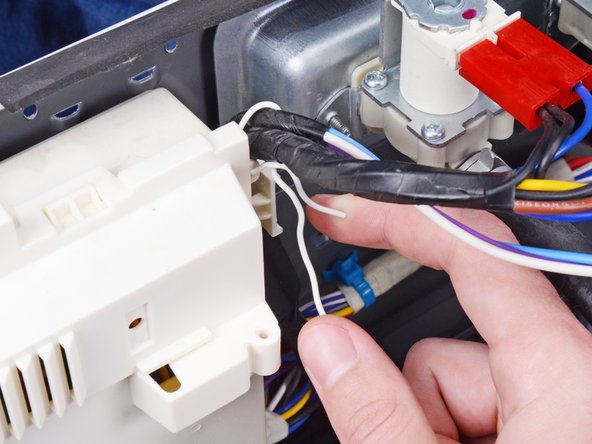
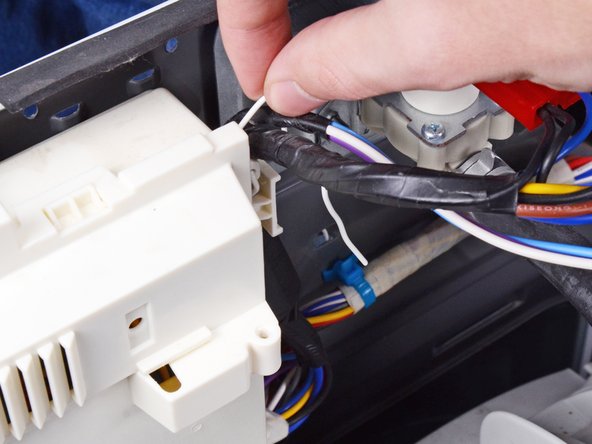
- Disconnect the spade connector from the pressure sensor.
- Always grip cables by their connectors and not the wires themselves.
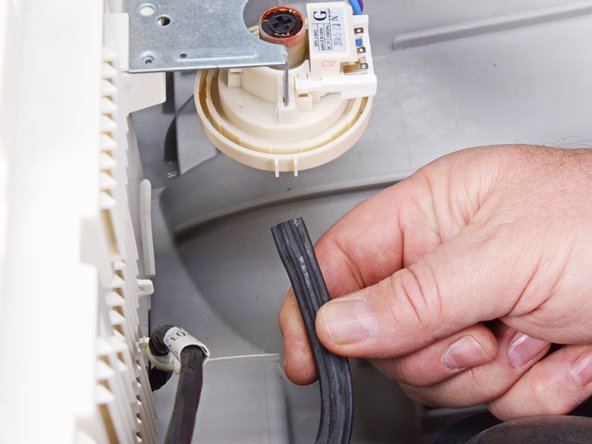
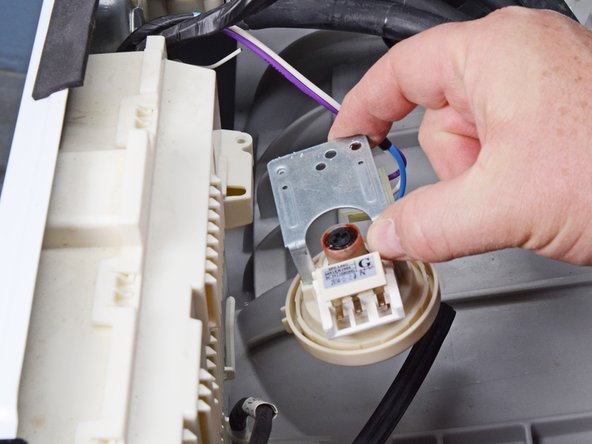
- Disconnect the hose from the pressure sensor.
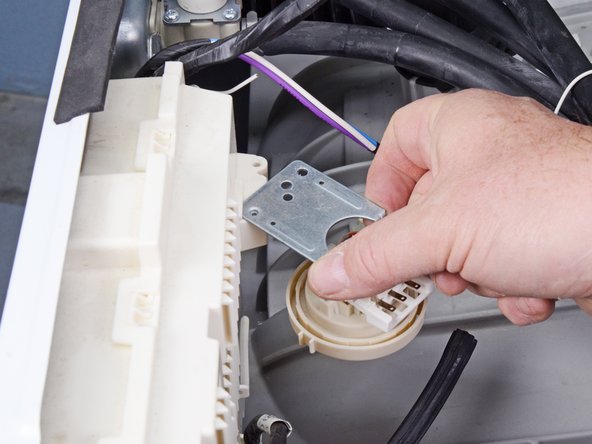
- Use a Phillips driver to remove the 16.5 mm-long screw securing the pressure sensor.
- Rotate the pressure sensor toward the left edge of the washing machine to unclip it from the main board cover.
- Lift the pressure sensor away from its slot on the main board cover to remove it.
- During reassembly, align the pressure sensor with the hole next to its slot before rotating it back into its original position.
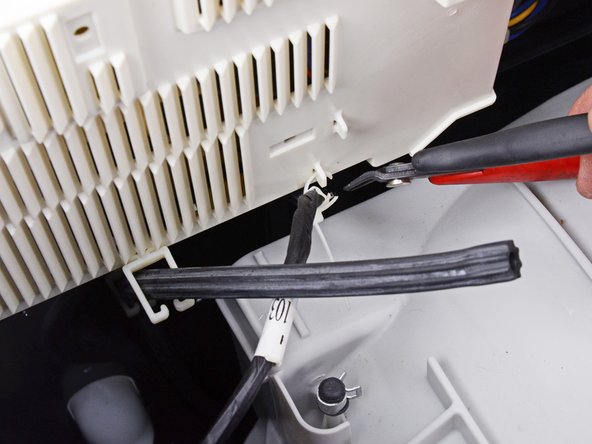
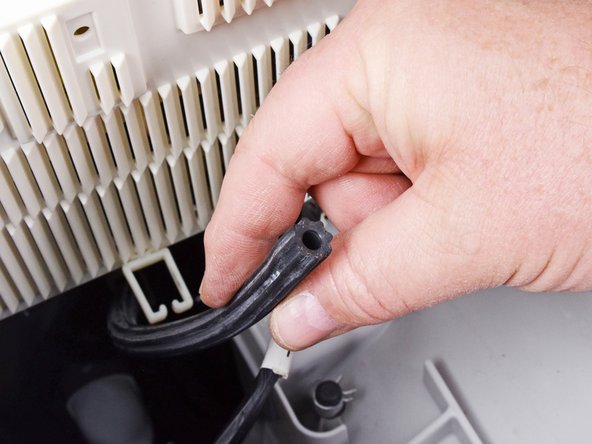
- Insert a flathead screwdriver between the chassis and the plastic clip securing the control panel cable.
- Compress the clip and slide it out of the chassis to remove it.
- Use diagonal cutters, or scissors, to cut the cable tie securing the control panel cable to the main board cover.
- Remove the pressure sensor hose from its clip in the main board cover.
- During reassembly, replace the cable tie.
- Remove the twist tie bundling the cables at the top right of the main board cover.
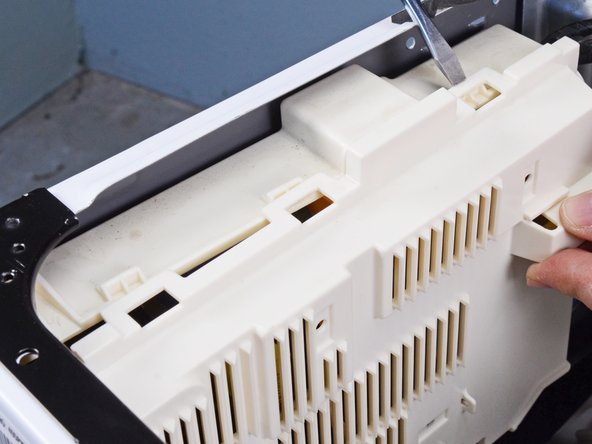
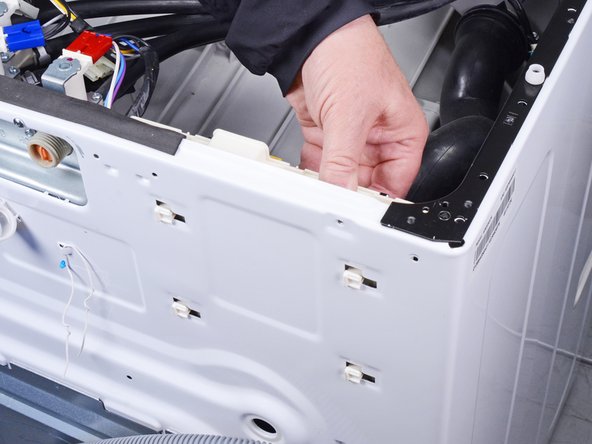
- Use a flathead screwdriver to disconnect the three plastic clips securing the top of the main board cover.
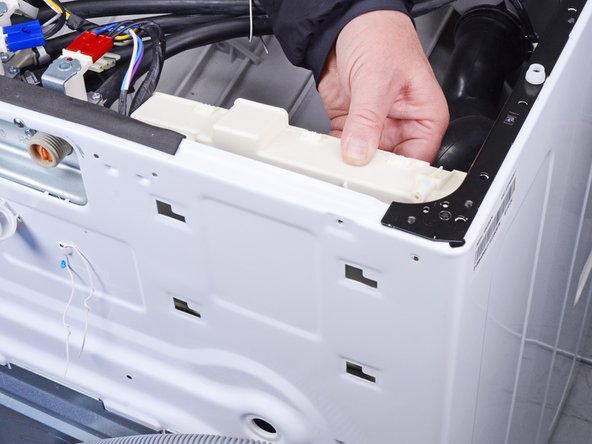
- Pull the main board cover away from the chassis to disconnect the remaining clips on the side and bottom.
- Remove the main board cover.
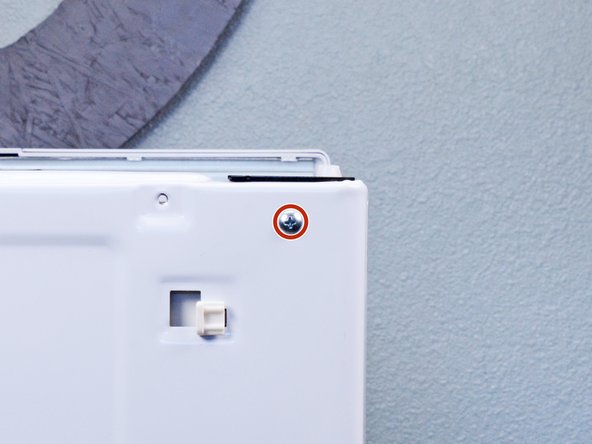
- Use a Phillips driver to remove the 16.5 mm-long screw securing the main board to the back of the washer.
- Slide the main board toward the right edge of the device to disconnect the clips from their slots in the chassis.
- Pull the main board toward the front of the device to completely separate the main board from the chassis.
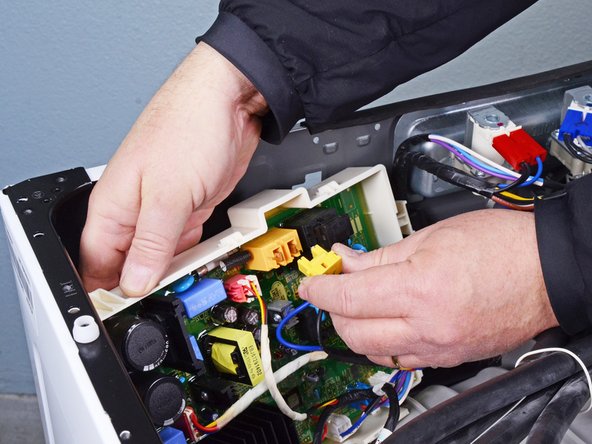
- Label each connector and its spot on the main board. During reassembly, reattach each connector to its proper spot.
- Lift the main board out of the chassis slightly to access each of the connectors.
- Disconnect each connector from the main board (eleven total).
- Remove the main board.