LG WM3050CW Stator Replacement
ID: 158631
Description: Use this guide to replace the stator in your LG...
Steps:
- Before you begin your repair, perform the following:
- Turn off the main water supply
- Unplug your washer
- Disconnect all water connections at the rear of your washer
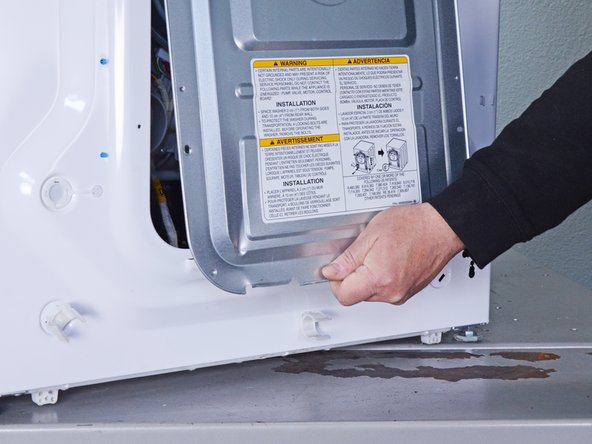
- Use a Phillips driver to remove the four 10.7 mm‑long screws securing the rear panel.
- Lift the rear panel upward to release its bottom clips.
- Pull the rear panel away from the chassis to release the remaining clips.
- Remove the rear panel.
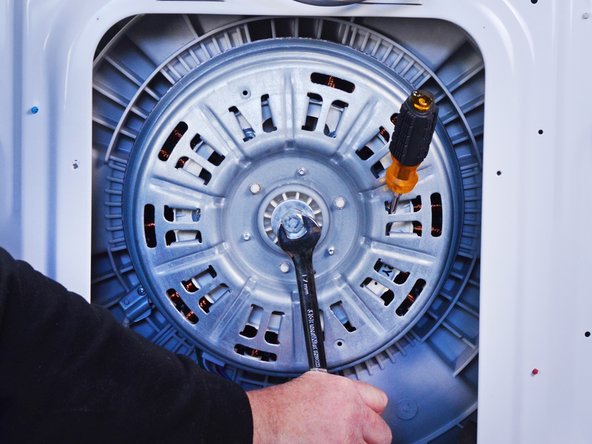
- Use an impact driver to remove the 17 mm nut securing the rotor.
- Alternatively, you can use a wrench and a hammer to loosen the nut.
- To secure the rotor, you can insert a screwdriver, or a similar tool, between the rotor and the stator. Make sure to brace the tool against one of the screw bosses on the stator.
- The rotor is magnetically attracted to the stator.
- Pull the rotor straight off the stator and drive shaft splines to remove it.
- Wiggle the rotor as you pull to help disconnect it.
- This may require significant force.
- During reassembly, watch your fingers when aligning the rotor over the stator, as the rotor gets sucked in easily.
- Use a Phillips driver to remove the three 16.6 mm‑long screws securing the top of the motor harness clamp.
- Hold the stator up as you unfasten the last few bolts, as it can fall over unexpectedly.
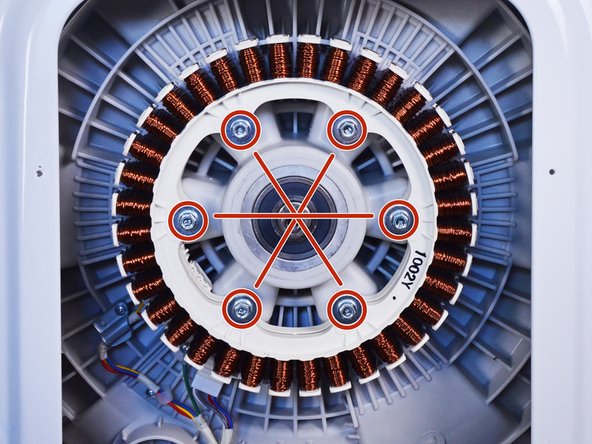
- Use a 10 mm socket wrench to remove the six 68 mm-long bolts securing the stator.
- During reassembly, refasten the screws in a "star" pattern.
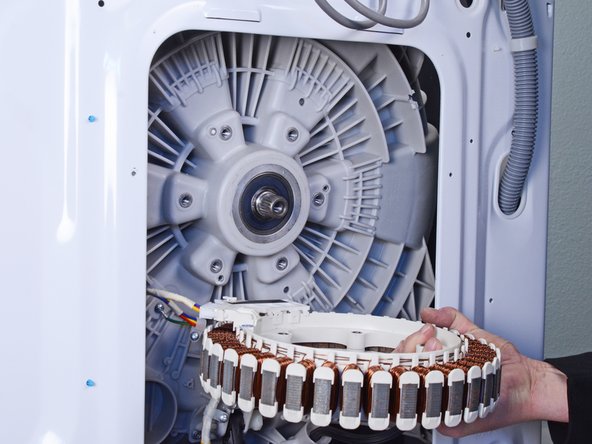
- Don't pull the stator too far away from the device, as it's still connected by wires.
- Pull the stator out of its slot on the drum, and flip it so its rear is facing upward.
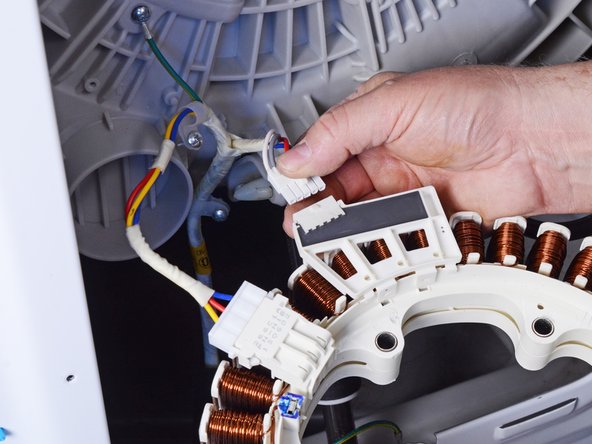
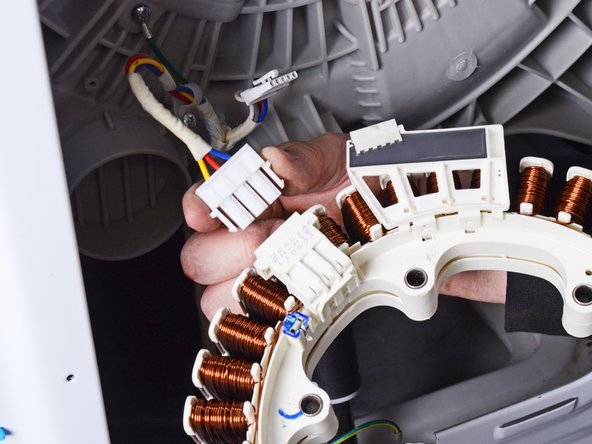
- Disconnect the two harness connectors attached to the stator.
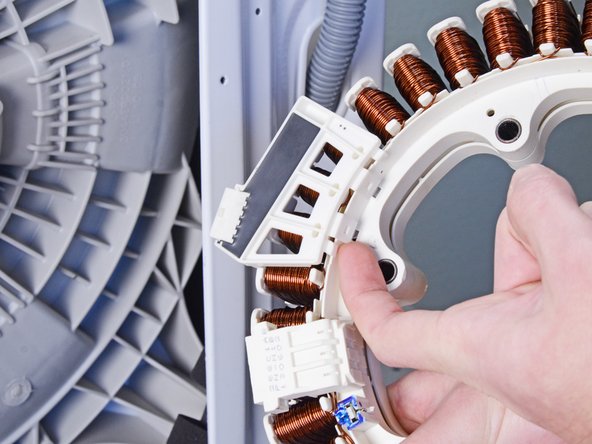
- Use your fingers to unclip the rotor position sensor from the stator.
- Pull the sensor away from the stator to completely unclip it.
- You're left with the stator.