Novation Launchkey mini Mk3 / FLkey mini Disassembly
ID: 158735
Description: Novation Launchkey mini MK3 / FLkey mini...
Steps:
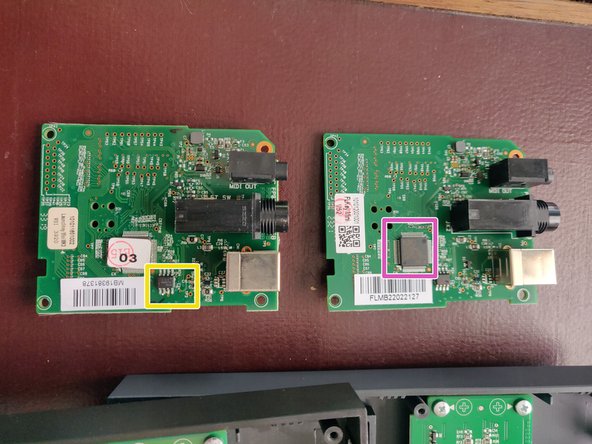
- This manual goes for both Lauchkey mini MK3 and FLkey, as they are similar in build.
- Flipping it upside down, shows 4 screws. After removing these screws, the whole thing still feels just as rigid.
- Next up are the clippings. I found that starting at a corner works best for me. Then carfully with a pick or screwdriver work yourway around.
- There's 4 clips on the long sides and 3 on the short sides. Be careful not to open up after undoing all clips.
- When all clips are undone, and the top and bottom shells are lose, carefully lift the back a little and then slide the top shell towards the key-bed.
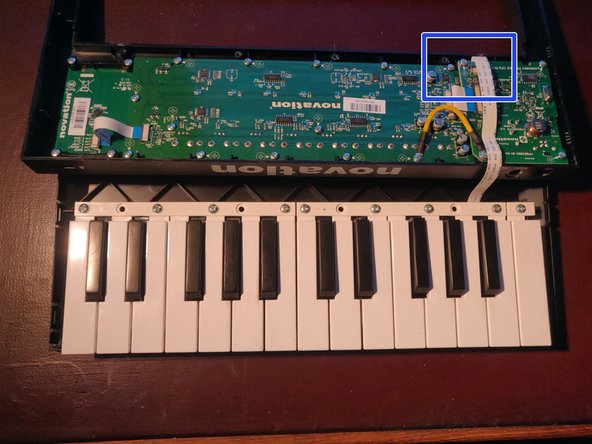
- Carefully flip the top and undo the ribbon cable connecting the key-bed with the top shell.
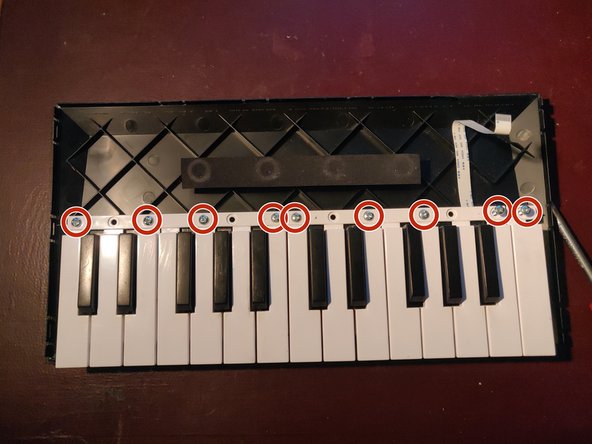
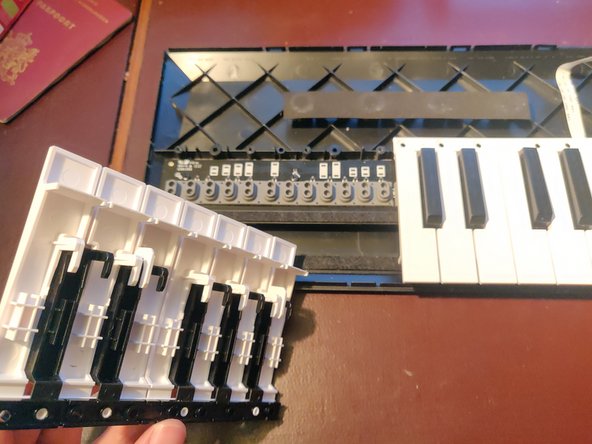
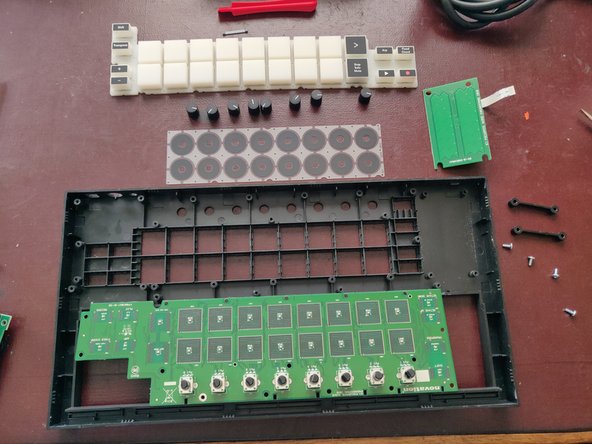
- The keyboard is undone by unscrewing 9 screws. The keys can then be wiggled out.
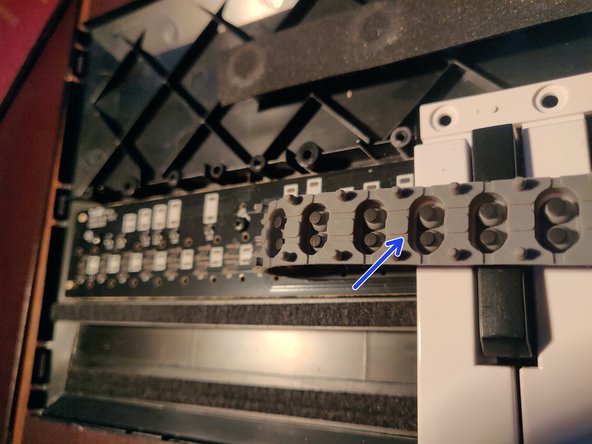
- Mind that the rubber strip has a short and long feet. The short one goes to the front of the board.
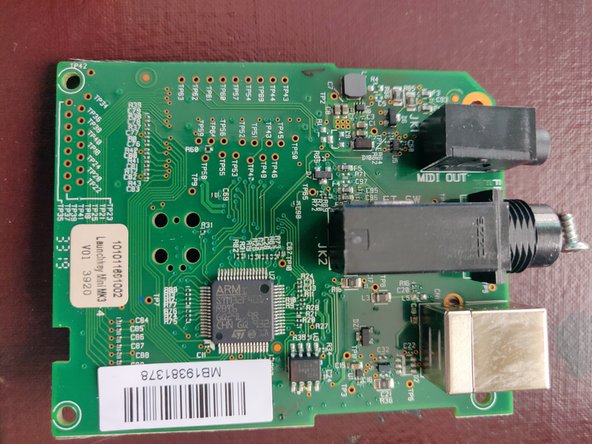
- CY8C4024LQ ARM Microcontroller
- HC595 bit-shifter
- 74HC4051D 8-channel analog multiplexer/demultiplexer
- 74HC165D 8-bit parallel-in/serial out shift register
- 74HC238D - 3-to-8 line decoder/demultiplexermxic
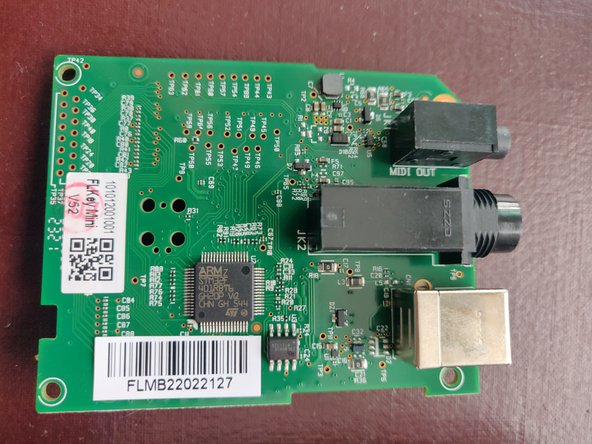
- STM32F401RB - STMicroelectronics STM32F401RB - High-performance access line, Arm Cortex-M4 core with DSP and FPU, 128 Kbytes of Flash memory, 84 MHz CPU, ART Accelerator. Yes, apperently it accelerates art :)
- MXIC MX25L8006E - 3V, 8M-bit[x 1/x 2] CMOS Serial flash memory
- Unscrew the four screw
- Undo the ribon cable by pulling the black clamp ever so carefull.
- Remove CPU board.
- Undo the ribbon cable.
- Unscrew 4 screws.
- Remove the board.
- Unscrew 15 screws.
- Remove the 8 rotary knob caps from the from of the board, by simply pulling on them. The main board can now be removed.
- Removing the silicon pads as last, the midi keyboard is now fully disassembled.