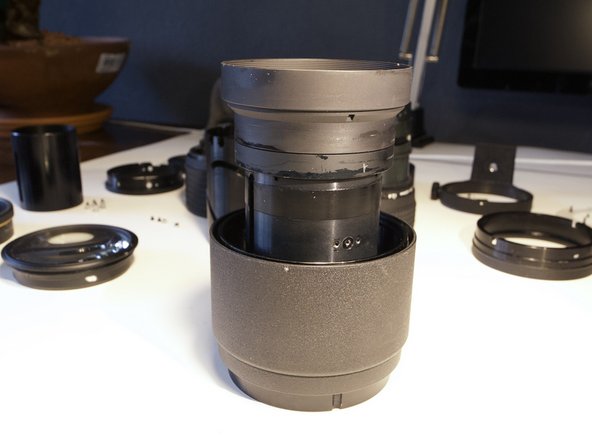
Tokina AT-X Pro 80-200mm Focus repair
ID: 160304
Description: A lot of the screws are fastened with Loctite....
Steps:
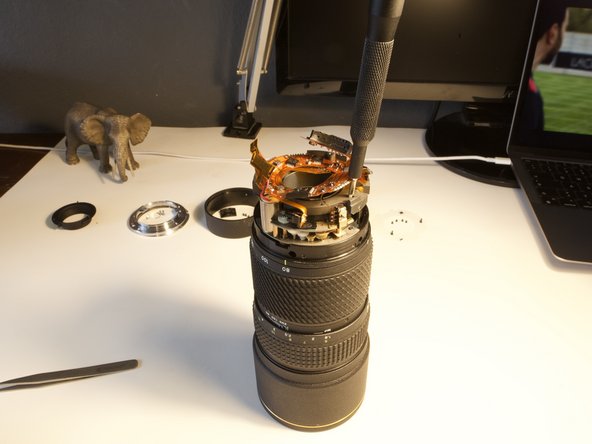
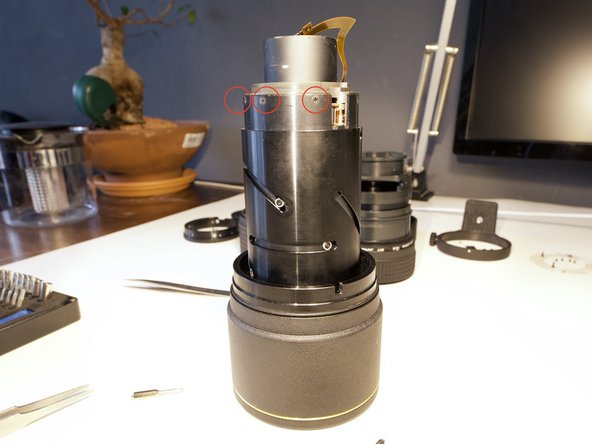
- Pick up your iFixit Toolkit and some tweezers.
- bit: 1.5
- quantity: 3
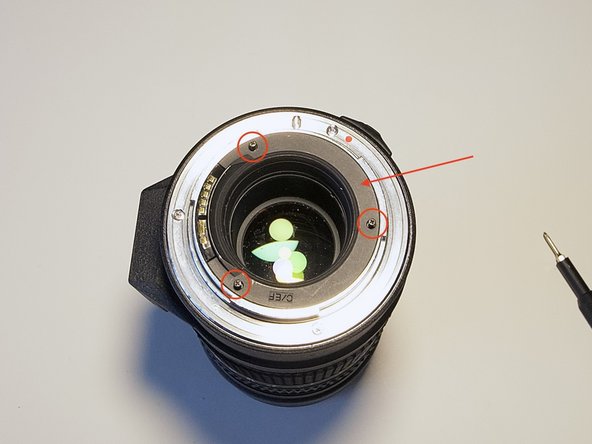
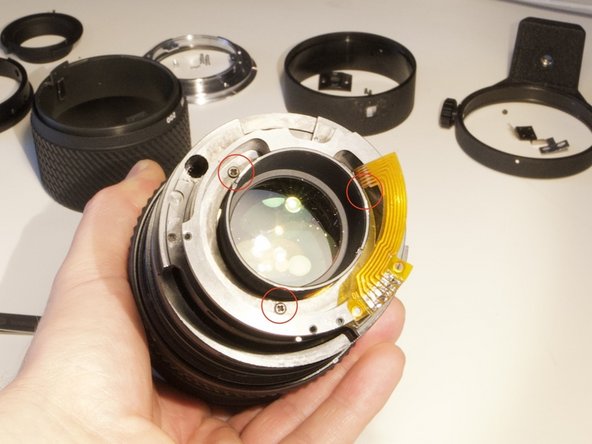
- screws No. 1
- item 1
- remove item 1
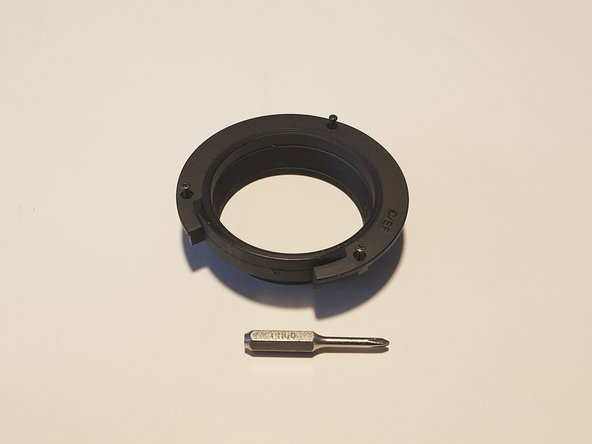
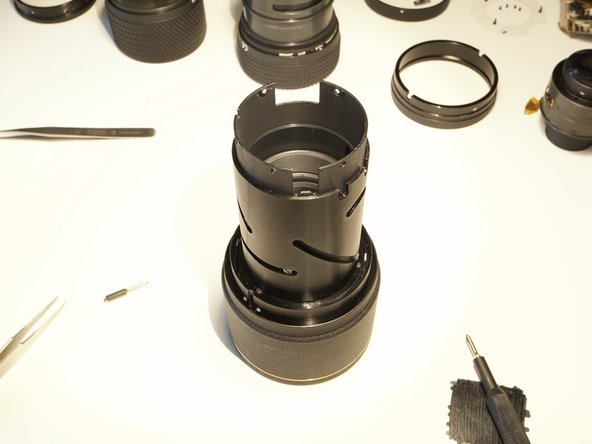
- Pick Lens No. 1 at the two outer notches and rotate it counter clockwise. Be not surprised that you need quite some force to loose it.
- item 2
- remove item 2
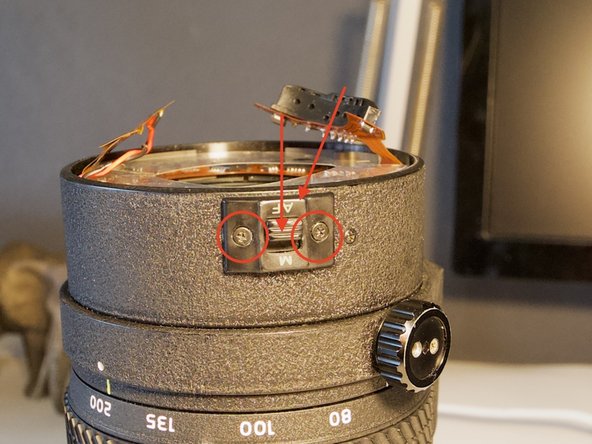
- bit: PH00
- quantity: 3
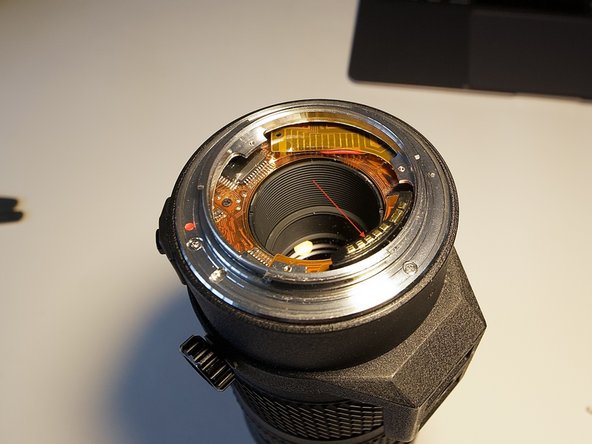
- item 3
- screws No. 2
- remove item 3.
- bit: PH00
- quantity: 2
- screws No. 3
- item No. 4
- loose item 4
- bit: PH0
- quantity: 3
- screws No. 4
- item 5
- remove item 5
- bit: PH0
- quantity: 2
- screws No. 5
- item 6+7
- remove item 6+7
- bit: PH0
- quantity: 3
- screws No. 6
- item 8
- remove item 8
- bit: PH0
- quantity: 2
- screws No. 7
- item No. 9
- remove item 9 very carefully!
- item 10 (plastic foil)
- remove item 10
- bit: PH0
- quantity: 4
- screws No. 8
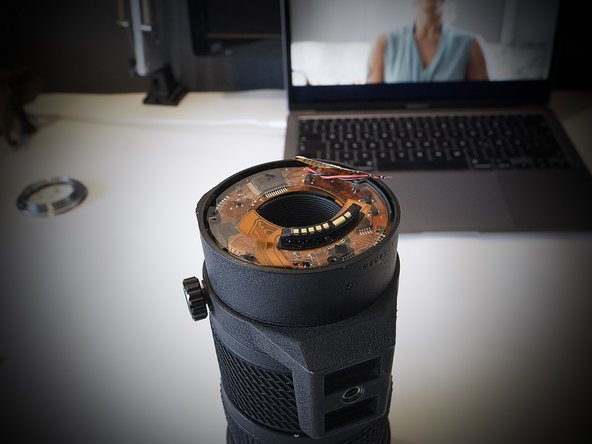
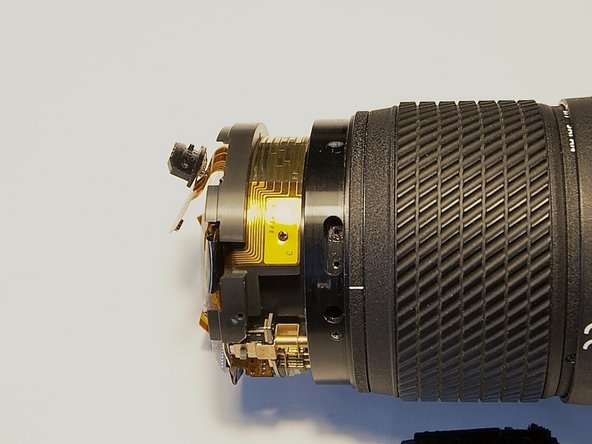
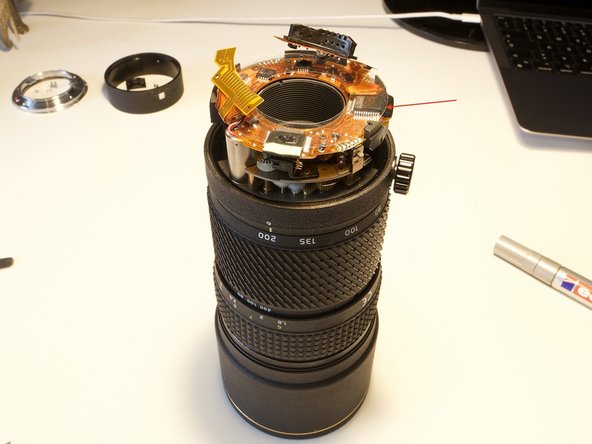
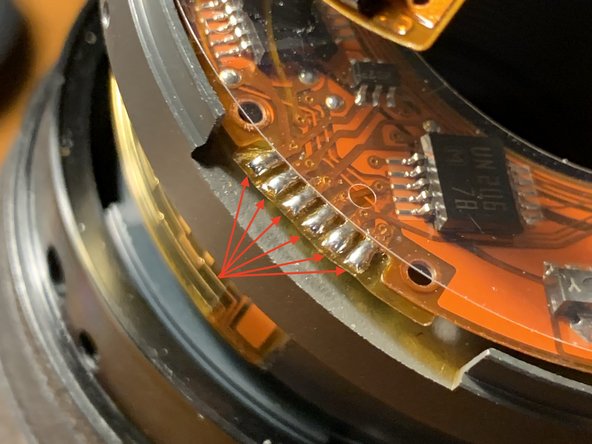
- desolder these six joints.
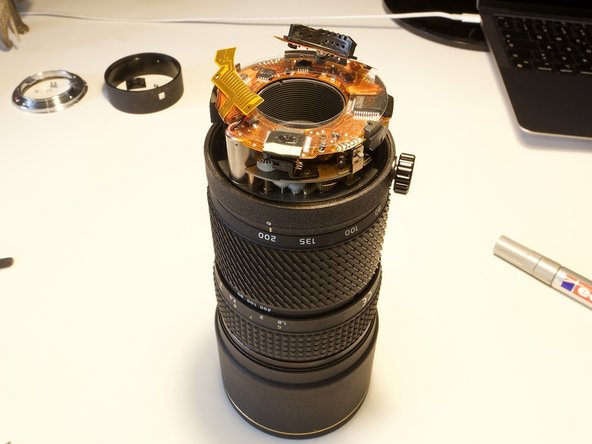
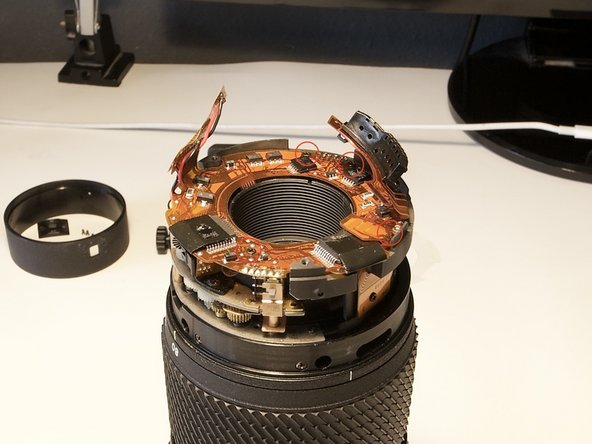
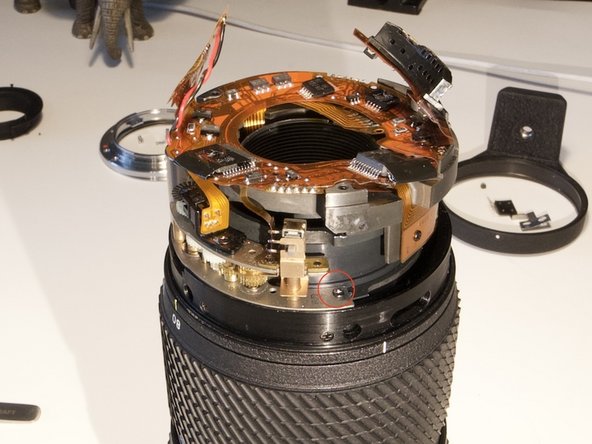
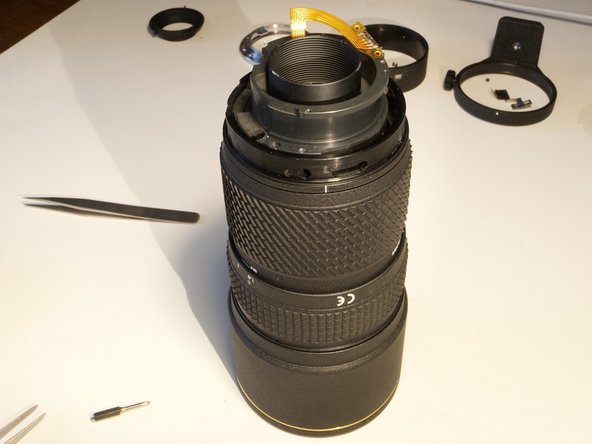
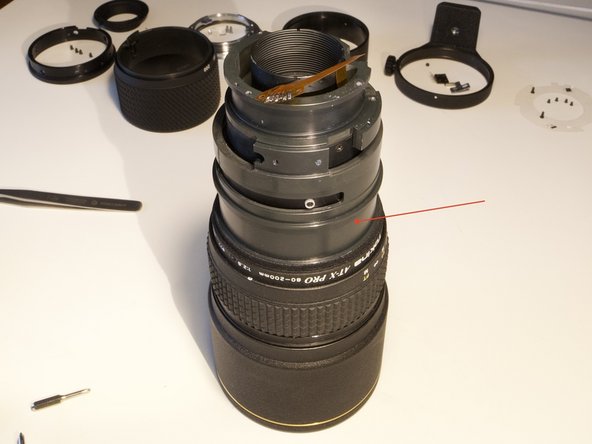
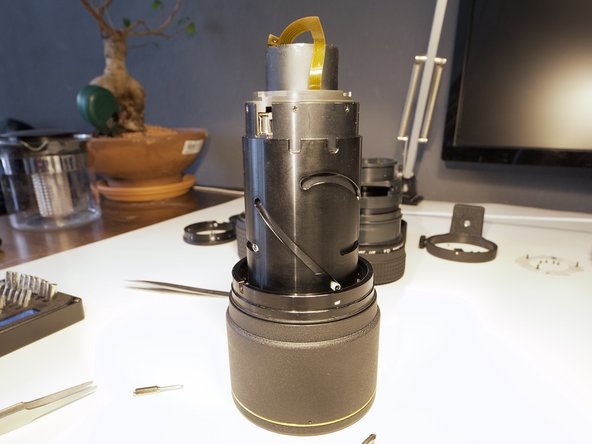
- keep a lot of attention for that loosen flexibel printed circuit (FPC). It leads to the shutter inside the lens. So be careful not to damage it. Otherwise the shutter won't work!
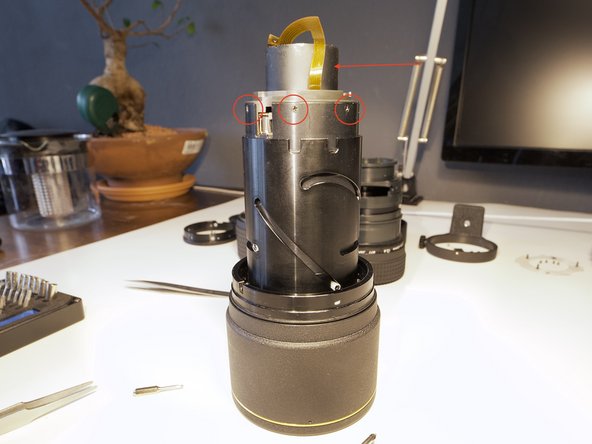
- bit: PH0
- quantity: 3
- screws No. 9
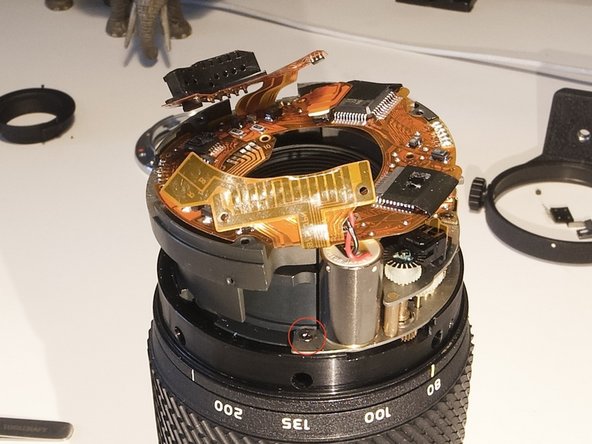
- item 11
- Under the FPC ring you'll find the screws. Be careful not to damage the FPC!
- Loose item 11
- bit: PH0
- quantity: 2
- screws No. 10
- item 11
- Now, remove item 11.
- item 12
- remove item 12
- bit: PH0
- quantity: 3
- screws No. 11
- item 13
- remove item 13
- bit: PH0
- quantity: 6
- screws No. 12
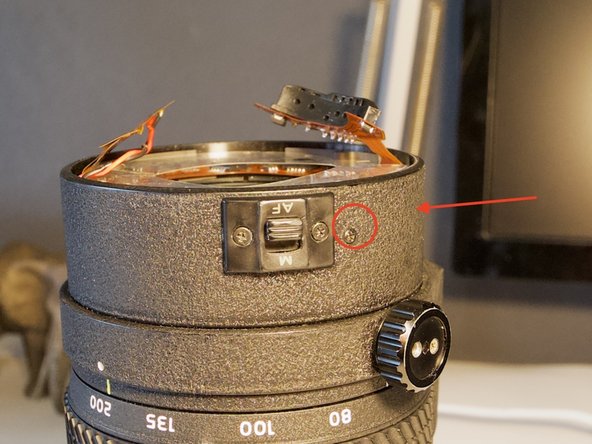
- item 14
- You do not have to loosen the screw in the notch.
- remove item 14
- bit: PH0
- quantity: 4
- screws No 13
- item 15
- bit: PH0
- quantity: 2
- screws No. 14
- item 16
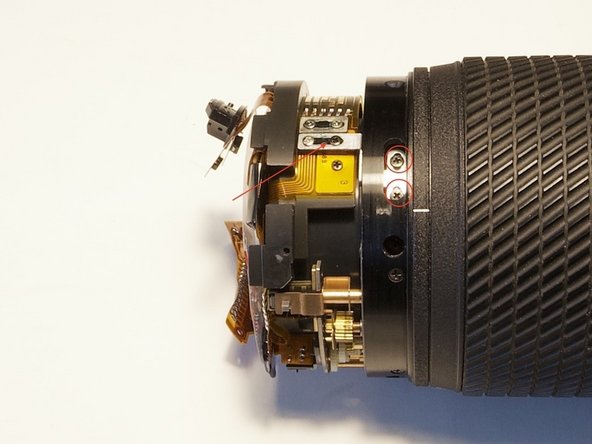
- bit: 2
- quantity: 2
- screws No. 15
- item 16
- remove item 16
- bit: PH0
- quantity: 6
- screws No. 16
- item 17 & 18
- separate item 17 from 18
- bit: PH0
- quantity: 4
- screws No. 17
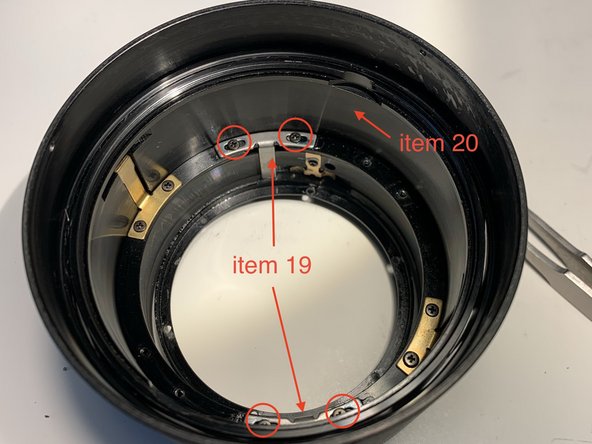
- item 19 & 20
- remove item 19
- then remove item 20
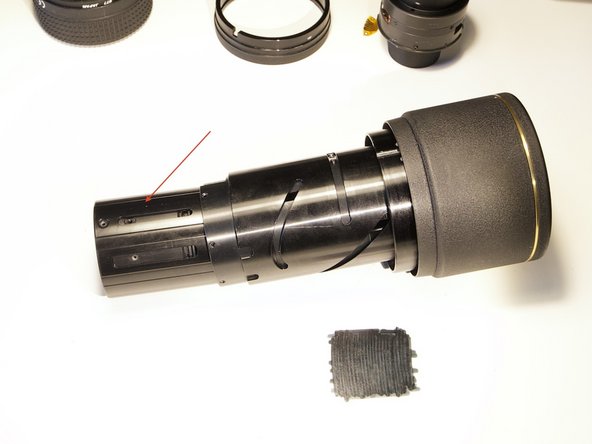
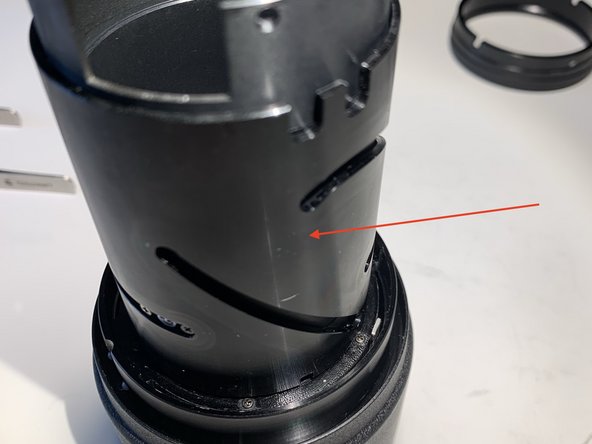
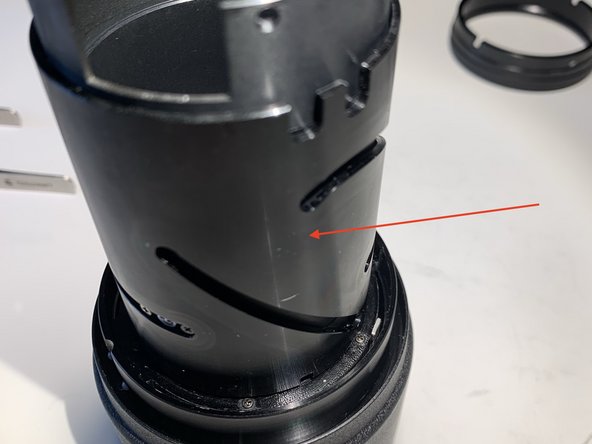
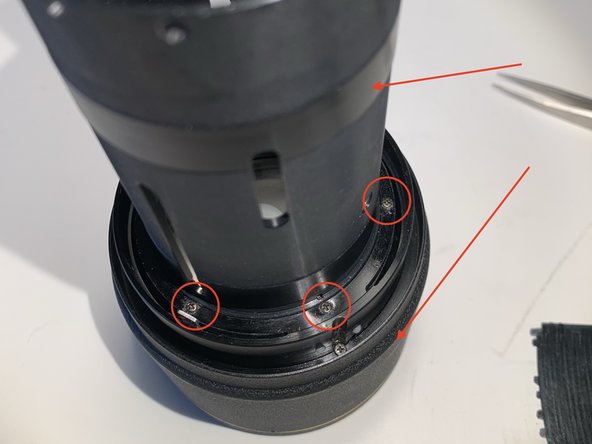
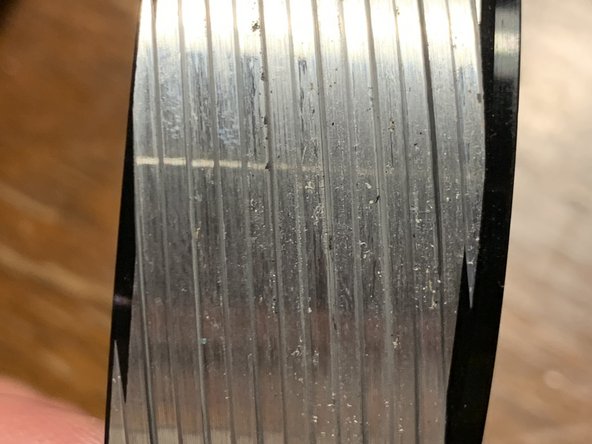
- As you can see on the picture there is a lot of dirt in the winding of item 20. Also there were some sand particles. These damaged the windings so that I had to sand it. Be sure to clean it in detail afterwards and do not apply any grease or oil because it would increase the rotating force. That will impact the autofocus mechanism badly.
- After you cleaned the focus ring, check whether item 20 rotates smoothly. If not you could clean it, too. But that means a lot of additional work because there are nearly 100 bearing balls.
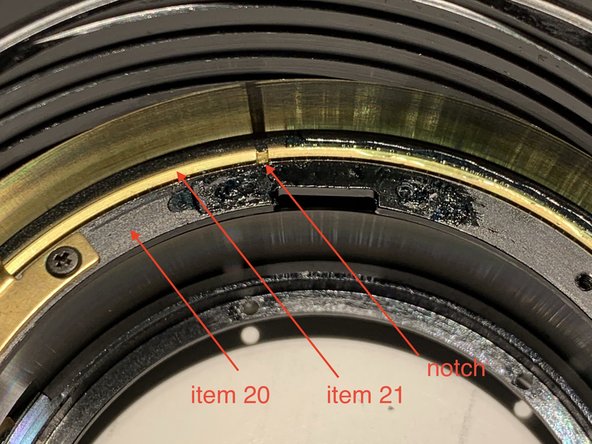
- item 21 is fixed with loctite to item 18. Use a cutter knife or similar to cut it.
- grab item 21 at the two notches and rotate it counterclockwise to remove it.
- Now item 20 is also loosened. Before you remove it be sure that the bearing balls that will fall out will not fall from your desk.