Surface Laptop Studio Headphone Jack Replacement
ID: 160312
Description: This guide will show you how to replace the...
Steps:
- Remove the rubber cosmetic strip along the outside edge of the back plate with tweezers.
- Use a hair dryer to lightly heat the rubber feet to soften the adhesive securing them to the case.
- Remove the two rubber feet on the lower case with an opening tool.
- If you intend to reuse the rubber feet, take care not to warp, stretch, or tear them during removal.
- Remove the two screws with a T3 Torx screwdriver.
- Remove the seven screws securing the lower case with a T3 Torx screwdriver.
- Lift the lower case gently and set it above the device.
- Take care not to strain the battery cable as you move the lower case.
- Disconnect the battery cable by lifting the pull tab until it "clicks."
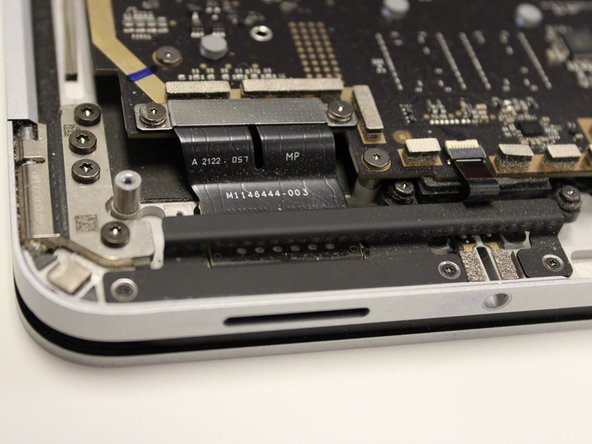
- Remove the left I/O bracket by unscrewing the the 3 M1109237 Screws with your T3 Torx screwdriver.
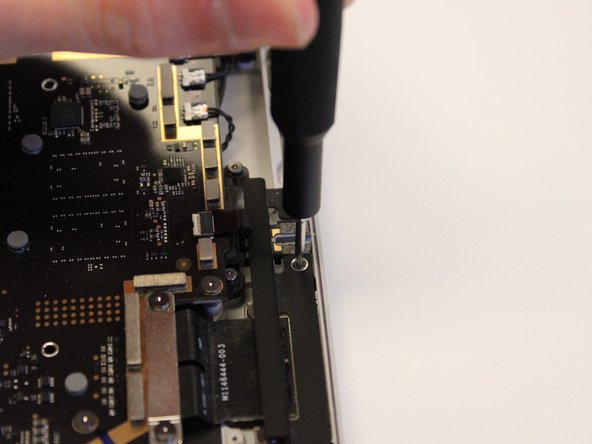
- Remove the two M1168360 screws on the headphone jack with your T3 Torx screwdriver.
- Flip up the headphone jack's ZIF connector locking flap.
- Remove the ribbon cable from the port.
- Lift the headphone jack up and out with your tweezers.