Whirlpool WED87HED Dryer Control Panel Replacement
ID: 160327
Description: Use this guide to replace the control panel of...
Steps:
- Before you begin your repair, unplug your dryer.
- Your power cord may have four prongs rather than three. The additional prong is a ground connection.
- Throughout this guide, keep track of each screw and reinstall it exactly where it came from.
- Use a 5/16 inch nut driver to remove the two 15.7 mm-long screws securing the top panel to the rear panel bracket.
- Grasp the top and slide it 1/2 to 1 inch toward the rear of the machine.
- Lift the top panel upward to separate it from the chassis.
- Remove the top panel from the machine.
- Disconnect the control panel cable from the main board.
- Disconnect the drum light connector.
- Use a 1/4 inch nut driver to remove the two 16.3 mm‑long sheet metal screws located at each end of the control panel.
- Lift the control panel up and tilt it away from the chassis to remove it.
- Make sure to thread the cable through the hole in the chassis.
- During reassembly, thread the cable through its proper hole before reinstalling the control panel.
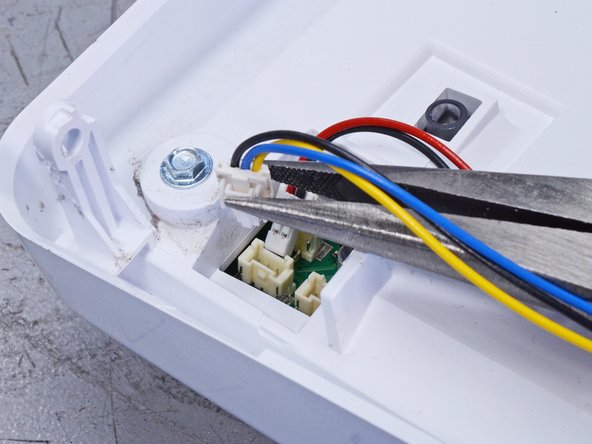
- Disconnect the wiring harness connectors.
- Lay the control panel down on a towel or other soft surface to perform the next few steps.
- Use a 1/4 inch nut driver to remove the six 21.4 mm‑long screws which secure the front control board to its housing.
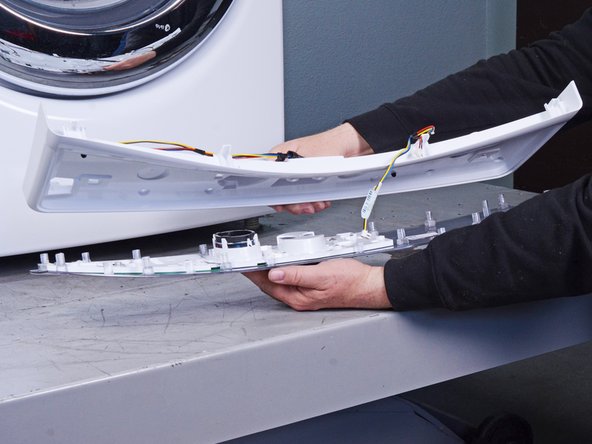
- Lift up the back plate off the control panel and remove it.
- The control panel is a circuit board attached to a face plate. Replace the entire unit if possible.