Google Pixel Watch Screen Replacement
ID: 160350
Description: Use this guide to replace a cracked, broken, or...
Steps:
- Before starting repairs, turn off your watch and take it off the charger.
- Remove the watch band by pressing the band release button and sliding the band over the button while pulling it away from the watch.
- Repeat for the other watch band.
- Heat an iOpener and apply it to the screen for about two minutes to soften the adhesive securing the screen.
- A hair dryer, heat gun, or hot plate may also be used, but be careful not to overheat the watch—the screen and internal battery are both susceptible to heat damage.
- The thin seam between the frame and screen requires a thin metal tool—take your time and work carefully to avoid scraping or gouging the watch body or glass.
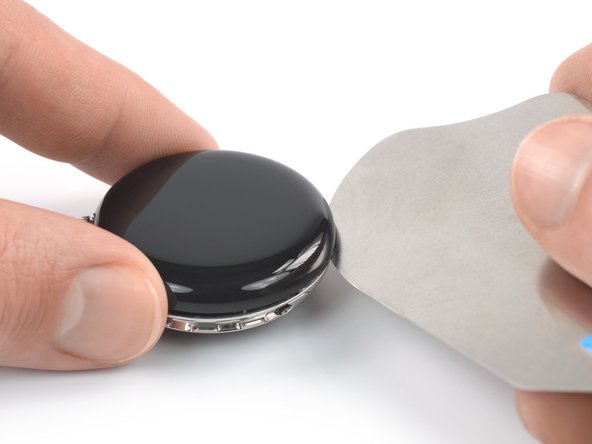
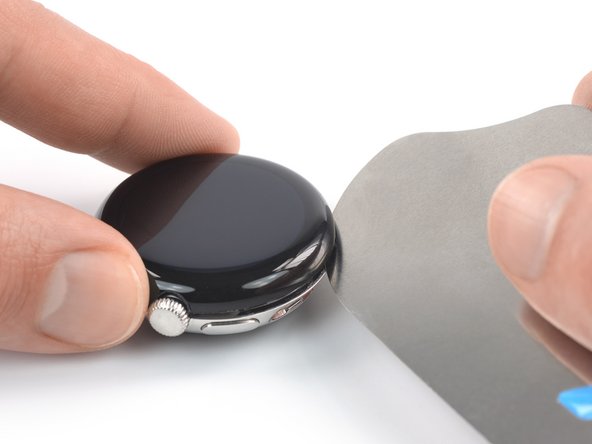
- Insert an iFlex into the thin gap between the screen and frame, left of the digital crown.
- When slicing the screen adhesive, insert the iFlex no deeper than 3 mm to prevent damaging internal components.
- Slide the iFlex around the entire perimeter of the watch to slice all of the screen adhesive.
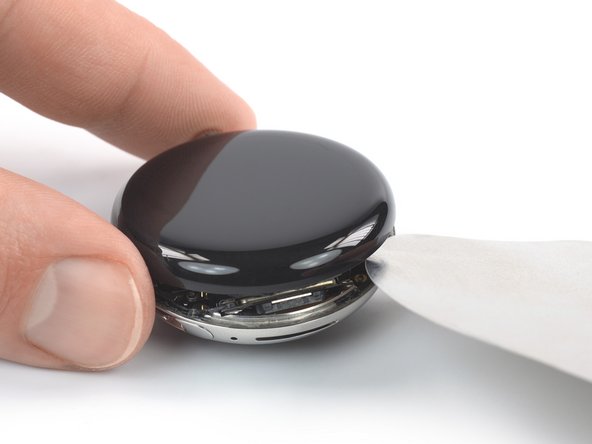
- Remove the iFlex and reinsert it under the screen, to the right of the speaker grille.
- Twist the iFlex to pry the screen up.
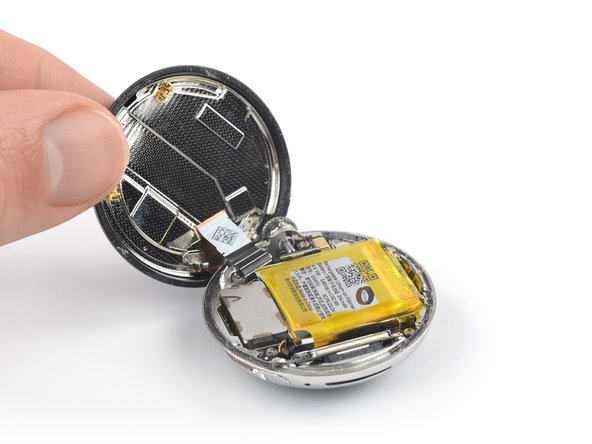
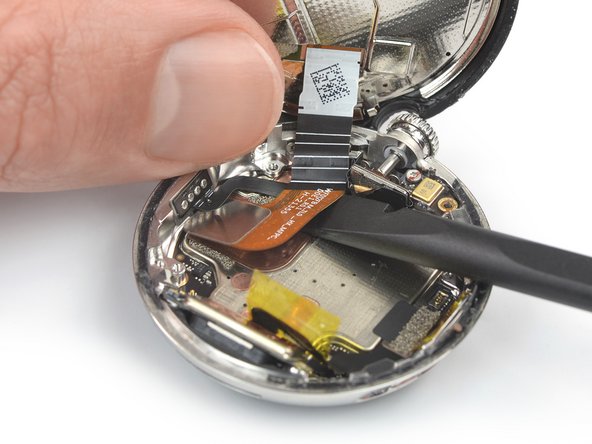
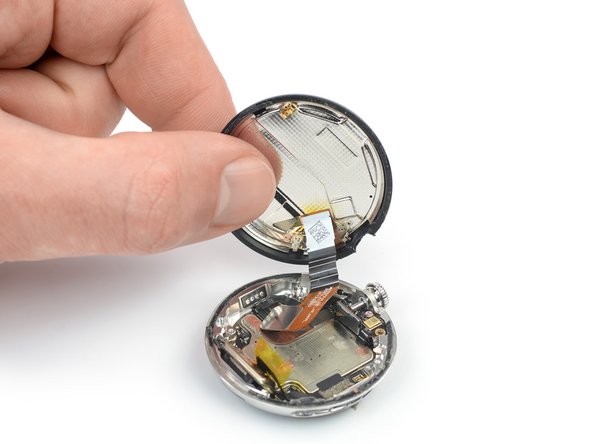
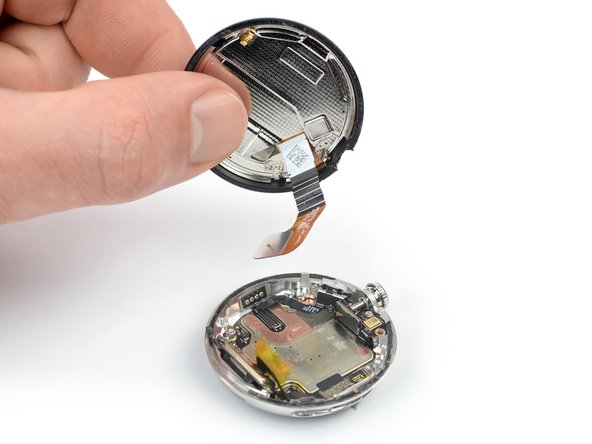
- Don't try to fully remove the screen just yet, as it‘s still connected to the watch assembly by a delicate cable.
- Be careful not to strain the screen assembly cable when you open the display.
- Swing the screen open to an upright position.
- During reassembly, this is a good point to power on your device and test all functions before sealing it up. Be sure to power it back down completely before you continue working.
- Throughout this repair, keep track of each screw and make sure it goes back exactly where it came from.
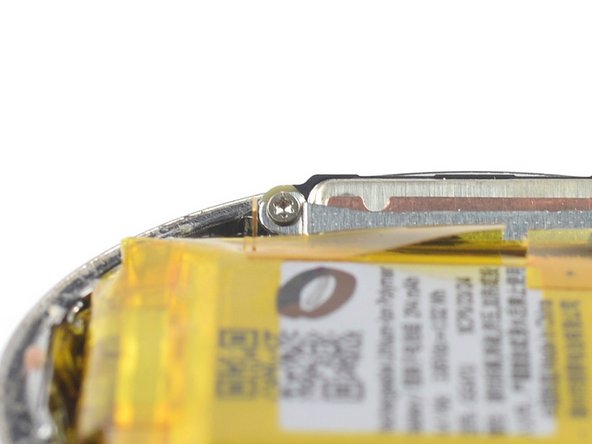
- Use a Torx T2 screwdriver to remove the 2.1 mm-long screw securing the speaker bracket.
- Take care not to puncture or bend the battery with sharp tools—it can leak dangerous chemicals or catch fire.
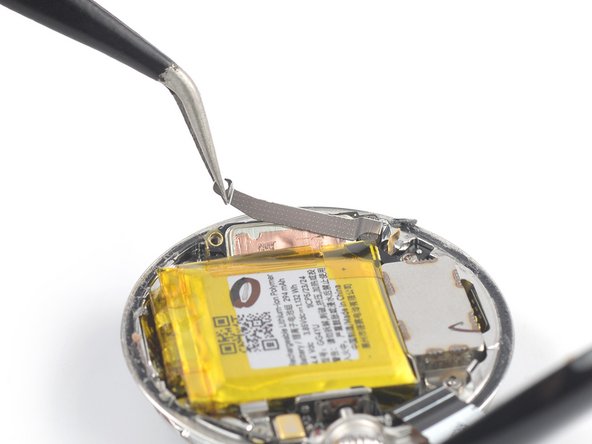
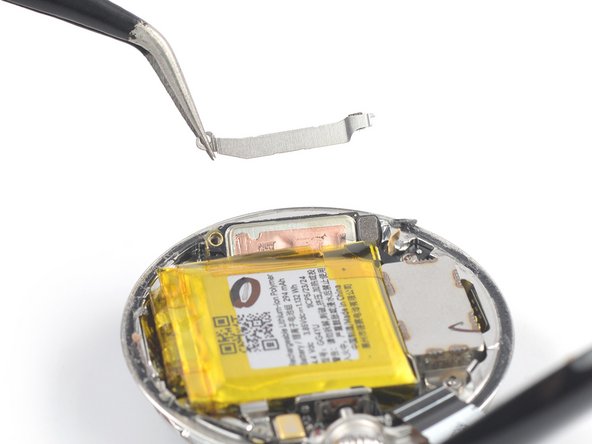
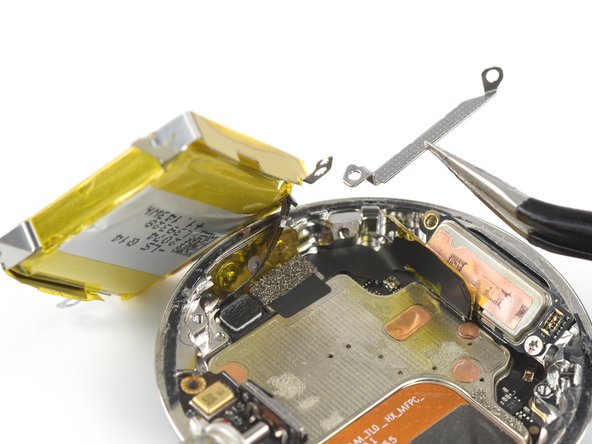
- Use a pair of tweezers to remove the speaker bracket.
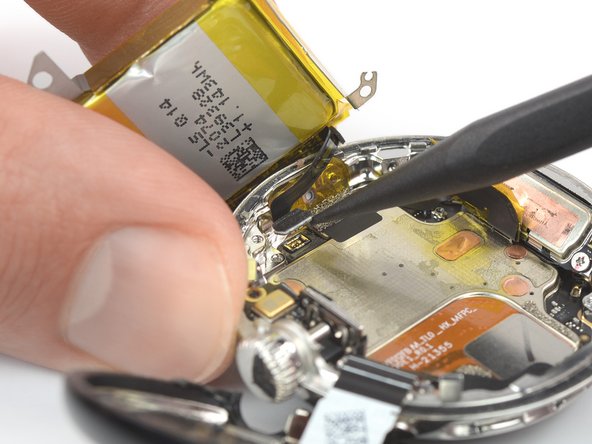
- Use the point of a spudger to pry up and disconnect the vibration motor‘s press connector.
- To re-attach press connectors like this one, carefully align and press down on one side until it clicks into place, then repeat on the other side. Do not press down in the middle. If the connector is misaligned, the pins can bend and cause permanent damage.
- Be careful with sharp tools around the battery.
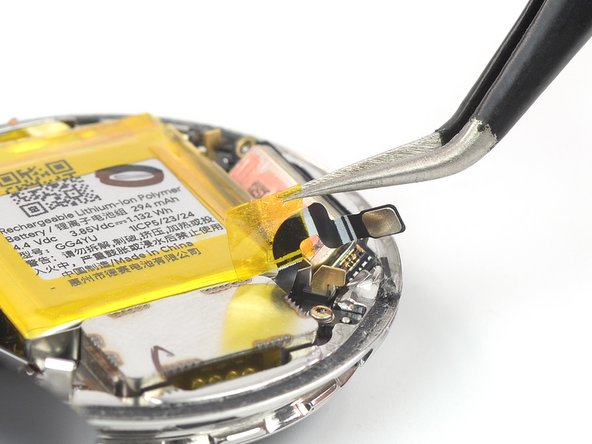
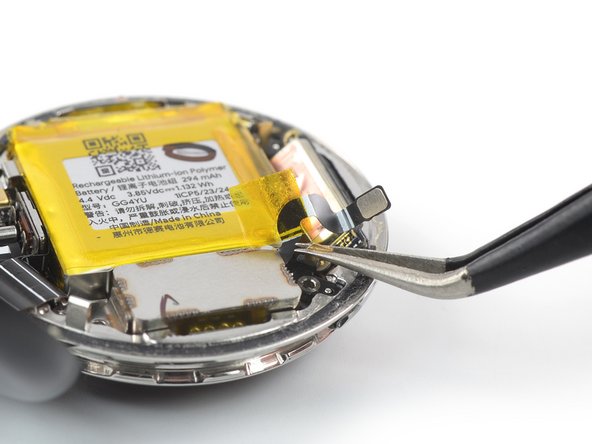
- Use tweezers to peel up the yellow tape securing the vibration motor cable to the battery.
- Use a Torx T2 screwdriver to remove the two screws securing the vibration motor:
- One 1.8 mm-long screw
- One 2.8 mm-long screw
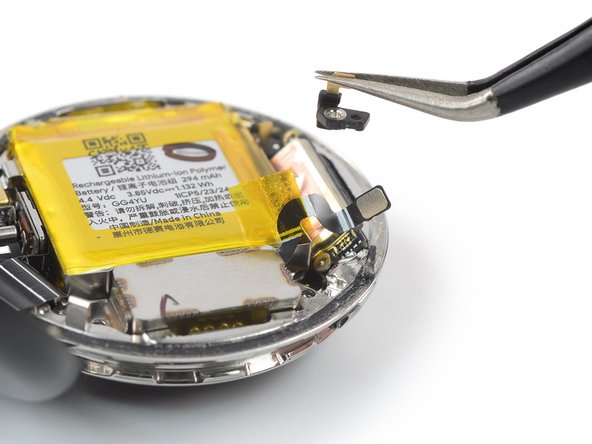
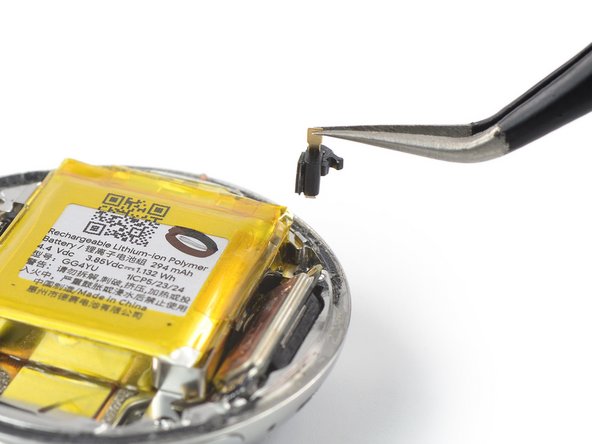
- Use tweezers to lift the grounding bracket out of its recess and remove it.
- Remove the vibration motor.
- Use a Torx T2 screwdriver to remove the two 3 mm-long screws securing the battery bracket.
- Use tweezers to lift the grounding bracket out of its recess and remove it.
- Take care not to puncture or bend the battery with sharp tools—it can leak dangerous chemicals or catch fire.
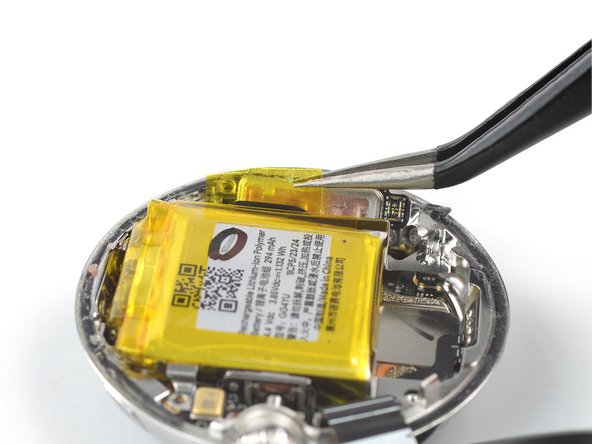
- Use tweezers to peel up the yellow tape from the edge of the battery, next to the speaker.
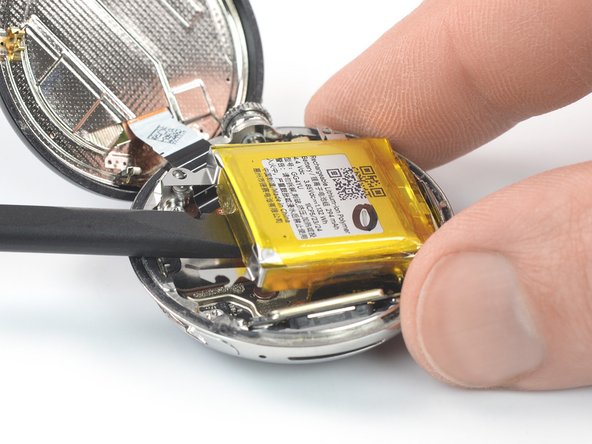
- Slide the flat end of a spudger under the edge of the battery where the vibration motor was.
- Pry up the battery until you can grip it with your fingers.
- The battery is held in place by mild adhesive. If you're struggling to pry up the battery, apply a heated iOpener to the bottom of the watch for about 2 minutes to loosen the adhesive. Don't apply the iOpener directly to the battery.
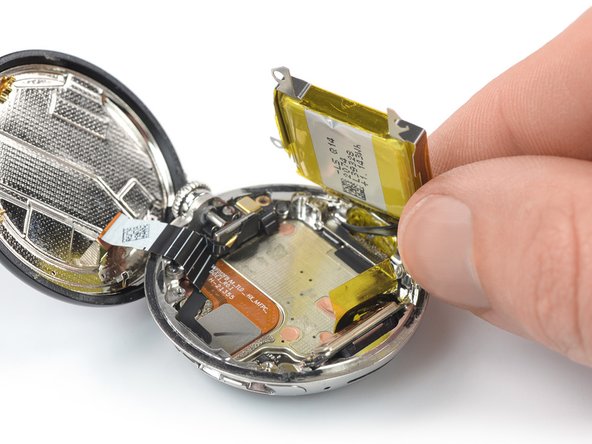
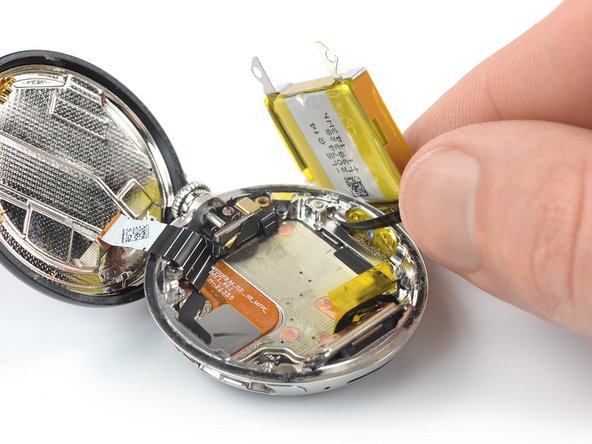
- Don't try to remove the battery all the way yet, as it‘s still connected to the watch assembly by a delicate cable.
- Avoid straining or tearing the battery cable when moving the battery.
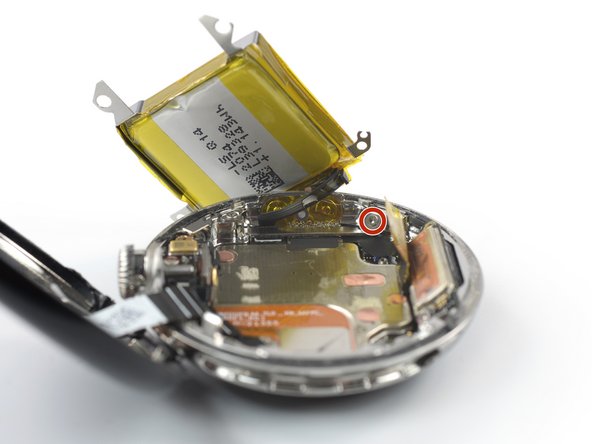
- Carefully place the battery next to the watch to access the battery connector bracket.
- Use a Torx T2 screwdriver to remove the two 1.5 mm-long screws securing the battery connector bracket.
- Use tweezers to remove the battery connector bracket.
- Use the point of a spudger to disconnect the battery cable by prying the connector straight up from its socket.
- Remove the battery.
- Never reuse a deformed or damaged battery—it's a fire hazard. Replace it with a new battery.
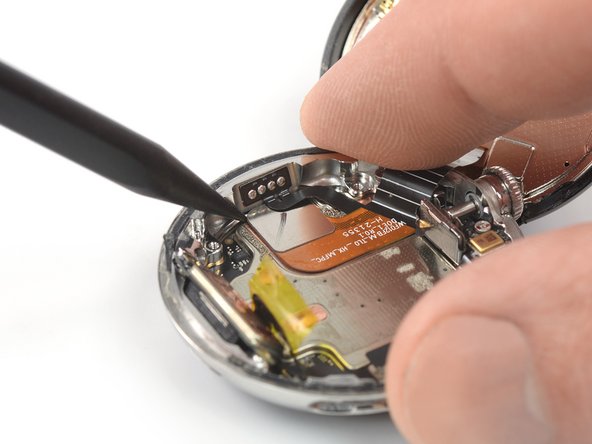
- Note: The screen assembly cable is threaded underneath the test port cable.
- Avoid straining or tearing the test port cable in the following steps.
- Use the point of a spudger to disconnect the screen assembly cable by carefully prying the connector straight up from its socket.
- The screen assembly cable is secured by light adhesive.
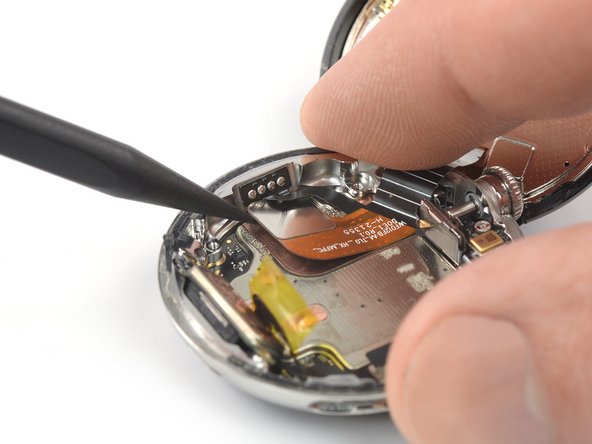
- Slide the flat end of a spudger underneath the screen assembly cable to loosen its adhesive and detach it from the watch frame.
- Carefully pull the screen assembly cable out from underneath the test port cable.
- Remove the screen assembly.
- During reassembly, apply new adhesive where it's necessary after cleaning the relevant areas with high-concentration isopropyl alcohol (>90%).
- After installing the screen, apply strong, steady pressure for several hours to help the adhesive form a good bond—a stack of heavy books works well.