HP Spectre x360 13-aw0xxx Charging Port Replacement
ID: 160407
Description: This guide recommends replacing the motherboard...
Steps:
- Use two opening tools, one on either side of the battery plug, to slowly pull the plug straight out of its port.
- Alternatively, use your fingernails.
- Use a Phillips #00 screwdriver to remove the six 2.5 mm screws securing the battery.
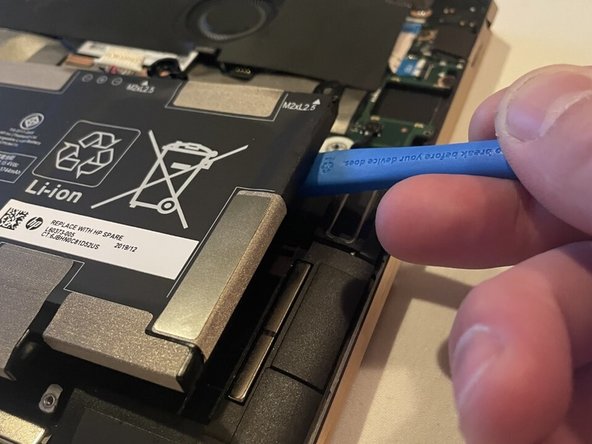
- Carefully lift the edge of the battery with an opening tool.
- Lift the battery up and out.
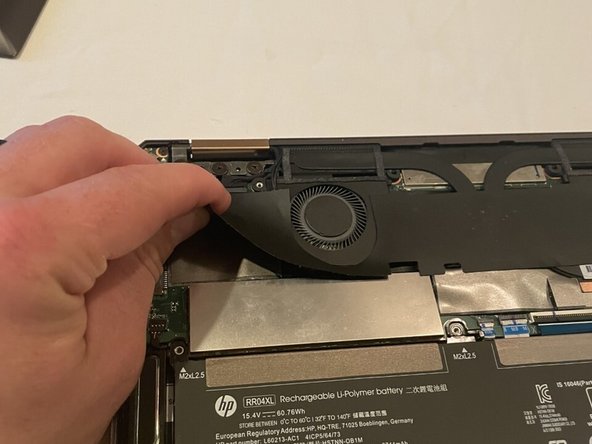
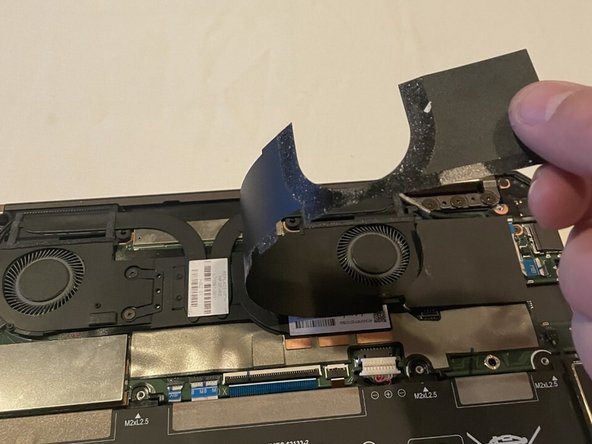
- Remove the black film around the fans.
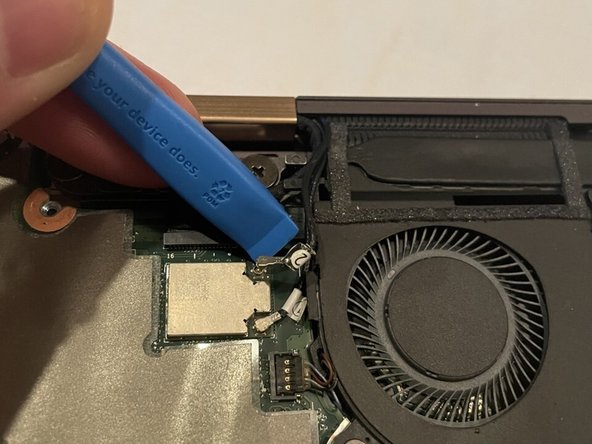
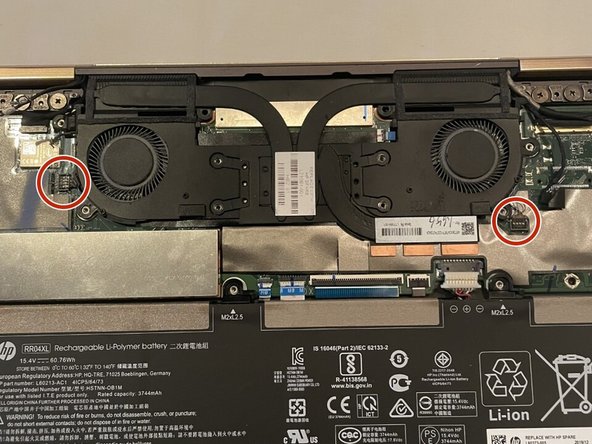
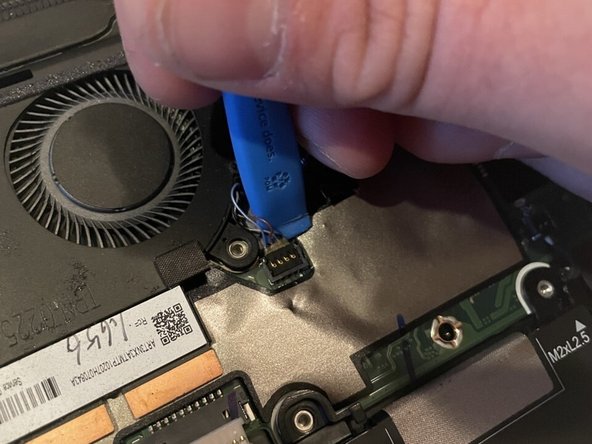
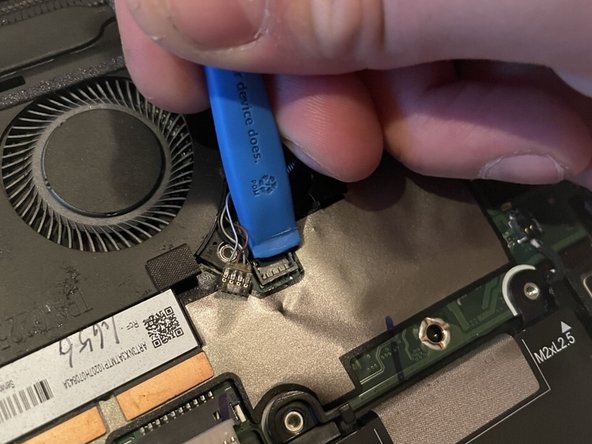
- Remove the two Wi-Fi card antenna wires using a small pry tool.
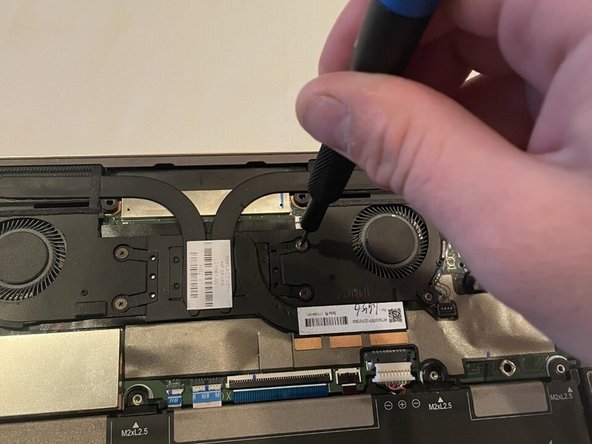
- Remove the eight 3 mm Phillips #00 screws securing the fan assembly.
- Disconnect the two fan cables using a small pry tool.
- Be sure not to rip the wires, as they are fragile. It may help to slightly pry on the fans while disconnecting the wires, so the pry bar has enough room.
- Use an opening tool to gently lift the edge of the fan assembly.
- Lift the fan assembly up and out.
- Remove the eight 3 mm screws securing the motherboard using a Phillips #00 screwdriver.
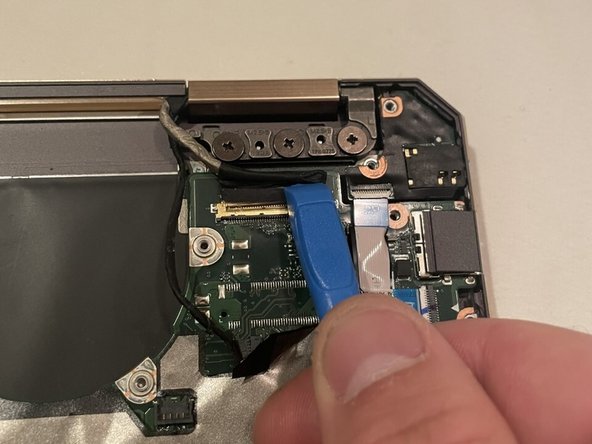
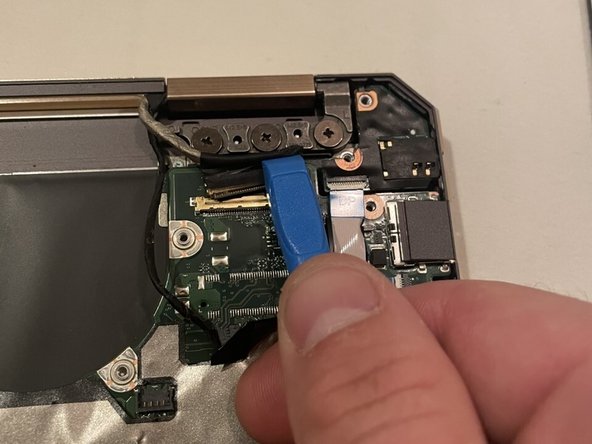
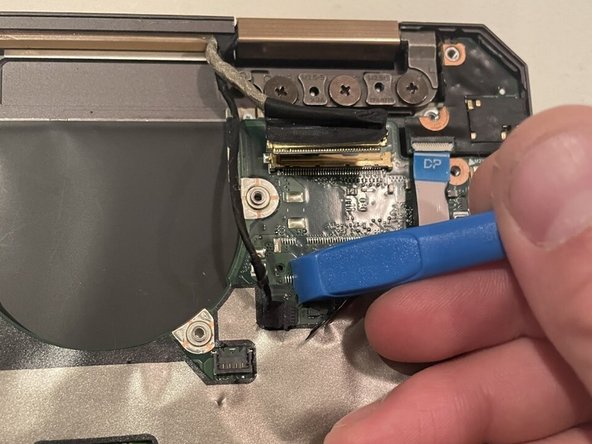
- Disconnect the display cable from the motherboard using a small pry tool.
- Disconnect the smaller flip screen sensor cable from the motherboard.
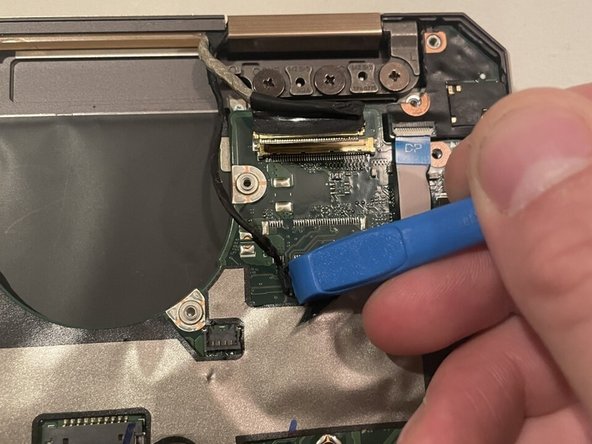
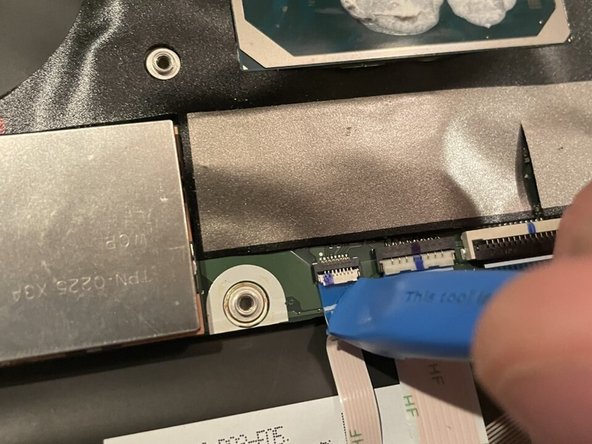
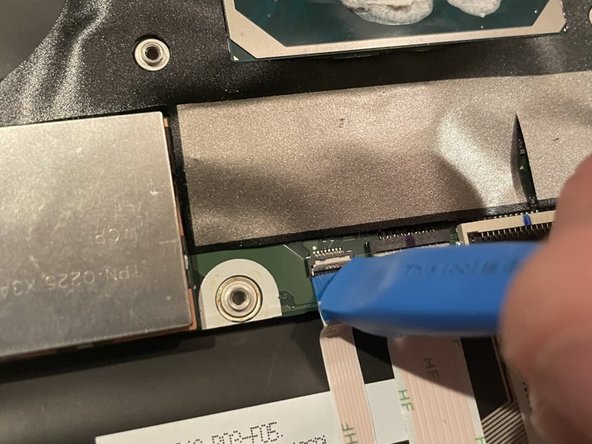
- Flip the ZIF connector lock bars up to release the ribbon cables.
- Remove the ribbon cables.
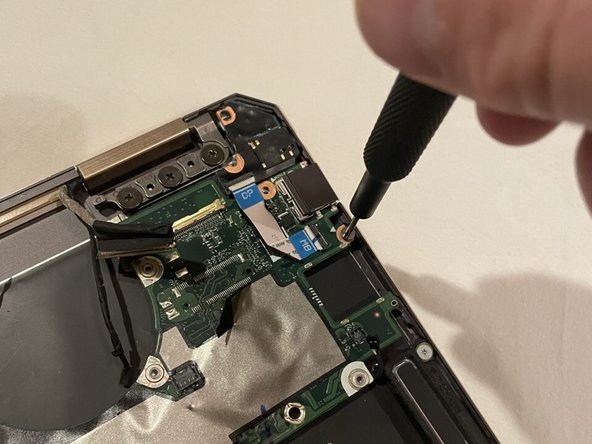
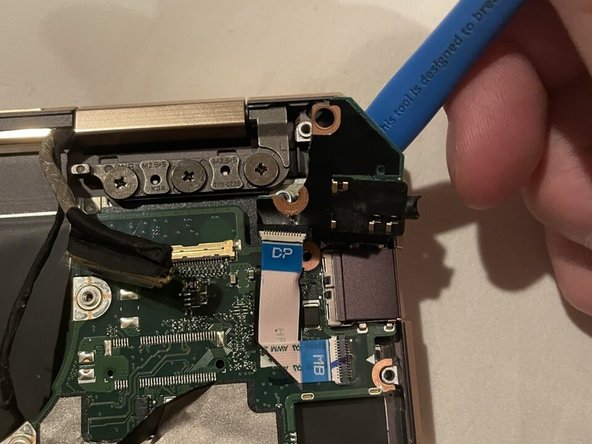
- Start removing the I/O board by removing the piece in the upper right corner (opposite the charging port side).
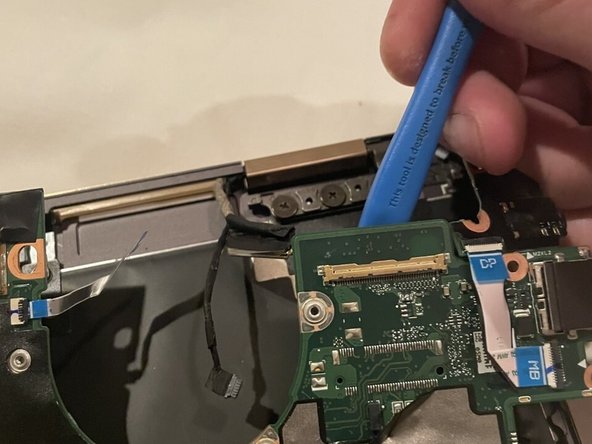
- Use a small opening tool to remove up the I/O board from the body.
- Using a small pry tool lift up on the larger portion of the motherboard to remove it from the body of the laptop.
- The motherboard will be free from the laptop body and the new charging port and motherboard can be inserted.