Vicks FilterFree Plus Touchpad Motherboard Replacement
ID: 160422
Description: If the capacitive buttons on the front of your...
Steps:
- Ensure the device is clear of water before disassembling.
- Orient the device so the nozzle is facing the ceiling.
- Twist off the primary water holding cap.
- Place the device upside down so that the tank cap is facing you.
- Use your hands to twist the tank cap and remove it from the device.
- Remove the three screws from the base of the device using a T20 Torx screwdriver.
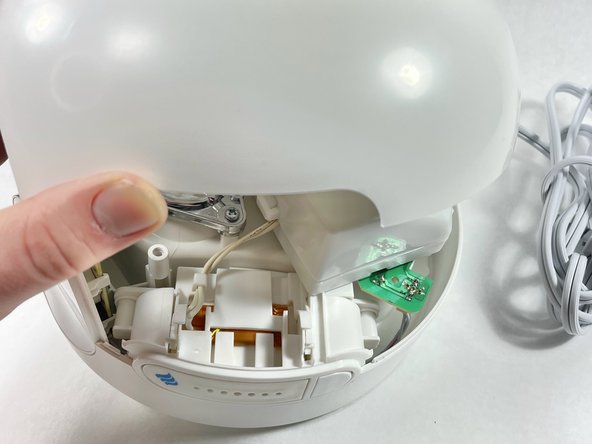
- Remove the base of the humidifier to access the components.
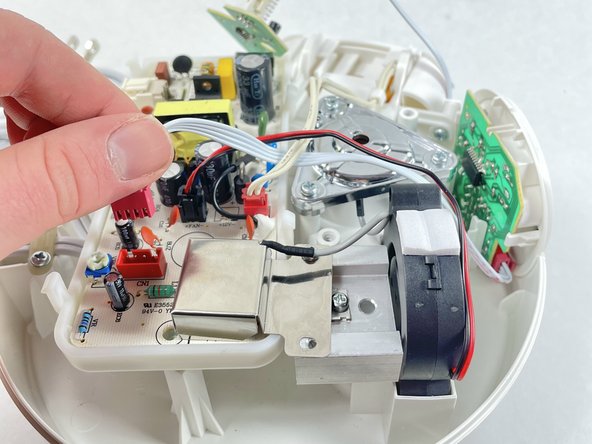
- Gently remove the inner shield for the primary board to access the wiring for the humidifier.
- When both wires are followed, one connects to the central hub and the other connects to another smaller circuit board. In order to get to the smaller circuit board, the central one needs to be unscrewed.
- Remove both screws using a Phillips #1 screwdriver.
- Lift up the central circuit board.
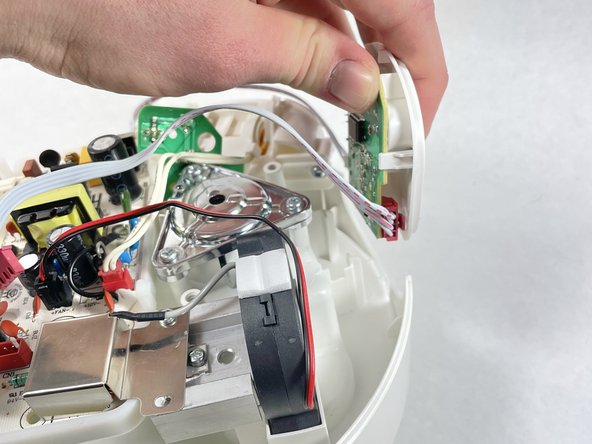
- Once the central circuit board is lifted, the smaller one can be taken from its holster.
- After the smaller board is taken out, the wire connecting from the main board to the touchpad motherboard can now be unclipped.
- Remove the smaller circuit board and the touchpad motherboard.