Neato BOTVAC CONNECTED Side Wheel Replacement
ID: 160488
Description: In this guide you will be able to replace the...
Steps:
- Place the top of the Neato Botvac Connected against a flat surface.
- Remove the two 5.5 mm screws with a Phillips #2 screwdriver.
- Using the spudger, remove the panel covering the battery.
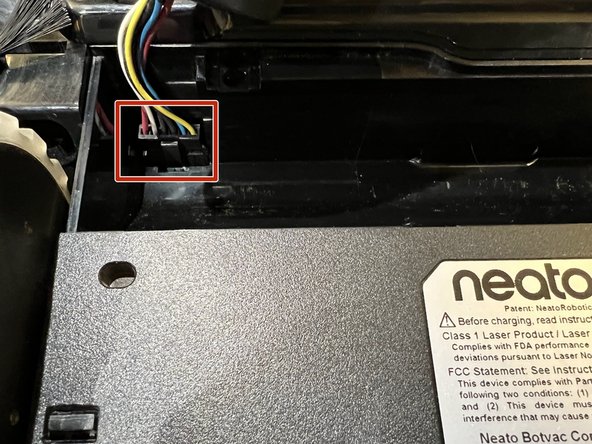
- Gently remove the connecting wires attached to the battery.
- The wires are attached to the vacuum through a clip.
- Using the spudger, gently remove the battery from the device.
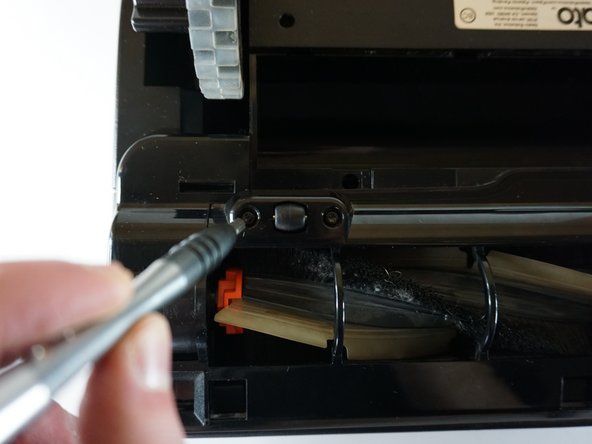
- Remove the following screws with a Torx screwdriver:
- Four 2.3 mm screws.
- Gently remove the thin panel held by the four screws with a spudger.
- Gently remove the two small wheels, and the axles attached to them.
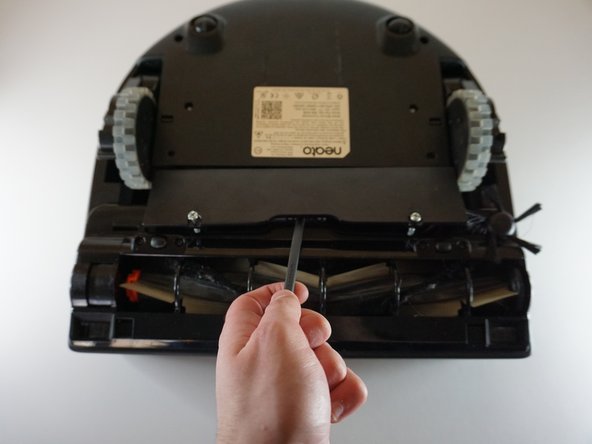
- Gently remove the panel that is on top of the front roller with the spudger.
- Gently remove the front brush.
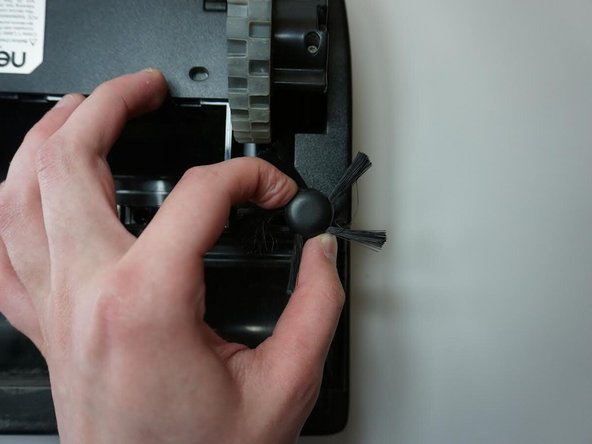
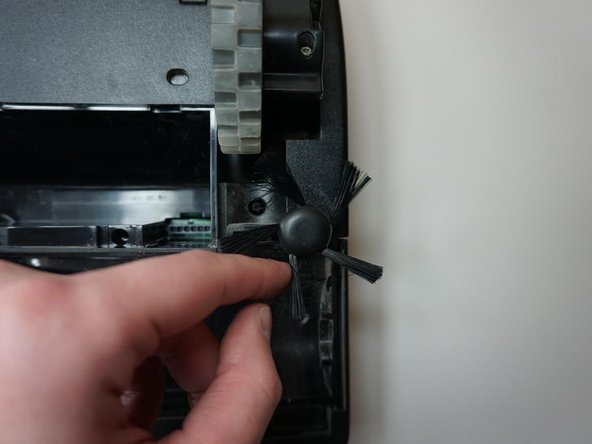
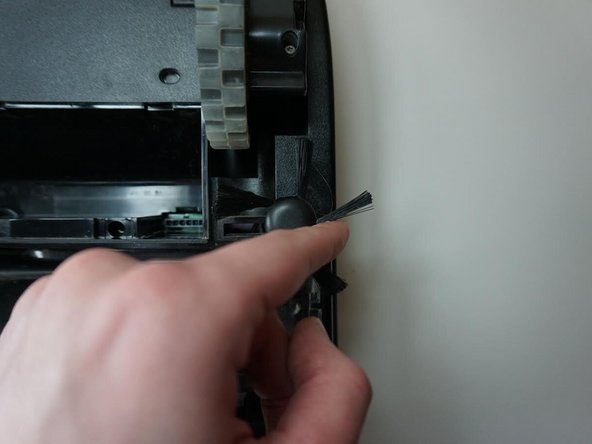
- Gently twist the side brush back and forth.
- Spin the side brush counter counterclockwise.
- Use the spudger to gently pry up and remove the side brush.
- Flip the cleaner around and locate the front panel.
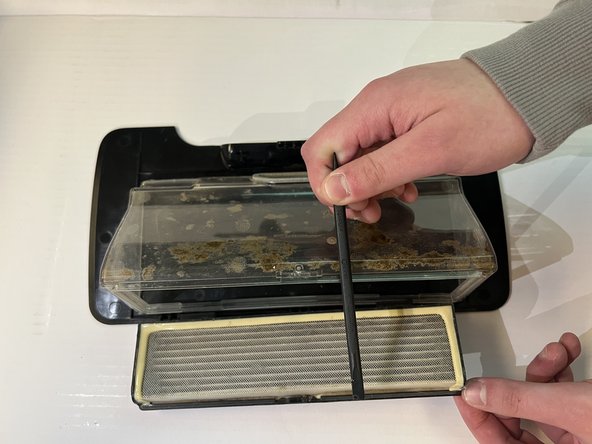
- Gently remove the front panel by opening it with a spudger.
- Use the spudger to gently remove the paper filter.
- Remove the following screws with a TR10 Torx screwdriver:
- Six 2.3 mm screws.
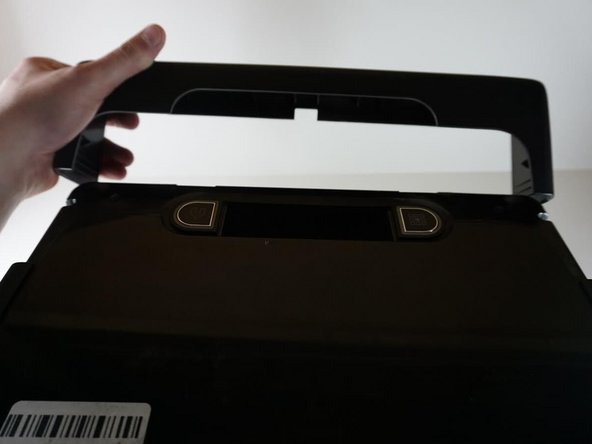
- Remove the front bumper by pulling it horizontally on each side.
- Remove the screw that is directly attached to the wheel on the side using a Phillips #2 screwdriver.
- Remove the two 2.3 mm screws on the front of the vacuum with a TR10 Torx screwdriver.
- Remove the layer below the front bumper by pressing firmly on the two levers located nearby.
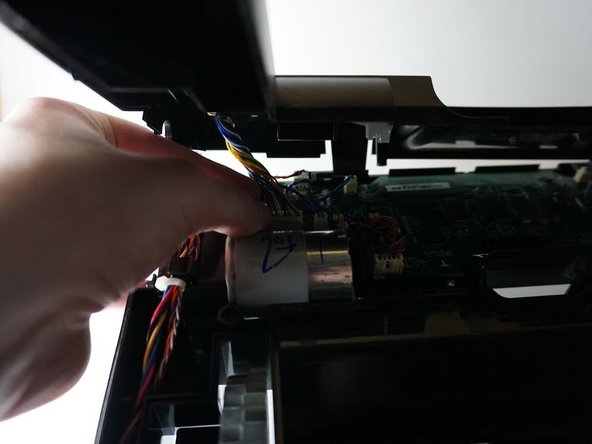
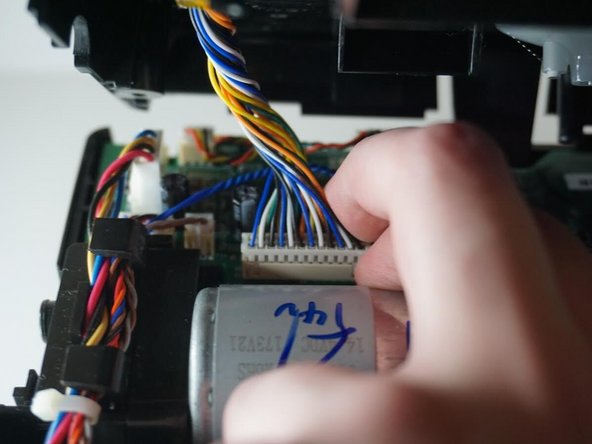
- Gently take out the top panel, and take out the connecting wires.
- Remove the following screws with a TR10 Torx screwdriver:
- Two 2.3 mm screws.
- Flip around the vacuum and remove the wheel with the spudger.