Beats Studio3 Wireless Left Driver Assembly Replacement
ID: 160552
Description: Use this guide to replace the speaker on your...
Steps:
- Find the separation between the headset and ear cushion.
- Use an opening tool to go underneath the separation site and split the pieces apart.
- You can also use your hands to remove it completely.
- Pulling it off can be challenging; make sure to apply enough pressure.
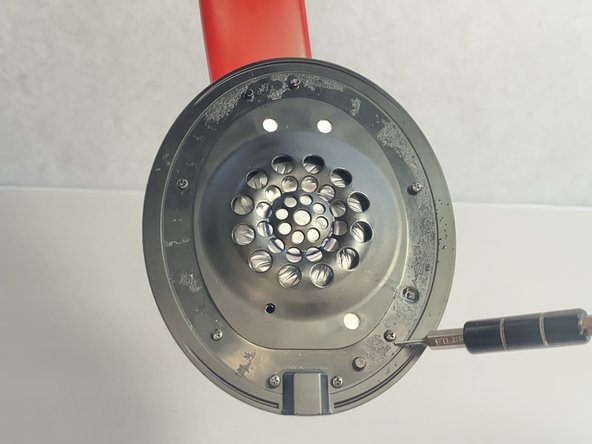
- Remove seven 3.6 mm screws holding the speaker assembly in place using a Phillips #0 screwdriver.
- Make sure the screws aren't close to the speaker; due to it being a magnet, the screws could get stuck and damage the speaker.
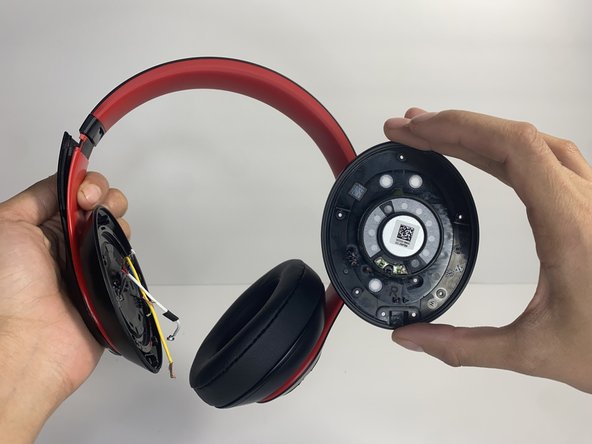
- Open the speaker by pulling the top layer of the speaker.
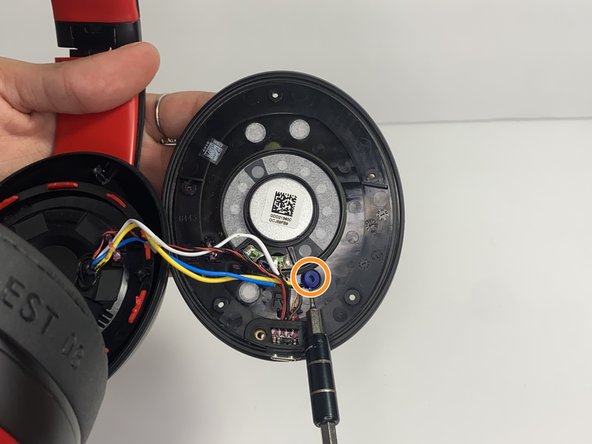
- With a heat gun or hair dryer, heat the glue that is sticking the wires down until the glue softens.
- Use a nylon spudger to remove the glue.
- Pull on the wire to remove it while also removing the blue rubber band.
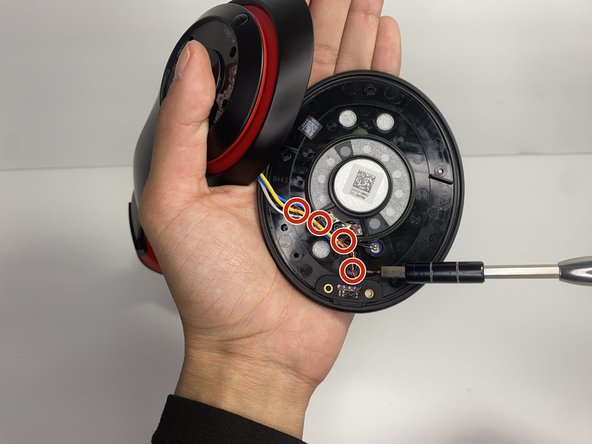
- Using a soldering iron to remove the cables on the charger port.
- For help with soldering, check out the How to Solder and Desolder Connections guide.
- Remove the two wires connected in the middle of the speaker using a soldering iron.
- Remove the speaker from the headset.