Kingston HyperX CloudX Connection Cable Replacement
ID: 160744
Description: How to replace the connection cable on the King...
Steps:
- Remove the microphone from the headset.
- Remove the ear cushion on the earphone with the connection cable.
- Carefully tug the edges of the cushion and ensure no tearing occurs.
- Remove the four 11.2 mm screws securing the speaker plate to the earphone using a Phillips #2 screwdriver.
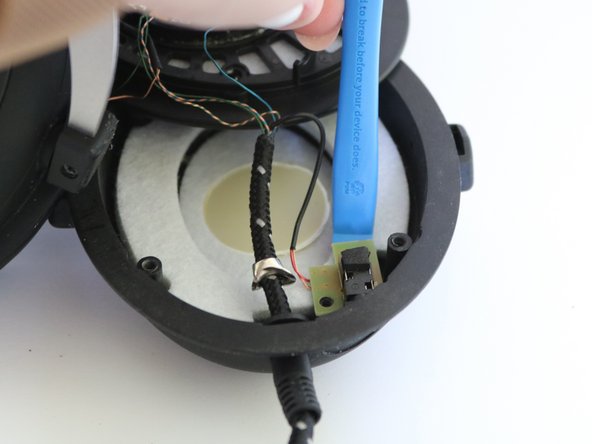
- Remove the two 6.1 mm microphone jack input screws using a Phillips #0 screwdriver.
- Gently place an iFixit opening tool under the microphone jack board, and remove the microphone jack insert.
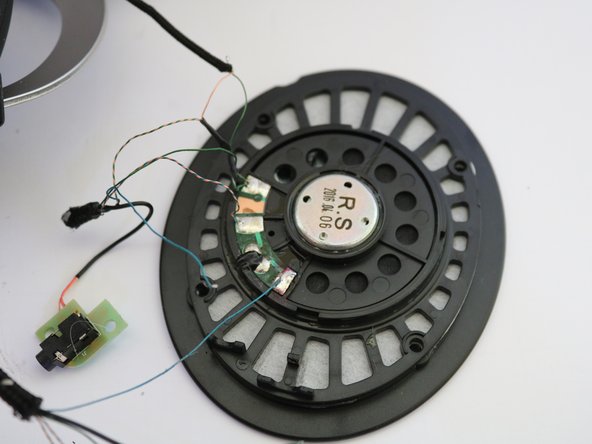
- Cut the old cable from the speaker approximately 1 inch below where they all meet to ensure they are still joined at the bottom using a pair of wire cutters.
- Keep the wires connected to the speaker; this will allow for easy cable color connection later.
- Remove the remaining old cable from the headset earphone insert.
- Run a new cable through the earphone insert to prepare for attachment to the speaker.
- Remove approximately 2 inches of the new connection cable protective sleeve using a pair of wire strippers.
- This will be the new connection to the speaker.
- To prevent unraveling of the protective sleeve, securing the edges using a heat gun is advised.
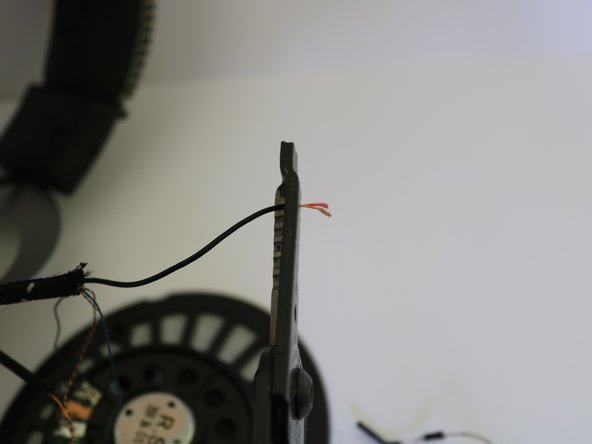
- Carefully remove approximately half of the wire insulation from the exposed cable from Step 4 using a pair of wire strippers.
- Ensure wires under the insulation are not damaged from this process.
- Carefully separate the wires by color.
- Adding super glue to the end of the protective sleeve is advised to prevent slippage.
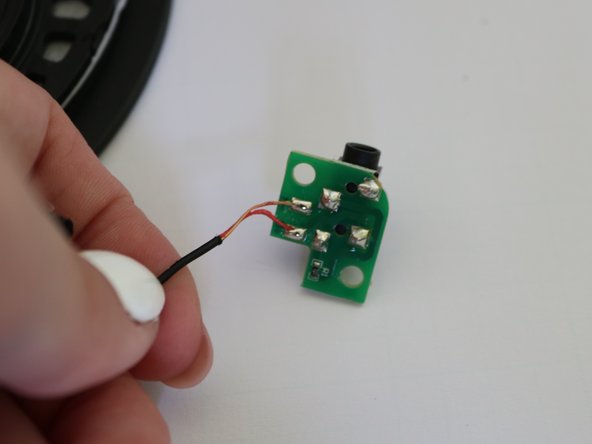
- Use a soldering iron to solder the edges of your new cable wires.
- Plug your new cable into a compatible device and check the wires are working by ensuring voltage using a multimeter.
- Desolder the old wire from the speaker and solder the new wire to the speaker with the same color until the old cable connection wires are completely removed and the new cable connection wires are soldered to the speaker.
- For more information on soldering, visit this guide.
- Wires from the rest of the headset tie into the orange and green wire.
- Solder the edges of the green and orange wires together.
- Cover the ends of the wires using heat shrink tubing.
- A black wire will be left; this is more insulation to protect two smaller wires that go to the microphone jack.
- Using wire strippers and solder, remove the insulation and follow the same color match and solder process from Step 7.
- Place heat shrink tubing on transition (insulation to protective sleeve) and heat with the heat gun until secured.
- Place the microphone jack input back into the earphone and re-screw using a Phillips #0 screwdriver.
- Place where the wiring will sit within the earphone.
- Optional: Using super glue, glue near the base, then pull the cord on the outside of the earphone away to make sure the glue secures the wire within the earphone insert.