Samsung Galaxy S20 FE 5G Rear Camera Lens Cover Replacement
ID: 160750
Description: Use this guide to replace a cracked rear camera...
Steps:
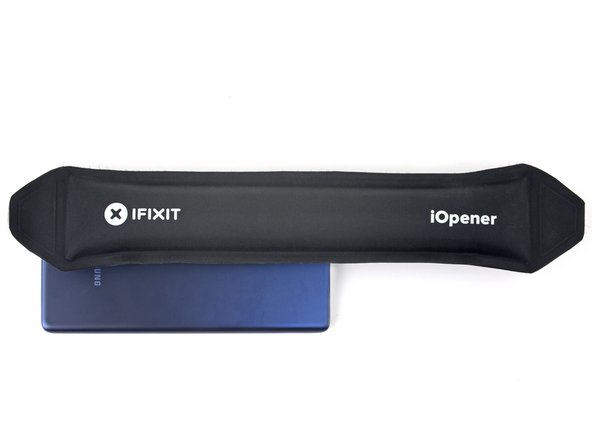
- Heat an iOpener and apply it to the bottom edge of the back cover for two minutes.
- You can also use a hair dryer—but be careful, as extreme heat will warp the back cover.
- Apply a suction cup to the center of the back cover's bottom edge, as close to the edge as possible.
- Pull up on the suction handle with strong, steady force to create a gap between the cover and frame.
- This will require significant force. If you're having trouble, apply more heat and try again.
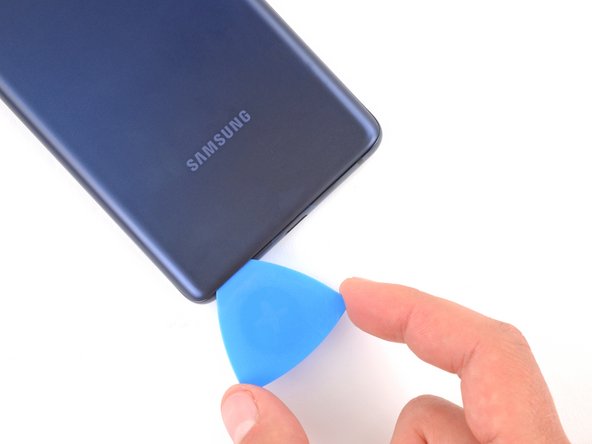
- Insert an opening pick in the gap.
- Slide the opening pick along the bottom edge to slice the adhesive securing the back cover.
- Leave the opening pick inserted in the bottom right corner to prevent the adhesive from resealing.
- Apply a heated iOpener to the right edge of the back cover for two minutes.
- You can also use a hair dryer—but be careful, as extreme heat will warp the back cover.
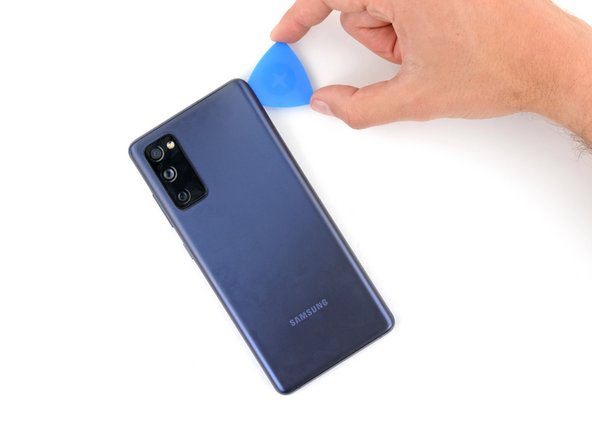
- Slide the opening pick around the bottom right corner and all the way up the right edge to slice the adhesive.
- Leave the opening pick inserted in the top right corner.
- Apply a heated iOpener to the top edge of the back cover for two minutes.
- You can also use a hair dryer—but be careful, as extreme heat will warp the back cover.
- Slide the opening pick around the top right corner and along the top edge to slice the adhesive.
- Leave the pick inserted in the top left corner.
- Apply a heated iOpener to the left edge of the back cover for two minutes.
- You can also use a hair dryer—but be careful, as extreme heat will warp the back cover.
- Slide the opening pick around the top left corner and all the way down the left edge to slice the remaining adhesive.
- Remove the back cover.
- If the back cover is still stuck to the frame, slide an opening pick around the perimeter to separate any remaining adhesive.
- During reassembly, this is a good point to power on your device and test all functions before sealing it up. Be sure to power it back down completely before you continue working.
- If you're reinstalling your old back cover:
- Use tweezers or your fingers to peel off the old adhesive from the back cover and frame.
- Use highly-concentrated isopropyl alcohol (over 90%) and a microfiber cloth to remove any remaining adhesive residue.
- Follow this guide to apply new custom-cut adhesive.
- If you're installing a new back cover, peel off the liners and press firmly around the perimeter to secure the back cover to the frame.
- Apply a heated iOpener to the rear camera lens cover for two minutes.
- You can also use a hair dryer—but be careful, as extreme heat will warp the back cover.
- Strong adhesive secures the rear camera lens cover.
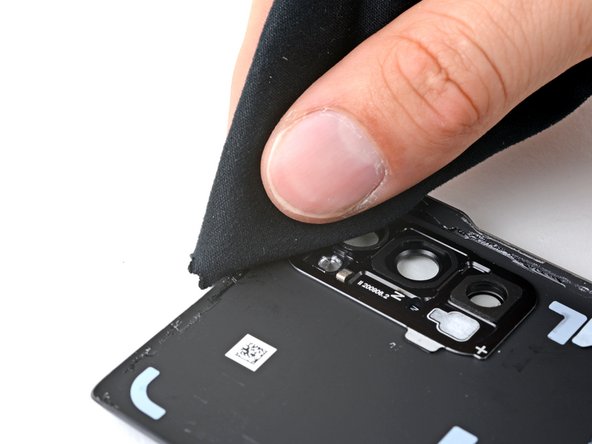
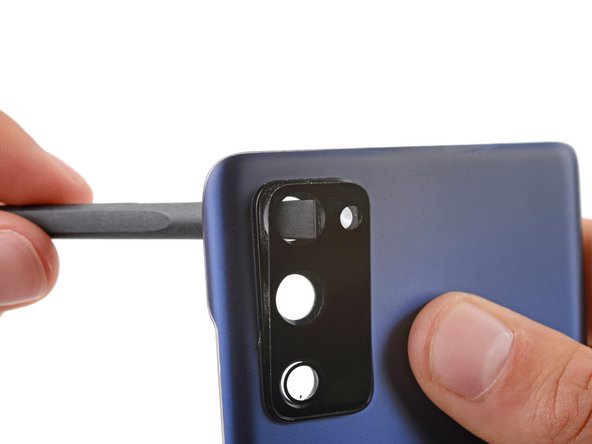
- Insert the flat end of a spudger through the top camera cutout from the underside of the back cover.
- Push the lens cover until it begins to separate from the back cover.
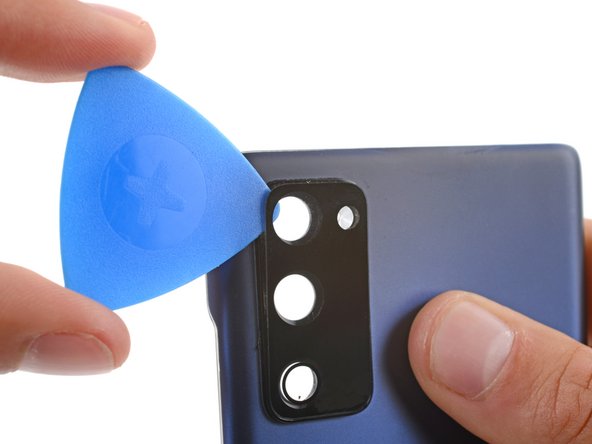
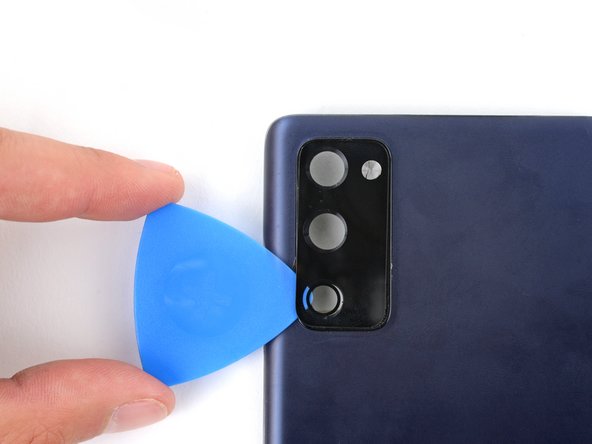
- Insert an opening pick between the lens cover and back cover.
- Slide the opening pick back and forth under the rear camera lens cover to slice its adhesive.
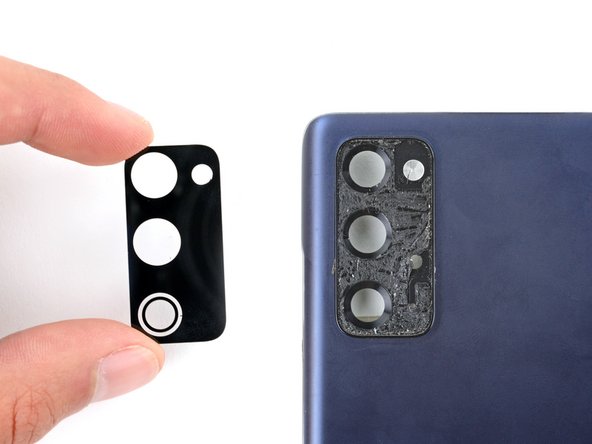
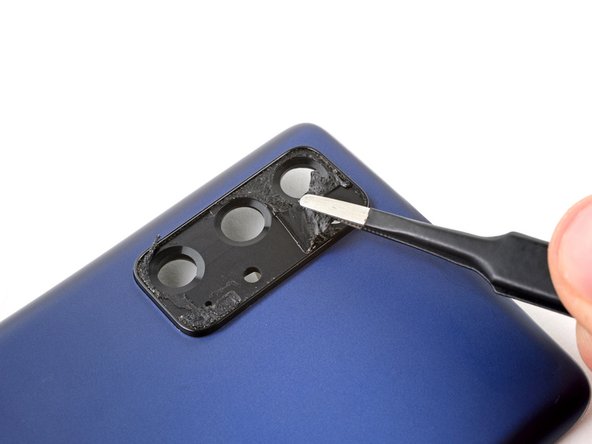
- Remove the rear camera lens cover.
- To install your new lens cover:
- Use tweezers to slowly peel off the old adhesive—it won't leave any residue.
- Use the camera cutouts to find the proper orientation of the lens cover.
- Remove the plastic liner from the back of the new lens cover.
- Lay the lens cover in its recess and press down firmly on the entire surface of the cover to secure it.