Yocan UNI Pro Disassembly
ID: 160760
Description: My device was water damaged so I decided to...
Steps:
- Remove 2 Phillips head screws. There is one on each side of the device
- Flip the device over and pull the cover upwards
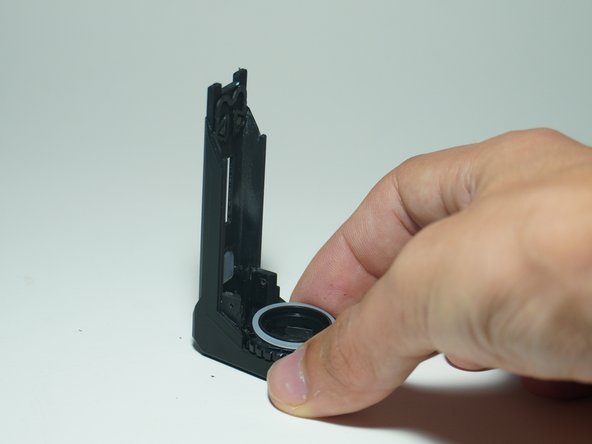
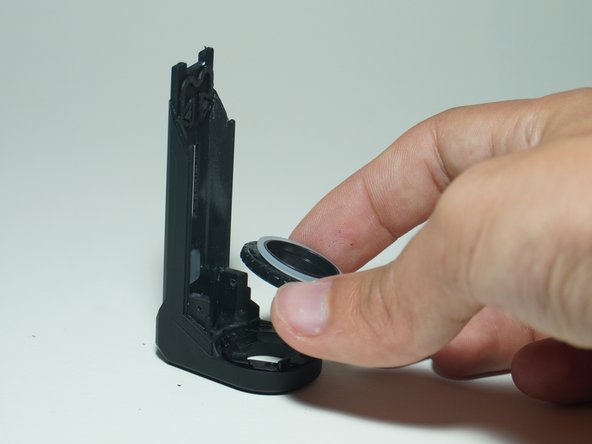
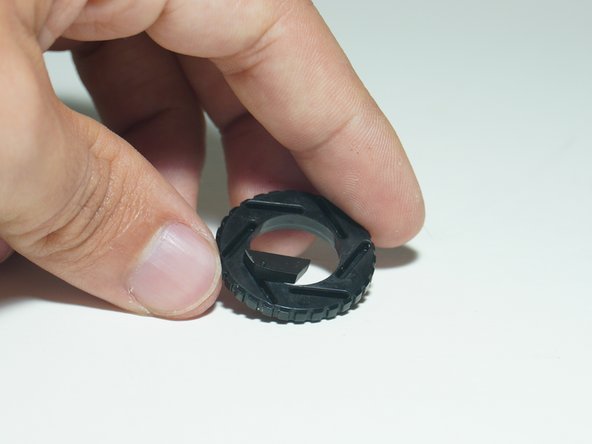
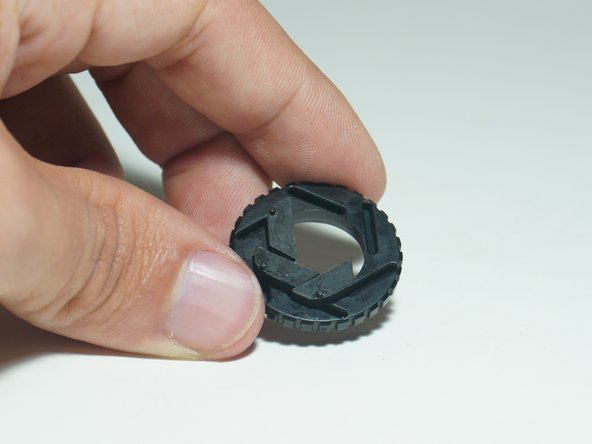
- Remove the aperture adjustment holder
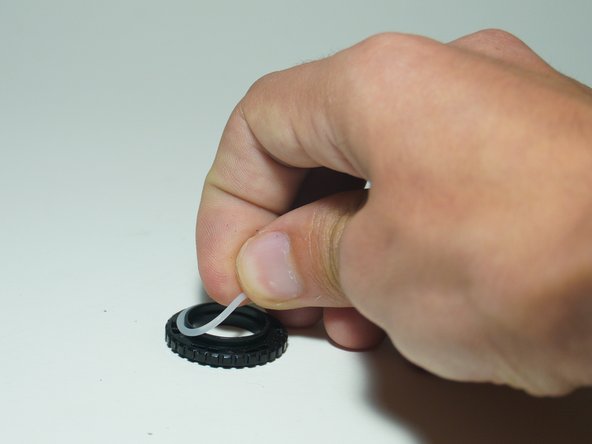
- Remove O-Ring
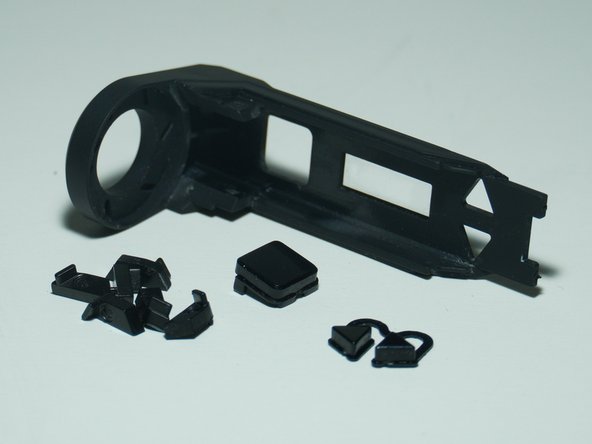
- Remove buttons and aperture/shutter pieces
- They should just fall out. If not, they can be removed with your fingers
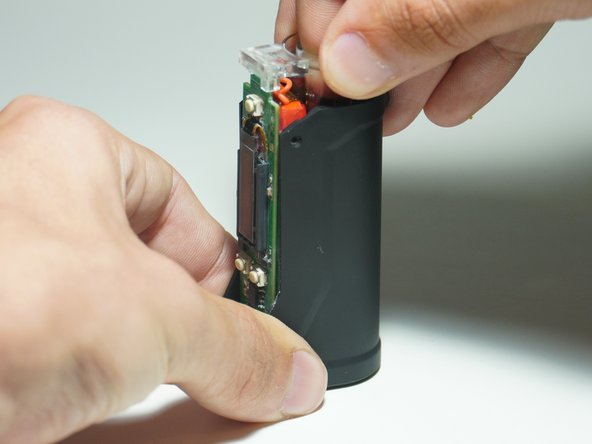
- Grip the bottom and top of the device and pull up slightly
- The next step will fully remove it
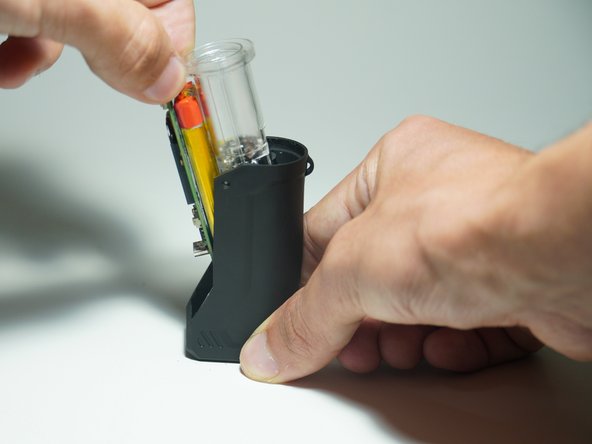
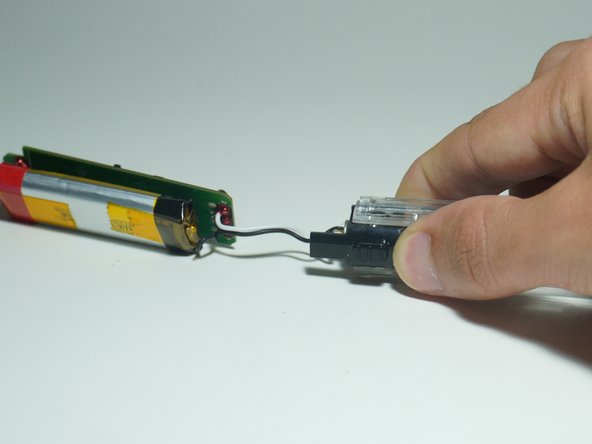
- Pull the clear plastic out and away to the left
- Pull up at an angle
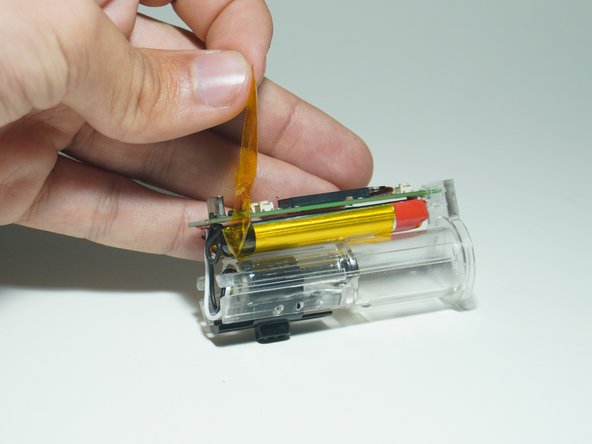
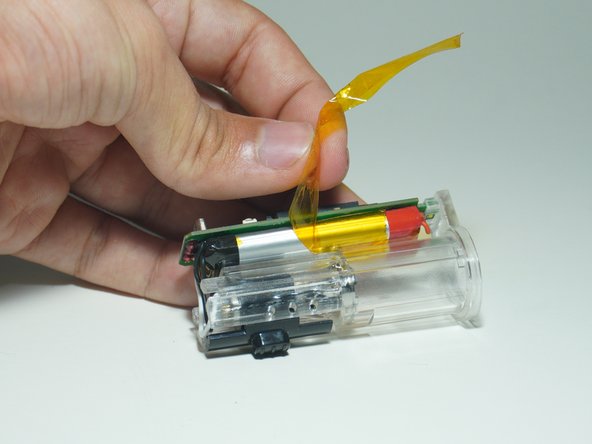
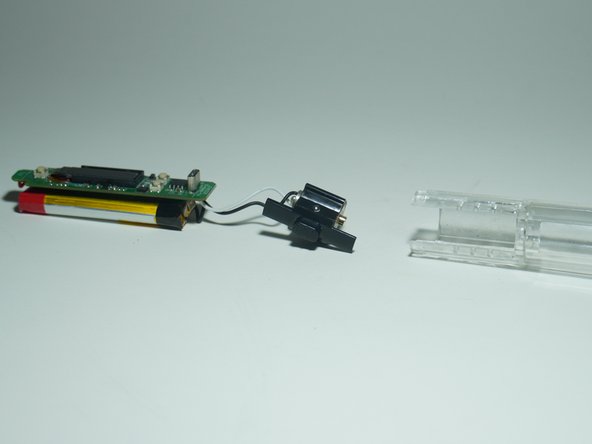
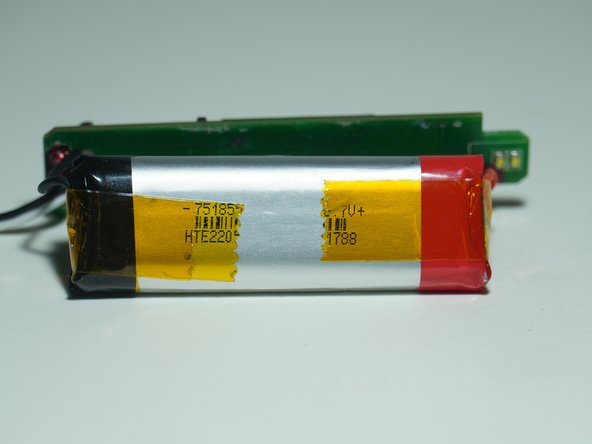
- Peel the Kapton Tape off of the battery and clear plastic
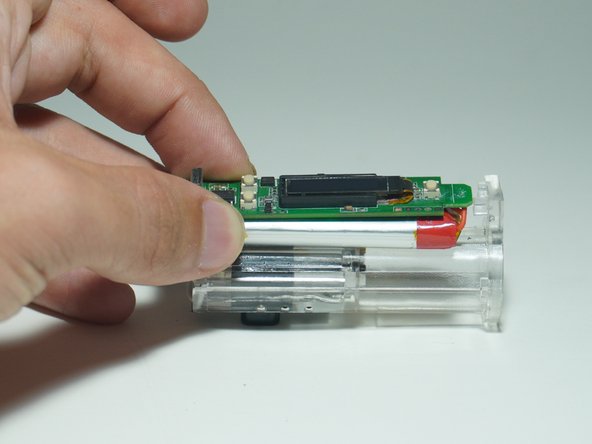
- Slide the circuit board back so that it is not under the plastic lip
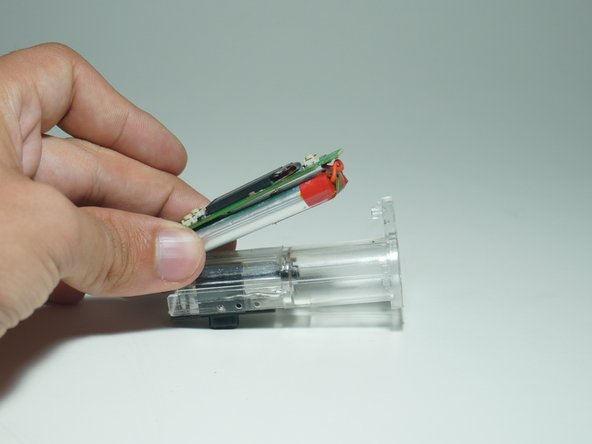
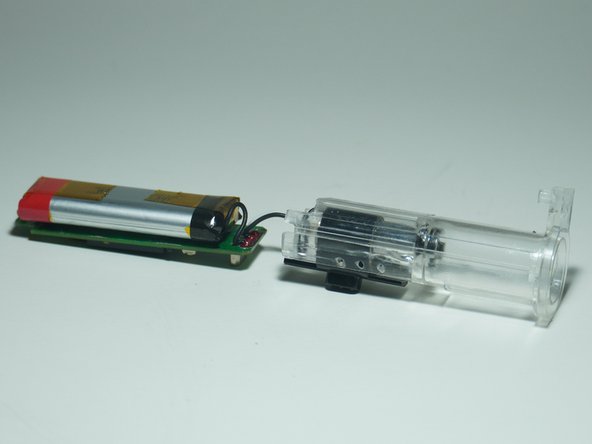
- Slowly peel the battery and circuit board away from the plastic housing
- There is some adhesive under the battery so be careful
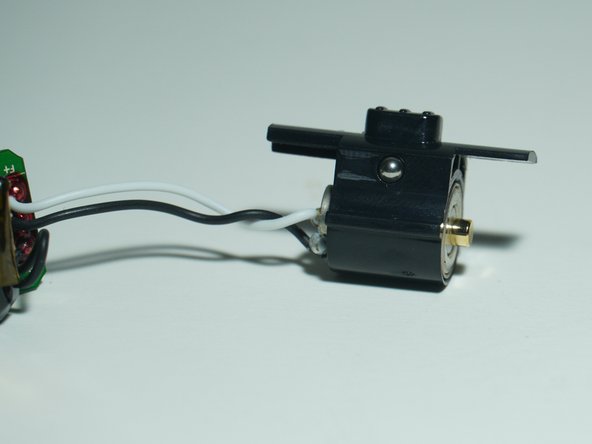
- Grip the plastic case and use your thumb to remove the height adjustment module
- It should slide out all the way
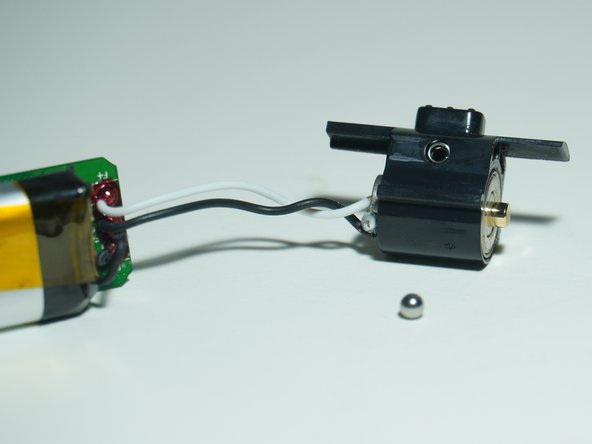
- The ball bearings in the next step might fall out right away so be careful that they don't roll away!
- There are two ball bearings that make the height adjustment module work and lock into position.
- There is one on each side and they easily fall out so be careful
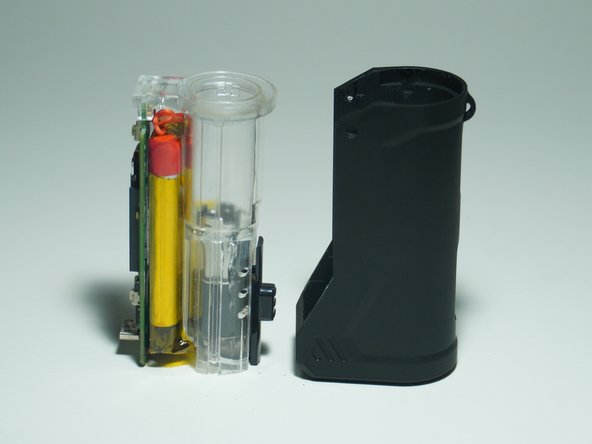
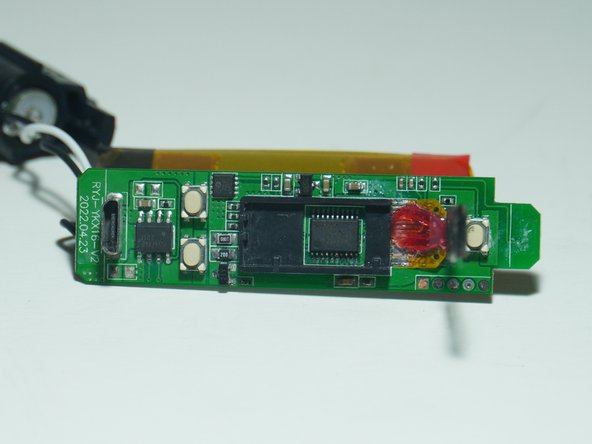
- Just some pretty pictures
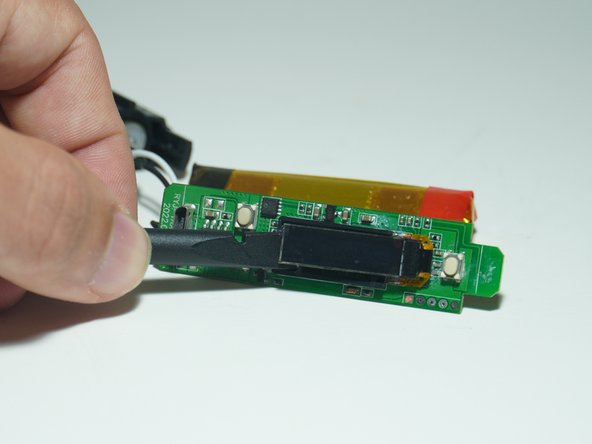
- Use a spudger to carefully remove the screen
- It is held down with adhesive
- There is no way to remove the screen completely unless you get rid of the red strain relief material and desolder it from the board
- For reassembly, place the slots on the small shutter pieces into the circular holder