Google Pixelbook Go Motherboard Replacement
ID: 160812
Description: This guide aims to help users learn how to...
Steps:
- Flip the device so that the back is facing up.
- Peel the rubber stoppers off the top and bottom of the device.
- Remove ten 3 mm screws from around the edge of the back panel using a T5 Torx screwdriver.
- Use an iFixit opening tool to pry up the back panel cover.
- There is an orange ribbon cable that connects the cover to the base, so don't separate the two pieces completely.
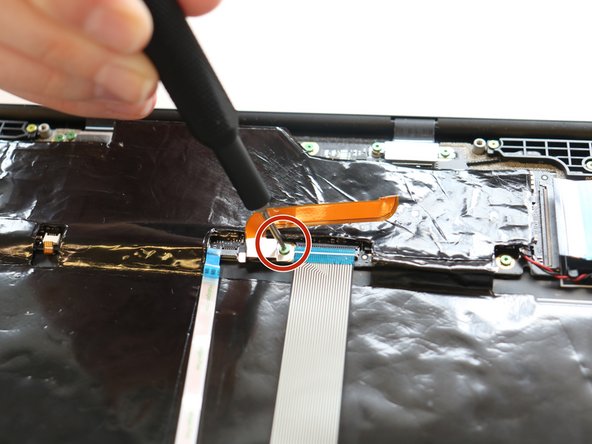
- Remove the single 2 mm screw using a Torx T3 screwdriver.
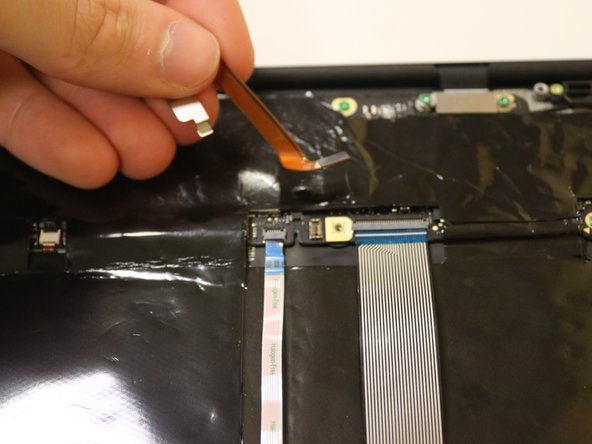
- Disconnect the orange cable from the base of the device.
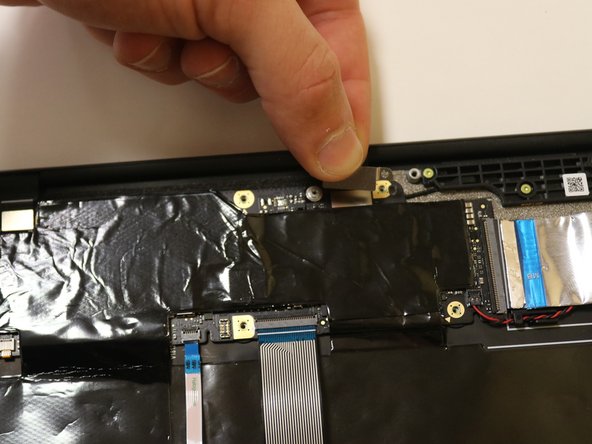
- Insert wisdom here.
- Remove the seven 2.0 mm screws using a T3 Torx screwdriver.
- If they didn't fall off already, remove the small, metal casings at the top of your Pixelbook Go.
- Both pieces are different. Be mindful of which piece goes to which side, or refer back to this step.
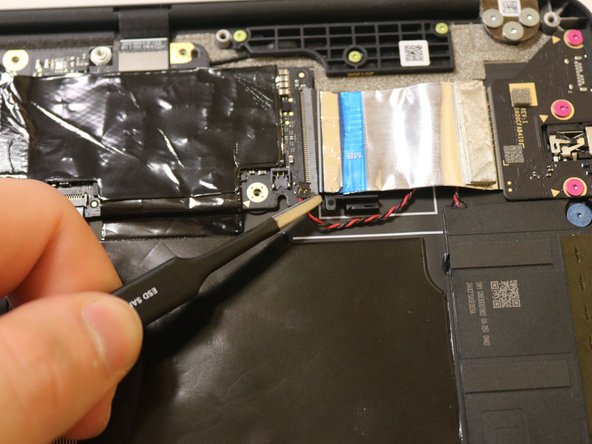
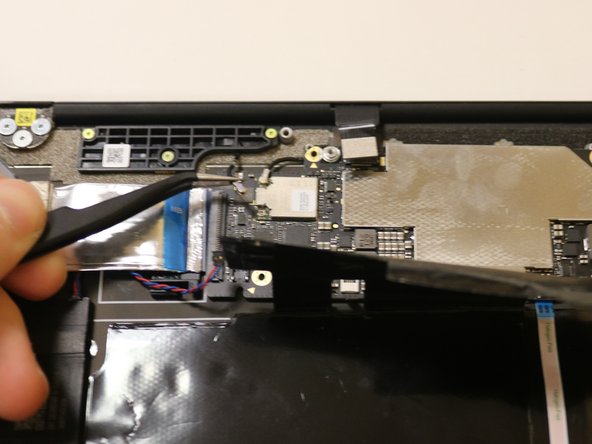
- Disconnect the blue and red wiring cable using the needle nose tweezers. Grab as close to the connection as you can, and tug in an upwards motion.
- Do this to both sides.
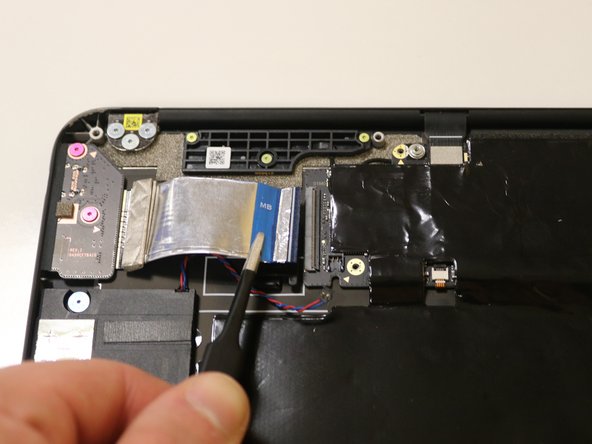
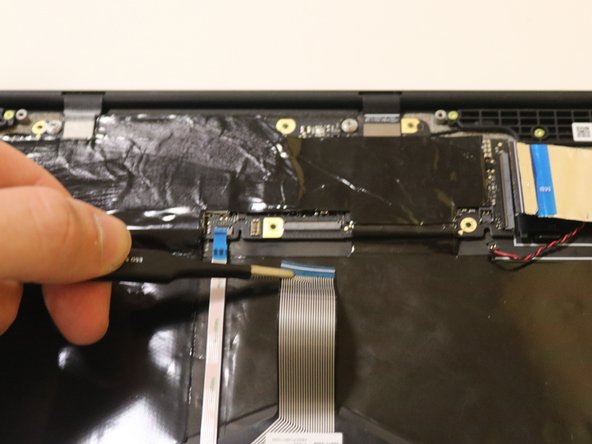
- Detach the left-hand side, wide ribbon by pulling away from the connection itself. Grab as close as you can to the connection using your spudger.
- This part may require additional force, but be mindful not to snap it.
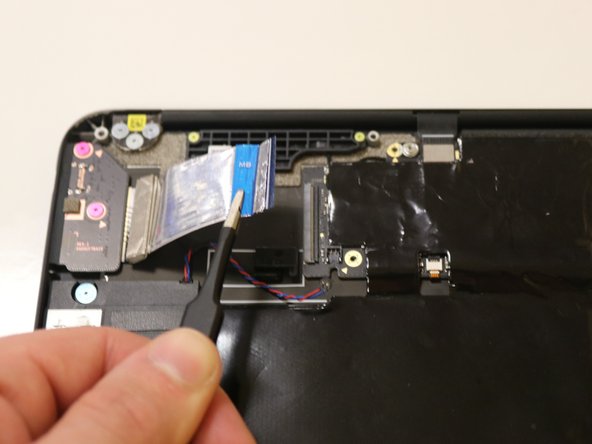
- Similarly, detach the right-hand side, flat ribbon by pulling away from the connection.
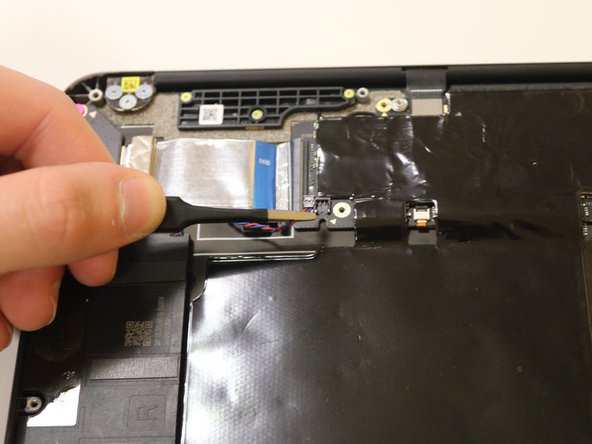
- Detach the thin, flat cable in the middle using your spudger or by gently pulling with your hand near the connection itself.
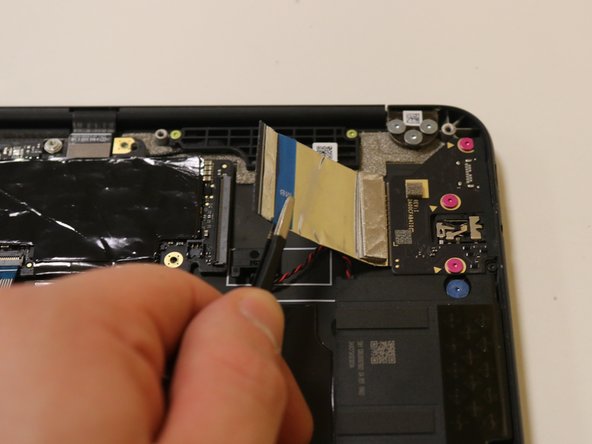
- Detach the wider, middle cable using the same steps as before. Pull away from the connection, grabbing as close to the connection as you can.
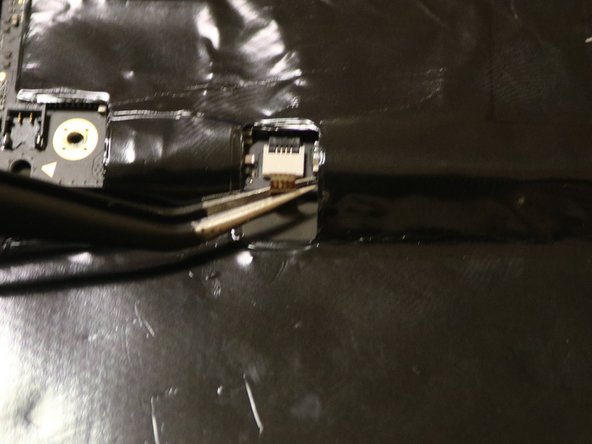
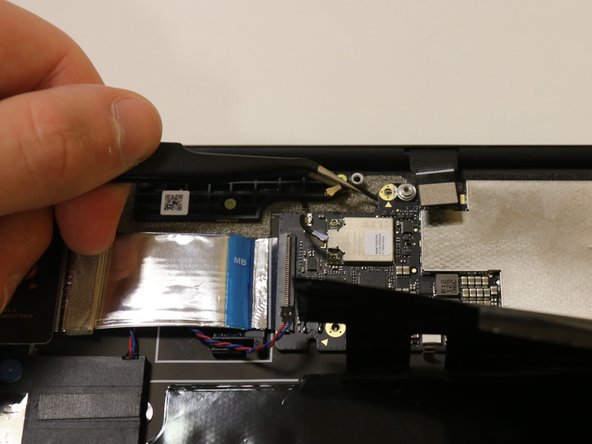
- Detach the small, copper colored cable from the motherboard. Since this cable is so small, it will require needle-nose tweezers.
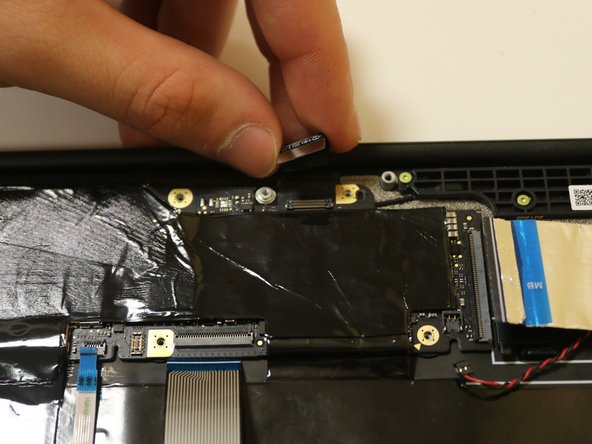
- By hand, disconnect the top two clips gently. Although you want to detach these clips from the motherboard, these clips will remain attached on the reverse end to the base.
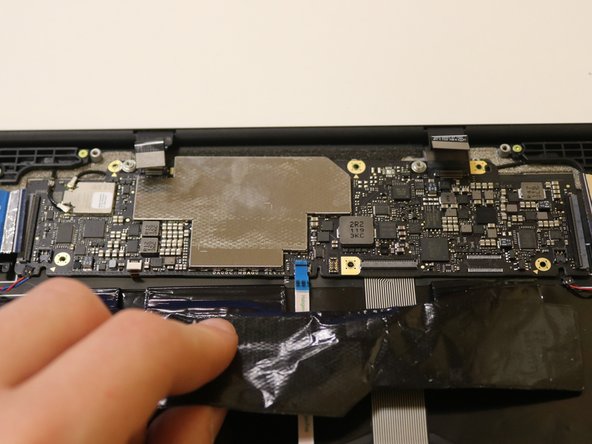
- Gently peel back the adhesive plastic covering towards the main body.
- Avoid ripping the plastic covering as this is easy to do.
- Detach the final two clips attached to the motherboard using the needle nose tweezers, located at the top left of the motherboard.
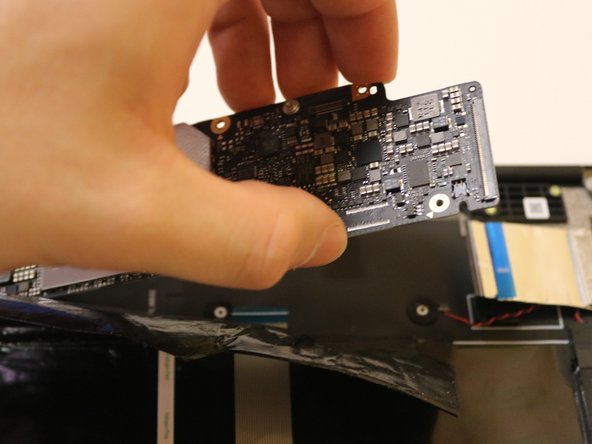
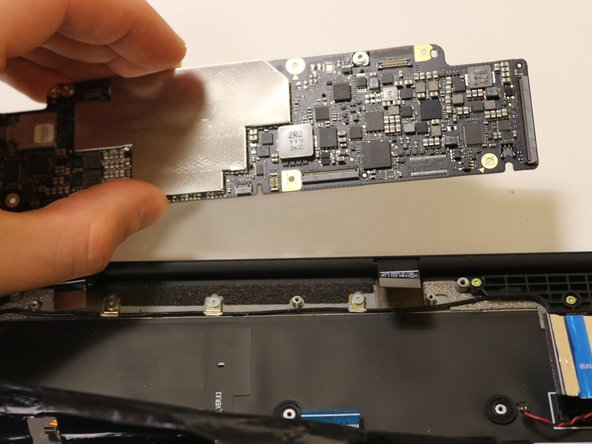
- Remove the motherboard by gently lifting with your hands.