Singing Machine Shine Duets Audio/Power Jack Replacement
ID: 160909
Description: If your Singing Machine Shine Duets audio or...
Steps:
- Remove the 10 mm screws on either side of the machine using a Phillips #1 screwdriver.
- Remove the three 8 mm screws with a Phillips #0 screwdriver.
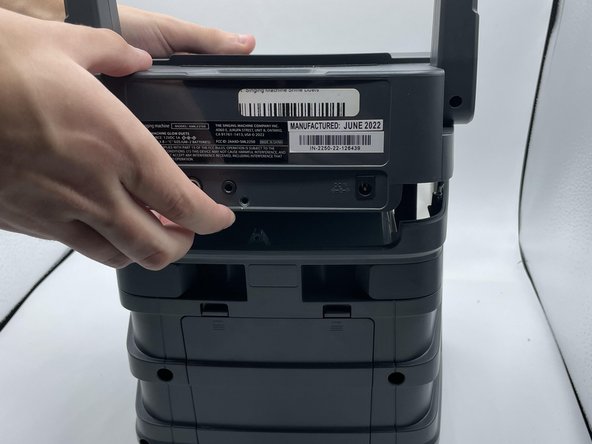
- Use the opening tool or your hands to carefully pry open the now-loosened top panel.
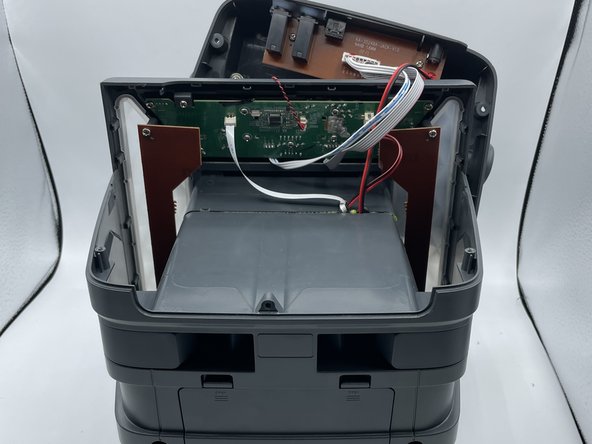
- The top portion of the shell is open, and the inside of the device is now accessible.
- The motherboard is located right behind the control buttons.
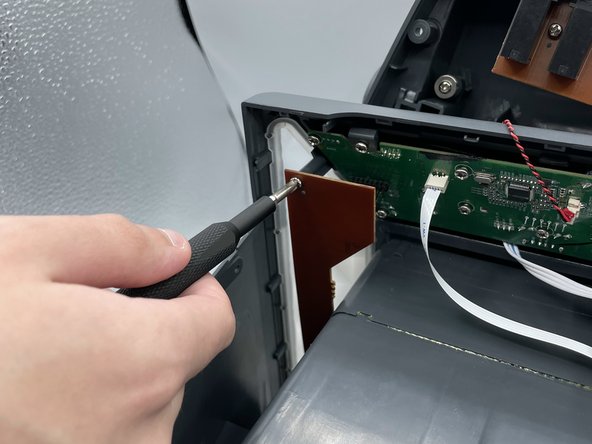
- Remove the two screws holding the LED board in place.
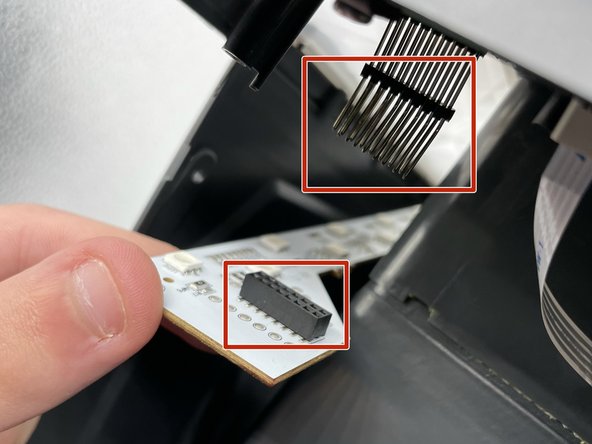
- Remove both LED boards from their pins.
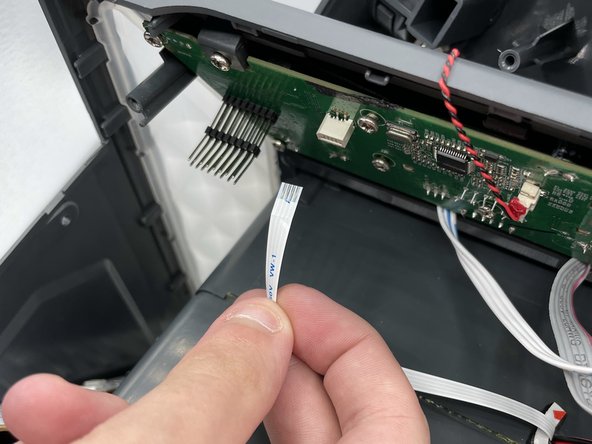
- Detach the white cable from its connector on the motherboard.
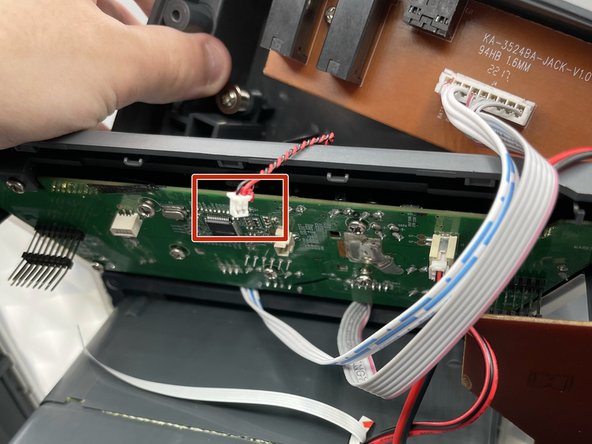
- Carefully disconnect this red-and-black wire from the motherboard.
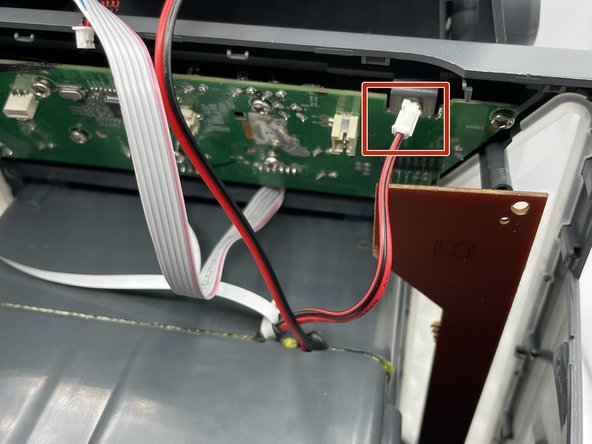
- Remove the thicker red-and-black wire from its socket on the motherboard.
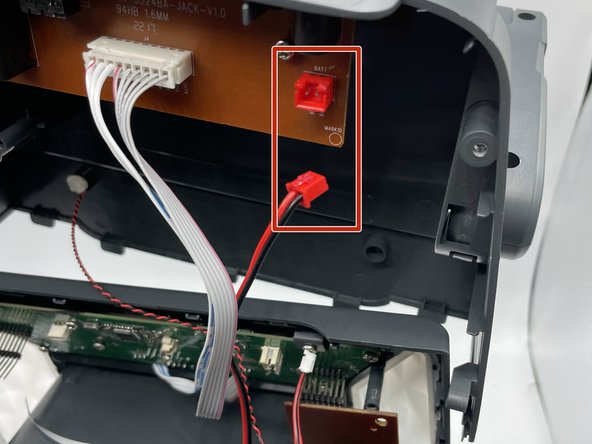
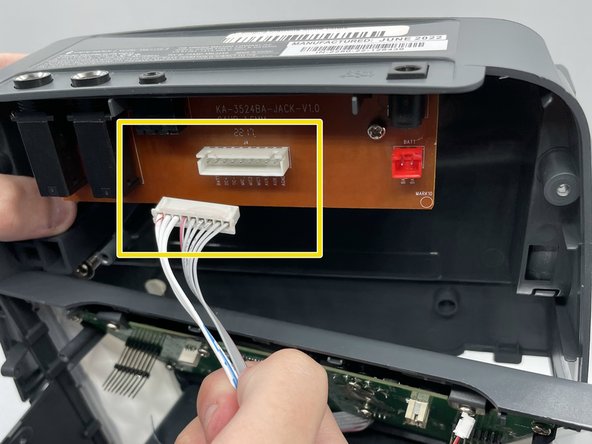
- Disconnect the red port on the board which holds all of the external plugs
- Disconnect the white wires from the board.
- Remove eleven 8 mm screws from the motherboard with a Phillips #0 screwdriver.
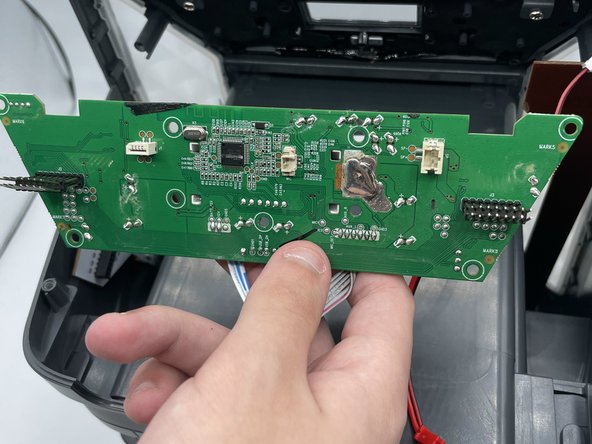
- Remove the motherboard from the shell.
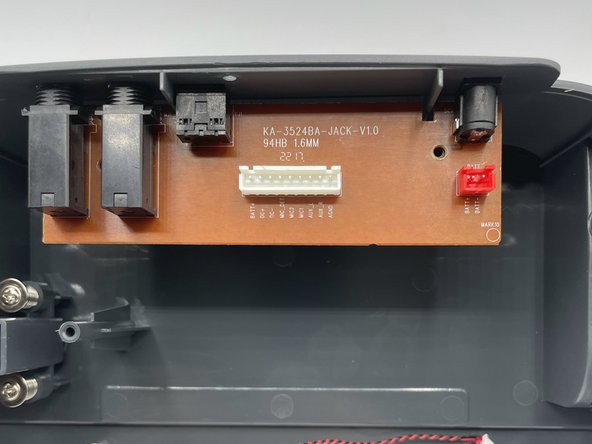
- Remove both screws from the board.
- Use caution when removing the screw in between the two ports.
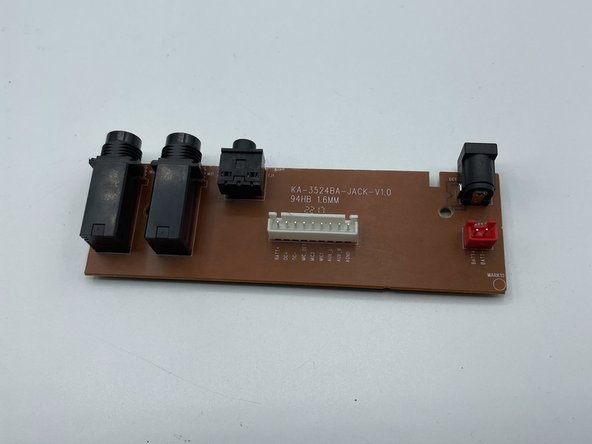
- Remove the board from the shell.