LeapFrog LeapPad 32400 Speaker Replacement
ID: 160965
Description: This guide will show you how to replace the...
Steps:
- Turn the tablet so the back is facing up.
- Remove the battery covers by sliding the covers towards the sides and away from the center of the device.
- Take out the AA batteries from both battery compartments of the device.
- Replace batteries as needed.
- Remove three 7 mm screws using a Phillips #1 screwdriver.
- Remove the single 6 mm screw using a Phillips #1 screwdriver.
- Remove the single 10 mm screw using a Phillips #1 screwdriver.
- Use a small plastic opening tool to separate the colored front cover from the white rear cover of the device.
- With one hand on the front cover and one hand on the rear cover, start from the bottom of the device and pull the pieces apart.
- Once only the top edge remains connected, pull the rear cover backwards away from the front cover and upwards towards the top of the device. This should release the last remaining tabs holding the pieces front and rear cover together.
- The most stubborn tabs holding the front and rear together are along the top edge of the tablet around the game cartridge slot. This will most likely be the last area that separates, and it may require a moderate amount of force.
- Separate the motherboard from the back side of the device by detaching the black and red wire connection from the back cover.
- The two pieces that hold the pen in place will become loose. Remove and set aside for reassembly.
- Remove the single 10 mm screw from the device using a Phillips #1 screwdriver.
- Remove the single 7 mm screw from the device using a Phillips #1 screwdriver.
- Unlatch the two battery terminals using a nylon spudger.
- Remove the single 10 mm screw from the device using a Phillips #1 screwdriver.
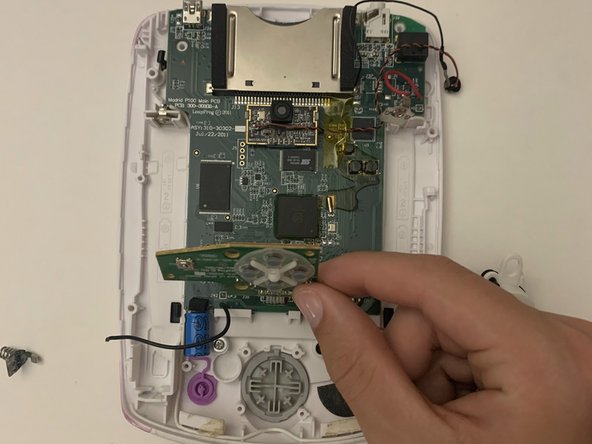
- Gently lift the motherboard away from the back cover.
- Peel back the tape on the display ribbon cable connector.
- Gently pull on the display ribbon cable and it should easily slide out of the connecter.
- If the connector is properly open, disconnecting the ribbon cable should require little to no force.
- Desolder the speaker wire connections at one of the two terminal locations shown.
- Soldering requires the iron to be at hot temperatures and can cause burns. Wear safety glasses as needed.
- Be extremely careful with the cables in this step as they could melt, burn, or break.