Left-Handed Fender Squier Electric Guitar String Replacement
ID: 161015
Description: Use this guide to replace the strings on your...
Steps:
- Place the guitar on a flat surface with the tuning pegs facing you.
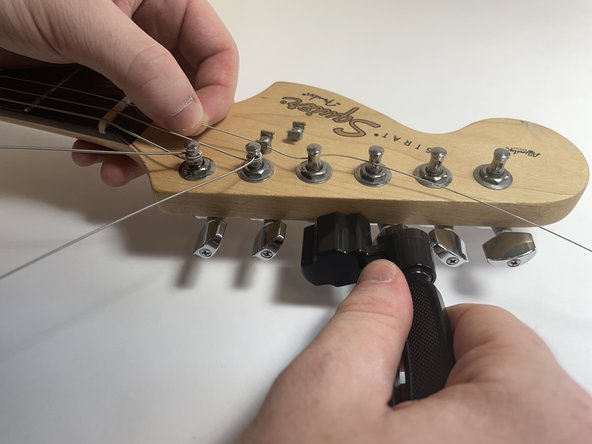
- Use a guitar string winder to drop the tuning and loosen each of the strings.
- Use a wire cutter to cut each of the strings in the middle of the fretboard.
- Guitar strings can be sharp and cutting them without loosening them first can cause harm to the user.
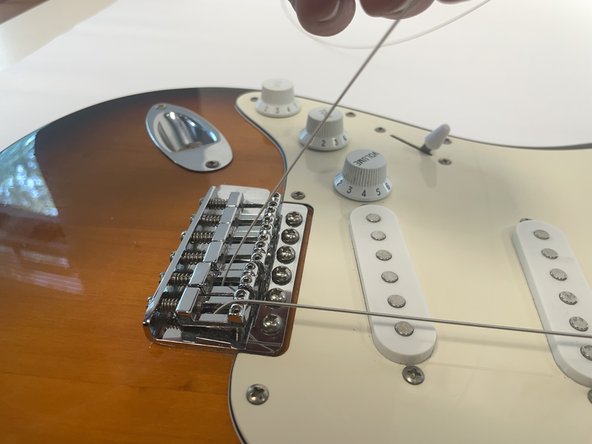
- To remove the top half of the string from the guitar, turn the tuning pegs to loosen the string until you can pull it from the guitar.
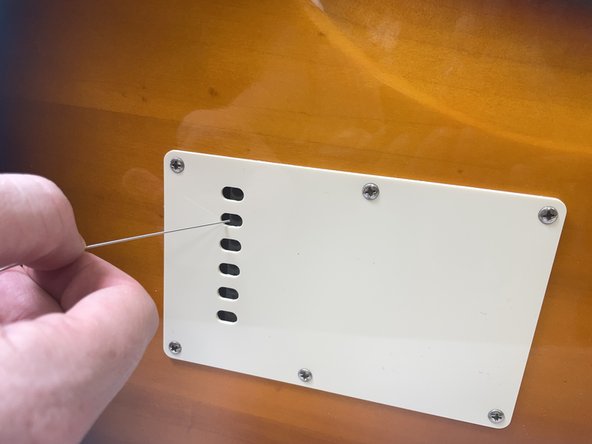
- Remove the bottom half of the string by pushing each string through the front of the bridge saddle and pulling it out through the back.
- Start restringing with the thickest (E) string.
- Push the new string through the back of the bridge and pull it through the front of the saddle.
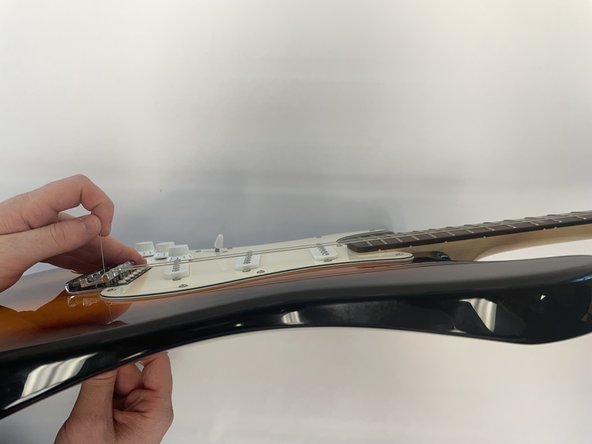
- Pull the string so that it is parallel with the fretboard.
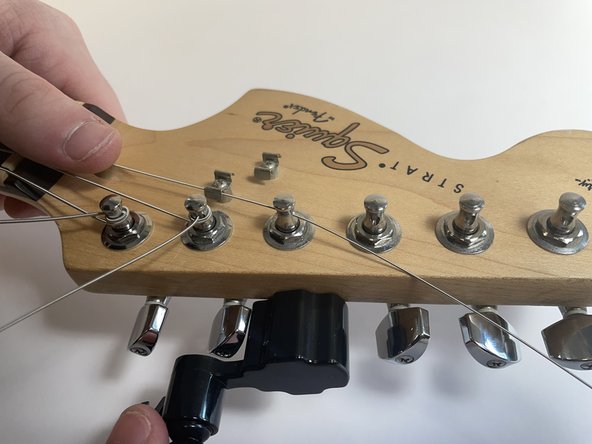
- Place the string through the first tuning post.
- Hold the guitar and place your thumb on the first fret to ensure the string stays in place.
- Insert the guitar string winder into the the tuning peg.
- Turn the guitar string winder clockwise to tighten the string.
- The process of replacing strings A, G, and B is the same and you can follow steps 4 through 6.
- Only tighten the string until it stays in place. If you tighten it too much the string might snap which may result in injury.
- Insert the D string from the back of the bridge and pull it through the saddle at the front of the guitar.
- Pull the wire so that it is parallel to the fretboard.
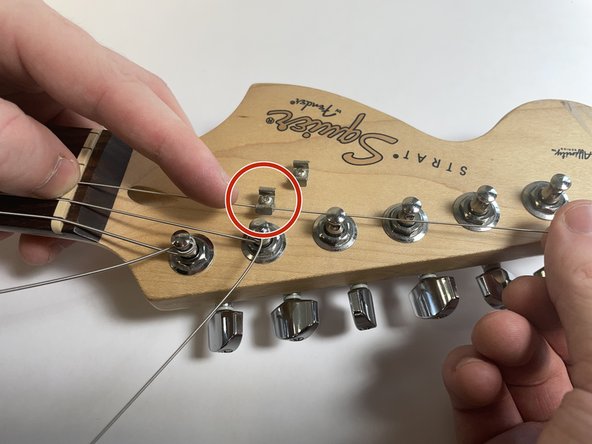
- Make sure to place the string under the string tree.
- Hold the guitar and place your thumb on the first fret to ensure the string stays in place.
- Insert the guitar string winder into the the tuning peg and turn it clockwise.
- The process of replacing the last e string is the same as steps 7 and 8.
- Only tighten the string until it stays in place. If you tighten it too much the string might snap which may cause injury.
- Use a wire cutter to cut the extra length of wire.
- You should leave an inch or two of each string onto the tuning posts to allow for a greater tuning range.
- Use a guitar string winder to tighten/loosen strings in order to correctly tune each string to its respective note.
- The usual 6 notes on a guitar are E, A, D, G, B, e, in the order of the thickest string to the thinnest.
- Smartphone apps or guitar tuners will help with the tuning process.
- While tuning, wiggle each string back and forth to remove slack and prevent slipping so the strings will maintain in tune longer.