How To Repair a Faulty Switch on a Trio-60 Keyboard
ID: 161028
Description: If your Percent Studio Trio-60 mechanical...
Steps:
- Unplug the keyboard
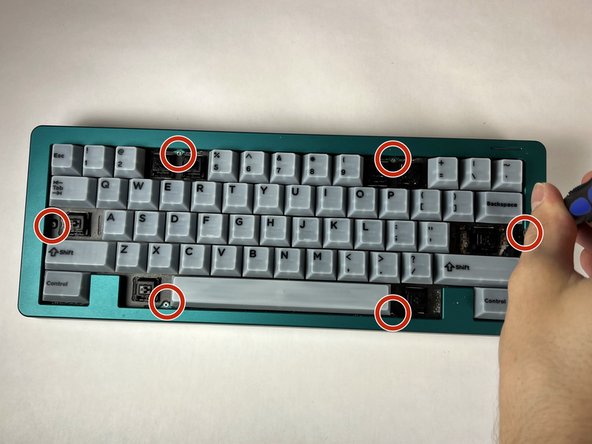
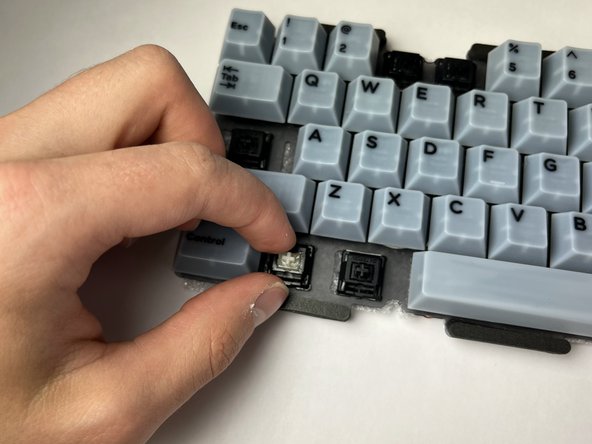
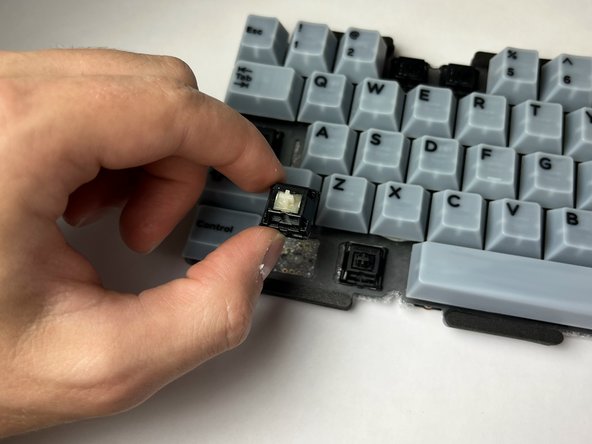
- Use a keycap puller to remove the keycaps "3", "4", "0'", "-", "Caps Lock", "enter" and both "alt" keys to gain access to screws.
- Place the keycap puller straight over the keycap, so that the wires are under the keycap and pull straight up.
- It may require slight angling and pressure to remove the keycap.
- Remove six 4.0 mm screws with a Phillips #0 screwdriver.
- Consider using a magnetized screwdriver or magnet to remove screws, or leave them in the chassis.
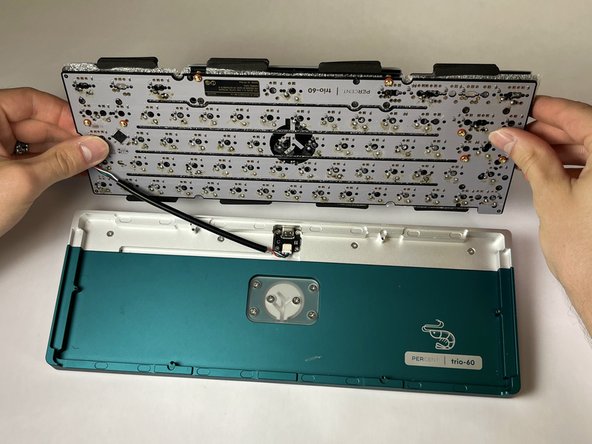
- Remove the top chassis (metal cover) by lifting straight up and off of the keyboard.
- Gently flip the plate and PCB towards the back of the case, so that it lies upside down behind the case.
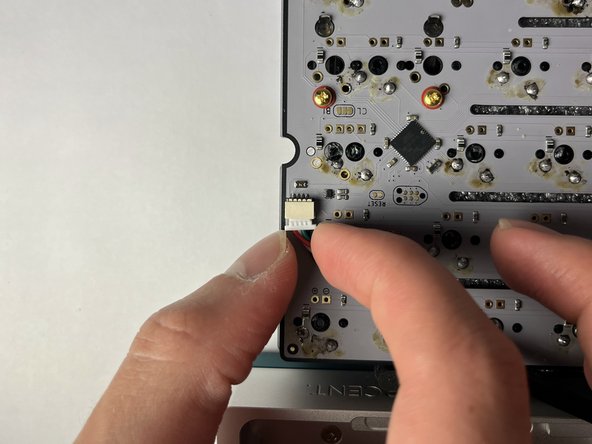
- Ensure not to pull on or twist the keyboard as it's attached to a cable and could cause damage.
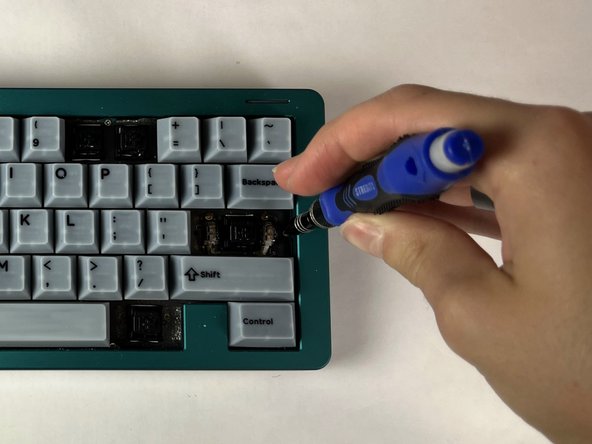
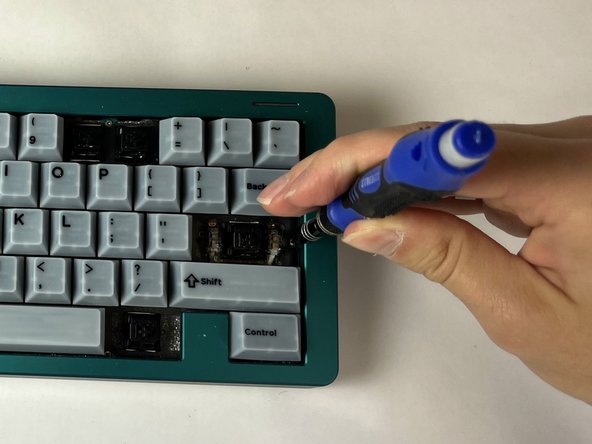
- Use your fingers or a spudger to remove the JST cable on the end of the circuit board.
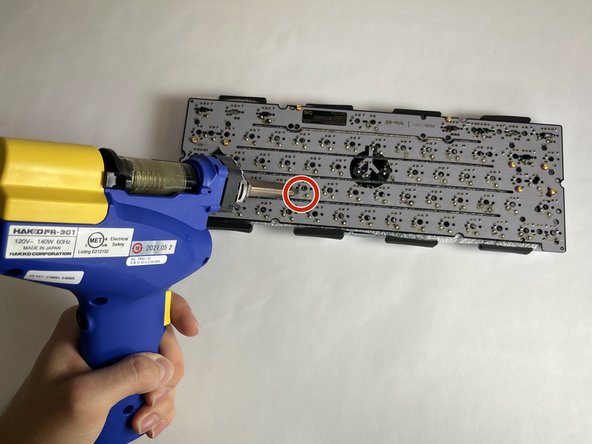
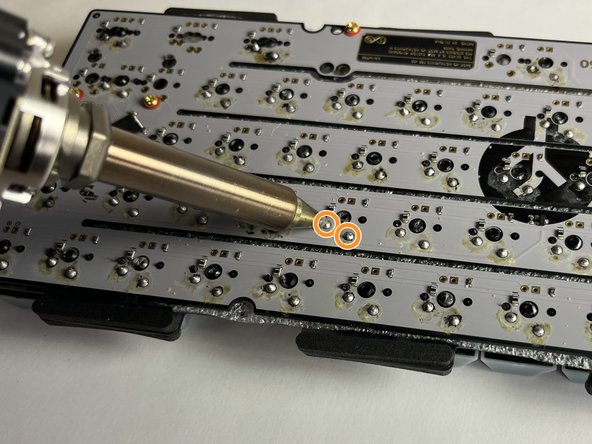
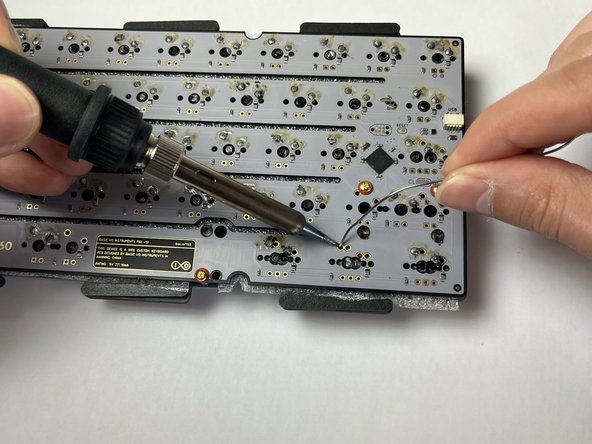
- Make sure to desolder in a well-ventilated area, as the smoke released from the boiling flux is toxic. Placing a small fan near and facing away from your soldering area is recommended.
- Heat the solder until it appears liquified.
- Use your preferred sucking tool of choice to remove the solder (an electric desolder is recommended).
- Desolder both points for each switch you are removing.
- The location of desoldering may vary depending on which switches are faulty.
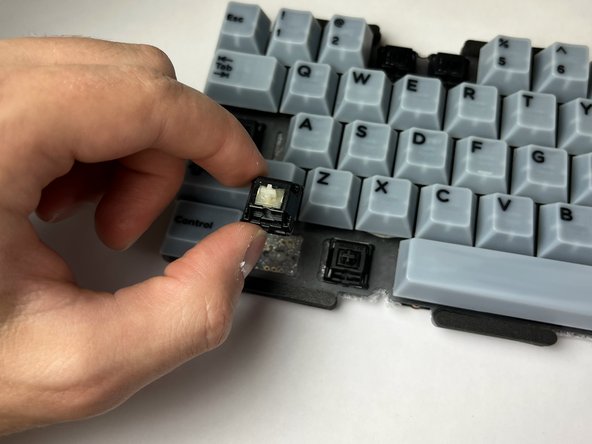
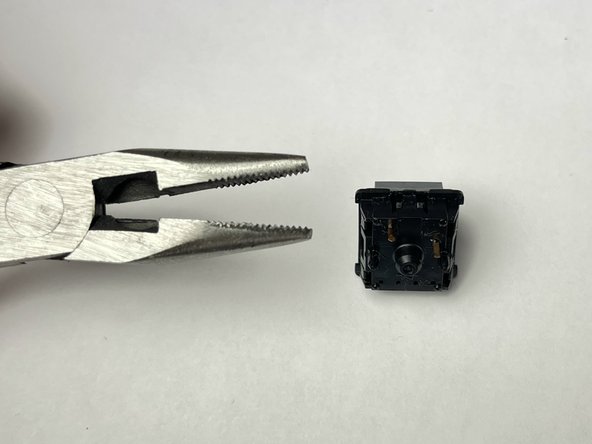
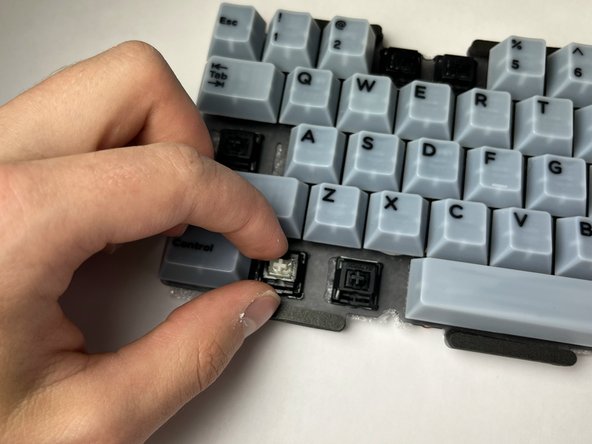
- Use a switch puller or your fingers to remove the faulty switch.
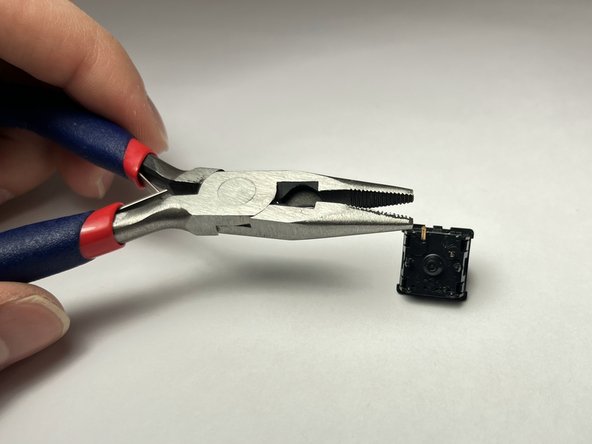
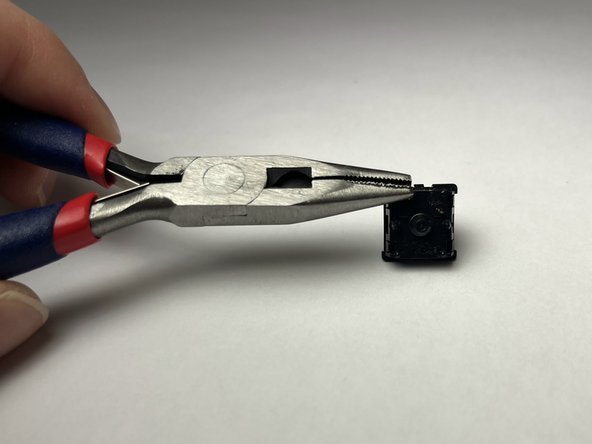
- If a pin is bent, flatten it with pliers so that it is perpendicular to the switch.
- If the pin is not bent, there may be electronic issues causing switch malfunction that will not be covered in this guide.
- Place the new or repaired switch straight down until it is firmly locked into plate.
- Solder the switch and test the keyboard to ensure it functions correctly.
- Make sure to solder in a well-ventilated area, as the smoke released from the boiling flux is toxic. Placing a small fan near and facing away from your soldering area is recommended.
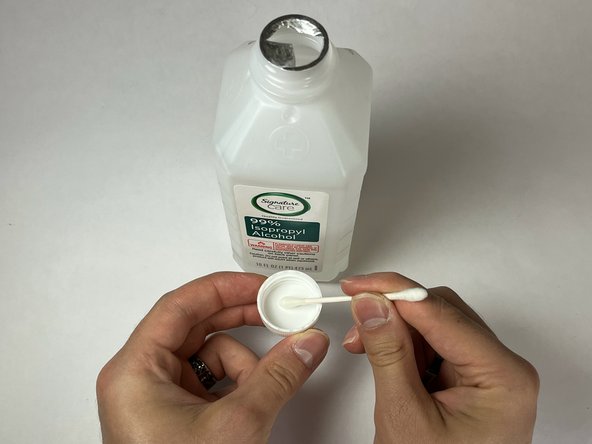
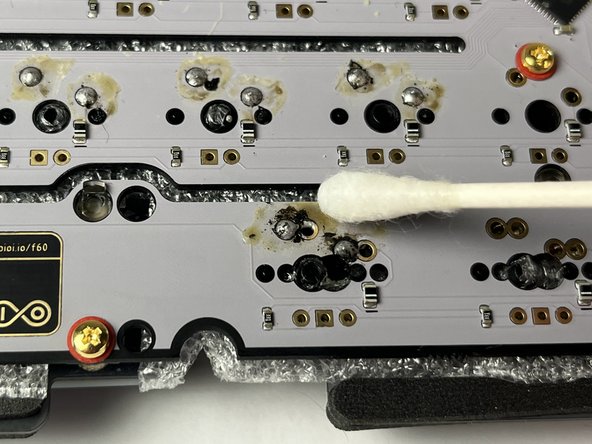
- Optionally apply isopropyl alcohol to Q-tip and clean flux residue from solder joints.