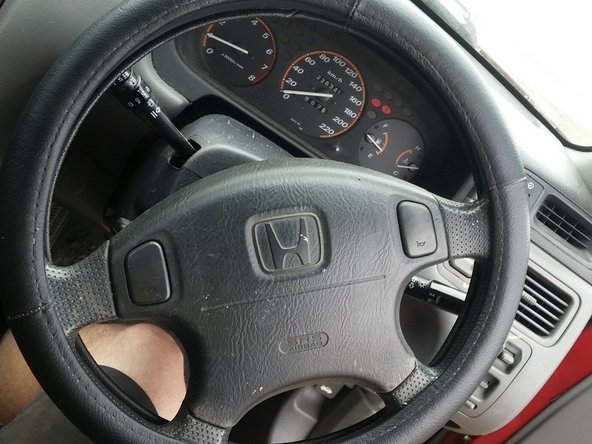
1995 Honda CRV Steering Wheel Replacement
ID: 161064
Description: This guide provides a detailed set of...
Steps:
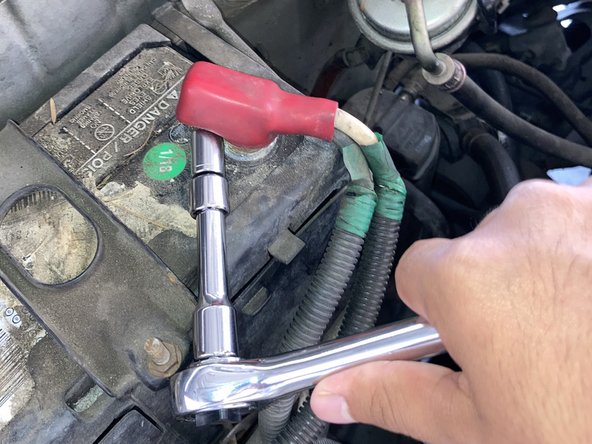
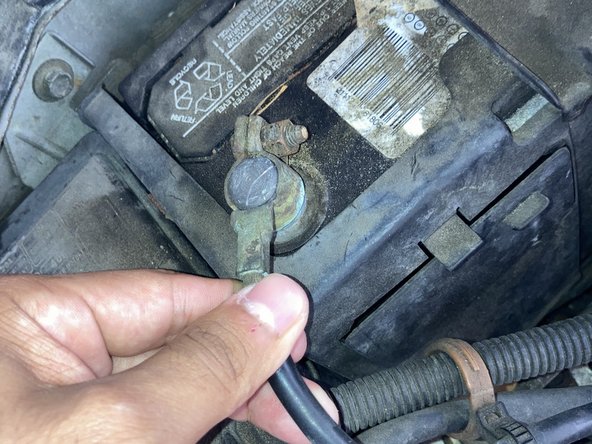
- Before replacing your steering wheel you must disconnect the battery terminals. Open the hood and locate the negative (-) and positive(+) terminal connection.
- It is crucial to ensure that proper safety measures are taken when disconnecting a battery.
- Use a 10 mm socket wrench to loosen each bolt on the two battery connections, and remove the cable (starting with the negative terminal).
- Additional details on how to safely remove your vehicle's battery can be found here.
- Make sure to separate the two connections from the battery terminal to prevent any electrical current from flowing
- After disconnecting the battery, wait at least 10 minutes to allow the electrical current to fully dissipate before attempting to remove the airbag.
- Make sure to avoid touching the top of the battery terminal while using the socket wrench, as this can generate a spark and potentially cause additional damage.
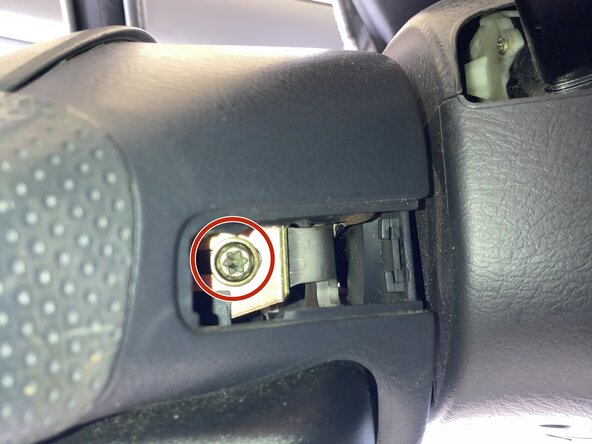
- Use a T30 Torx screwdriver to loosen each bolt.
- Before removing these screws, ensure that your steering wheel is centered.
- To remove the T30 Torx screws, turn them counterclockwise.
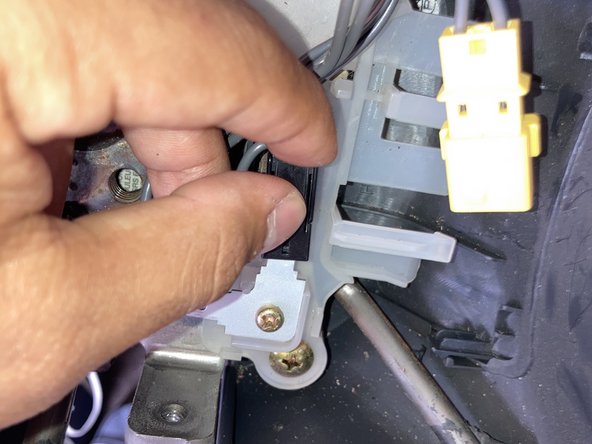
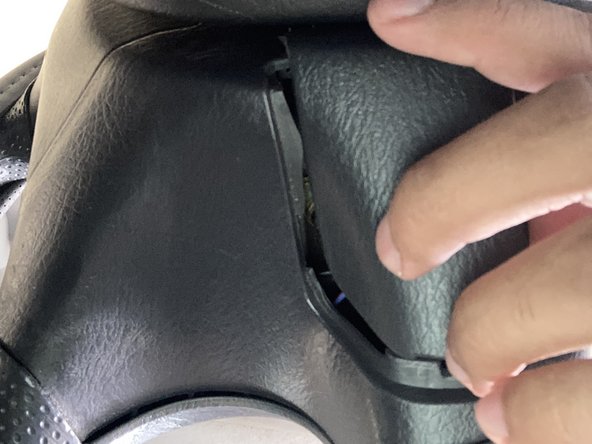
- To disconnect the airbag connectors located at the bottom of the steering wheel, release two grey hooks that keep them in place.
- Gently lift the hooks to unlock the connectors, then carefully remove them.
- Slide the left connector back, this will enable you to disconnect the right connector.
- Be cautious as there are still wiring connections to consider.
- When reassembling, make sure to securely place the airbag and horn connections in their designated spots. Place the airbag connector back onto the grey hooks and the horn connector onto the small metal plate.
- The airbag connection should have either a button or a switch.
- Push the button down and then carefully slide the connection up.
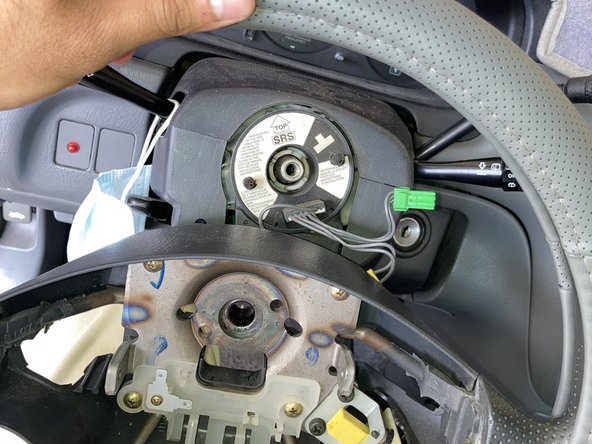
- Carefully remove the airbag from the steering wheel.
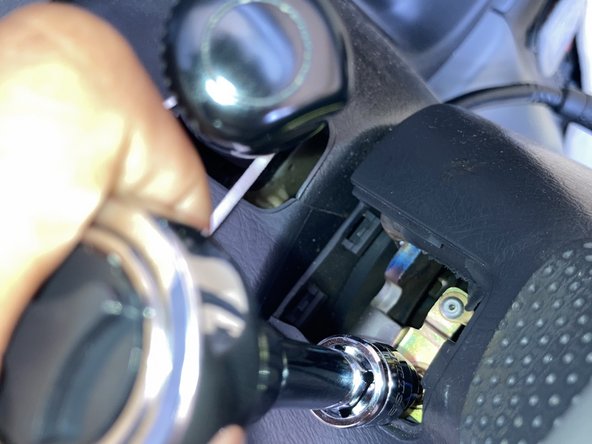
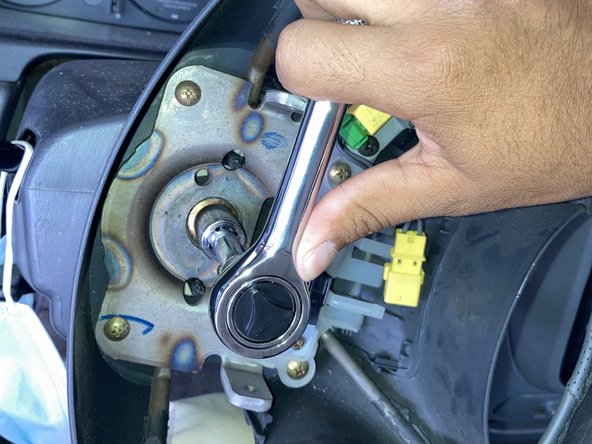
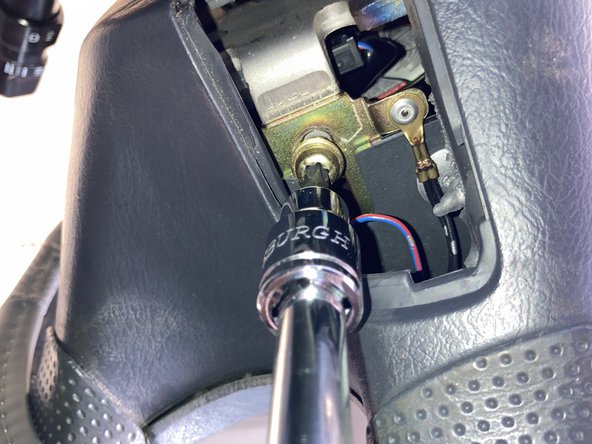
- Lock the steering wheel before removing the center bolt. This will help keep the wheel firmly in place and prevent it from moving while you remove the bolt.
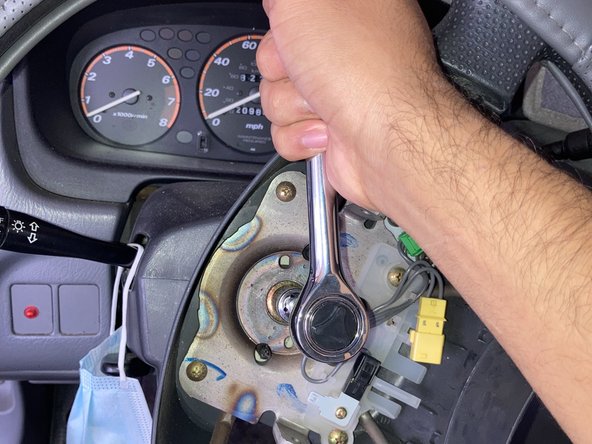
- Use a 14 mm socket wrench to loosen the steering column bolt by turning it counter-clockwise.
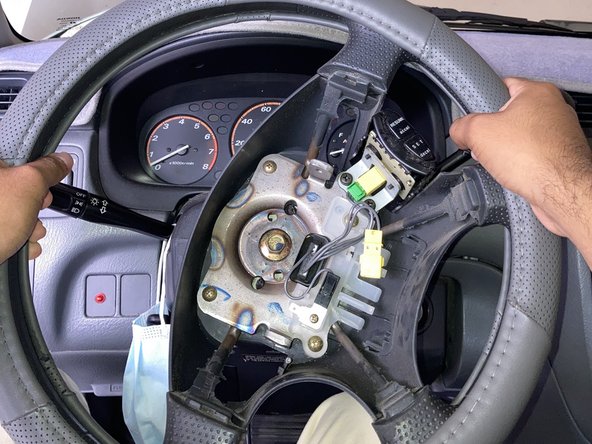
- Carefully pull on the steering wheel. You should feel it come loose from the steering column.
- Don't remove the center bolt from the column just yet, as this can prevent injury.
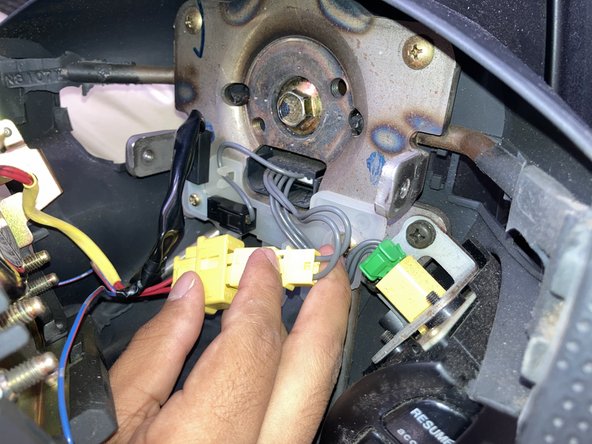
- Before removing the steering wheel, disconnect any other connectors that are attached to it.
- This may include electrical connections for items like cruise control or audio controls. Disconnecting these connections will ensure that the steering wheel can be safely and easily removed from the column.
- To install the new steering wheel, align the splines on the steering column with those on the new steering wheel.
- Carefully press the steering wheel onto the column until it is fully seated.
- Tighten the center bolt using a 14 mm socket wrench in a clockwise rotation.
- When removing the steering wheel, take note of how it was positioned to ensure that you install the new steering wheel in the correct orientation.
- Be sure not to overtighten the bolt, as this can cause damage to the steering column.
- To reattach the airbag carefully reconnect both the horn and airbag connectors to the back of the airbag module.
- Align the airbag with its mounting location on the steering wheel and secure it.
- Use a T30 Torx screwdriver to reattach the two Torx screws on either the side or back of your steering wheel.
- Make sure to tighten them securely but not excessively.
- Attach the plastic coverings that were removed earlier during the disassembly process.
- Reconnect the battery by first attaching the positive terminal cable and then the negative terminal cable.
- Use a 10 mm socket wrench to tighten each bolt.
- It's important to tighten the bolts securely, but be careful not to over-tighten them as this can cause damage to the battery or its connections.