NuWave Brio 37001 Convection Fan Replacement
ID: 161072
Description: This guide will walk you through the steps to...
Steps:
- Unplug your NuWave appliance and ensure it has not been used within the last 20 minutes so that it is properly cooled down. Following this guide with an appliance that is still hot or powered on may result in injury.
- Remove the basket from the NuWave's tray.
- Rest your appliance upside down, with the digital screen facing your work surface.
- Take caution in flipping your appliance. Excessive force may cause components to break.
- Remove the six 12 mm screws located around the edge of the bottom lid using a Phillips #1 screwdriver.
- Remove four 10 mm screws using a Phillips #1 screwdriver.
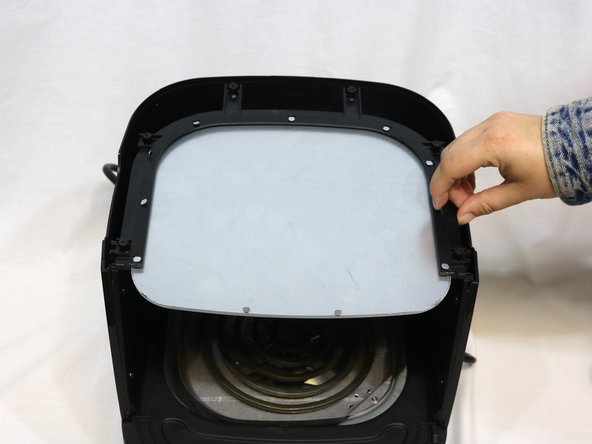
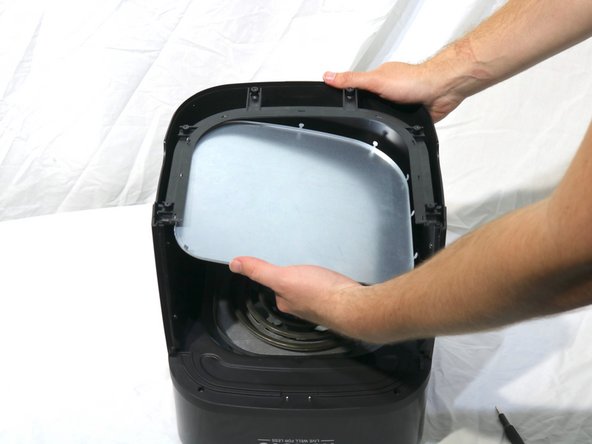
- Use your finger to flip up each small metal tab located around the heating plate.
- The plate may fall when all tabs have been flipped up.
- Photos #2 and #3 both display an additional piece removed, which lines the edge of the basket area. Removing this is entirely unnecessary and included solely for the visibility of this guide.
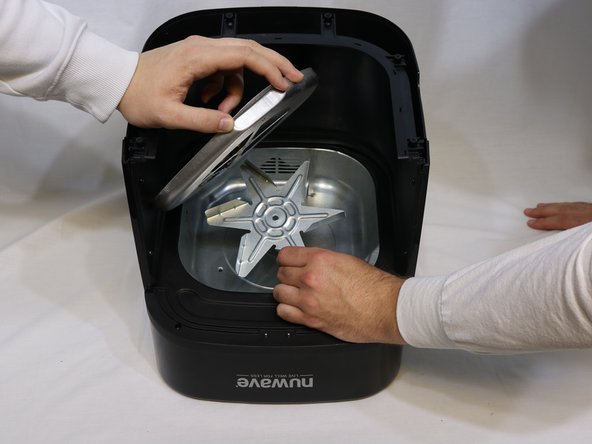
- Remove the three 10 mm screws located on the heating coil pan using a Phillips #1 screwdriver.
- The heating coil pan should have the ability to freely open at the top left joint.
- This step is easier with help. You will need two hands to unscrew the bolt and turn the fan simultaneously.
- Gently apply the pliers around the bolt in the middle of the fan blade and keep it there while you place your other hand onto the fan blade itself.
- Simultaneously hold the pliers in place to keep the bolt from spinning and turn the fan blade counterclockwise with force, as seen in the first picture.
- Turning the fan blade may require substantial force; be careful while removing due to a sudden jolt when loose.
- The bolt should become loose allowing you to remove the fan blade from its place, as seen in picture 2.
- Make sure to gather the nut and washer found beneath the fan blade once removed.
- Once clearing the fan area, you are now ready to insert your replacement.