HP Compaq 8200 Elite Teardown
ID: 161135
Description: The HQ Compaq 8200 Elite is a workstation-class...
Steps:
- There are no screws to remove, simply pull the handle on the cover towards you
- It is recommended that you do this with the PC flat on the floor
- There are 3 labelled tabs
- Pull gently upward to release them
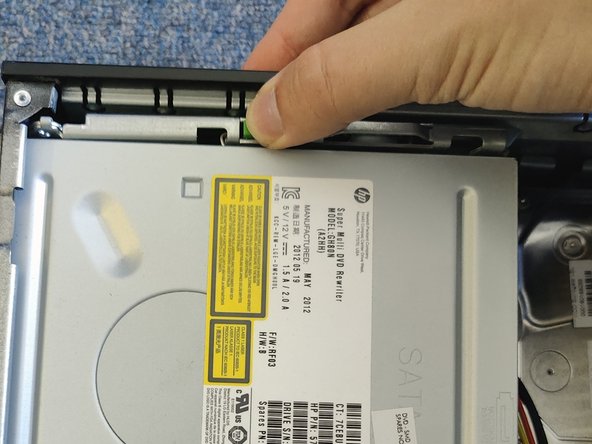
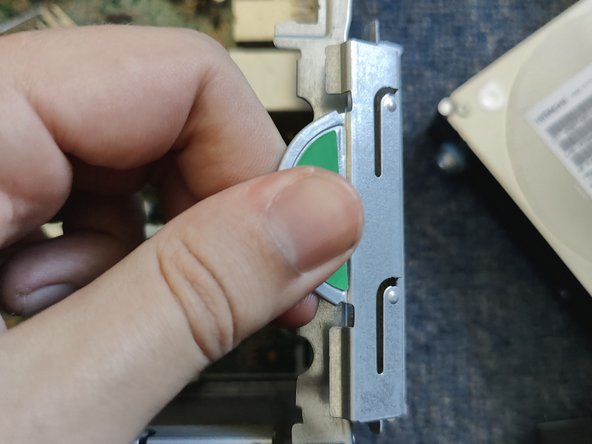
- Press down on the green button
- Pull the drive backwards until you hear a small click, then raise it out of the caddy.
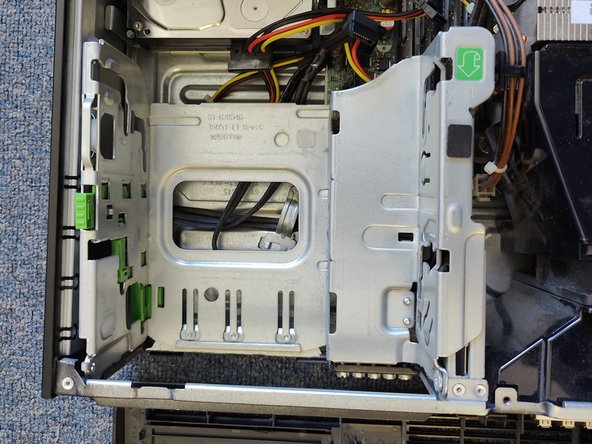
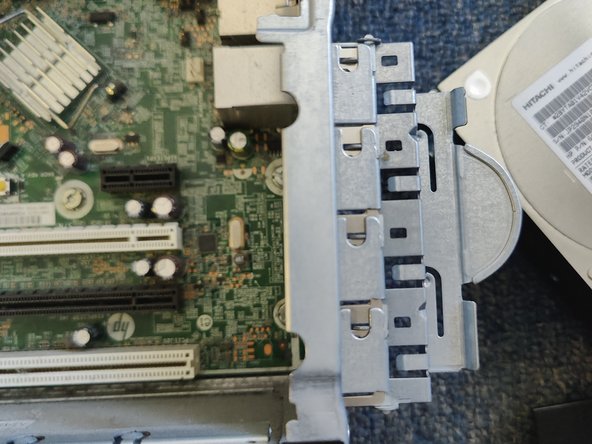
- The drive caddy can be raised to allow access to the 3.5" drive bay below the CD-ROM
- You don't have to remove the CD-ROM to do this.
- This makes it easier to access the next 3.5" bay, too.
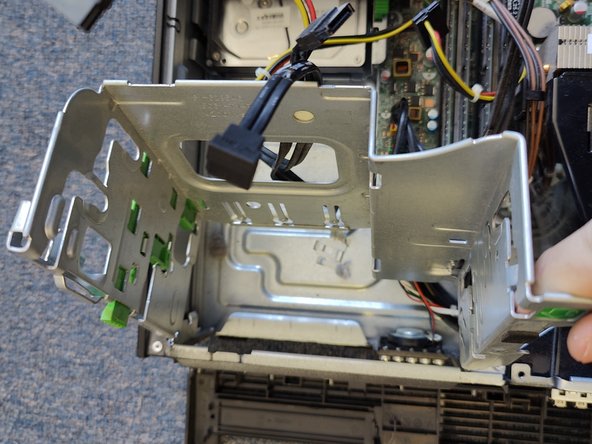
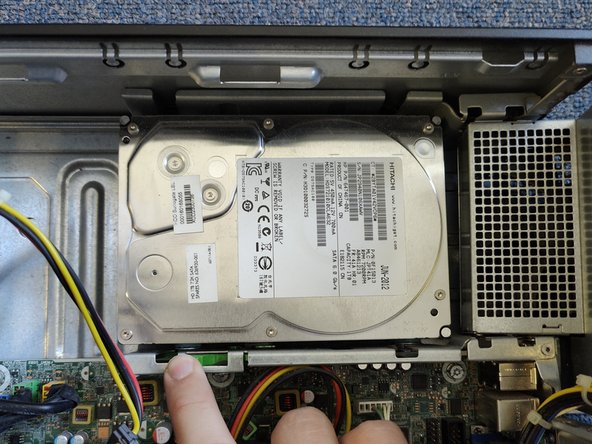
- The power supply is hinged, and swings away to reveal a 3.5" bay below.
- As with the CD-ROM, press the green button to release the drive.
- Pull back then up to remove.
- Depending on your configuration, there may not be a drive in this bay.
- In the bottom-right corner, there is a tab
- Lifting this up allows screw-free installation of PCI-E cards.
- Make sure to unclip the cables routed through the shroud before removing it.
- Only a very minor amount of force is required to remove the shroud.
- This will allow you to replace the CPU heatsink or fan.
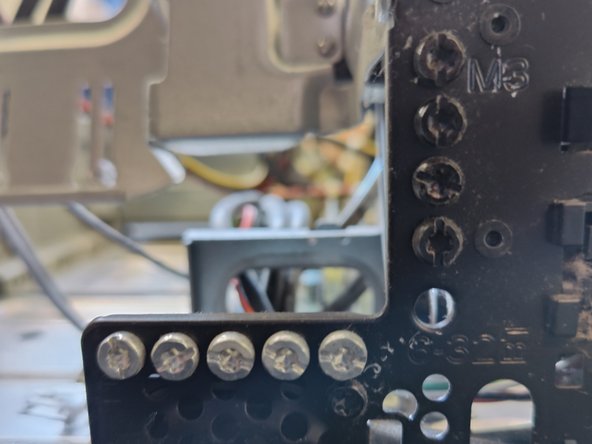
- This workstation comes with spare Torx screws.
- 5 Silver, 5 Black
- Mine is missing one
- These are also bitted for a flathead, but I had no luck actually unscrewing with one, so it's not recommended.
- They are screwed into the chassis under the front cover
- All screws in this device are Torx TR20. Ensure you have the correct bits before attempting board replacements