Whirlpool WED87HED Dryer Main Board Replacement
ID: 161154
Description: Use this guide to replace the main board a.k.a....
Steps:
- Before you begin your repair, unplug your dryer.
- Your power cord may have four prongs rather than three. The additional prong is a ground connection.
- Throughout this guide, keep track of each screw and reinstall it exactly where it came from.
- Use a 5/16 inch nut driver to remove the two 15.7 mm-long screws securing the top panel to the rear panel bracket.
- Grasp the top and slide it 1/2 to 1 inch toward the rear of the machine.
- Lift the top panel upward to separate it from the chassis.
- Remove the top panel from the machine.
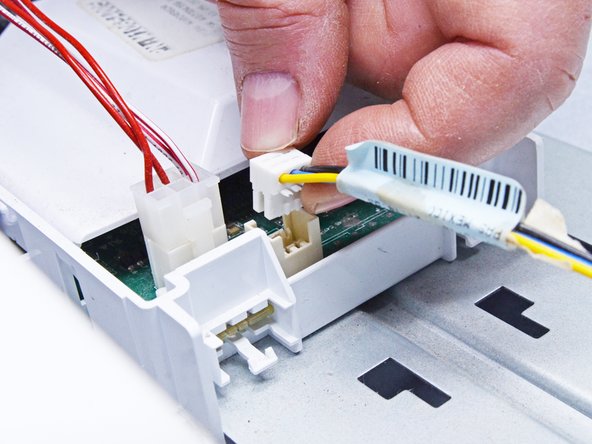
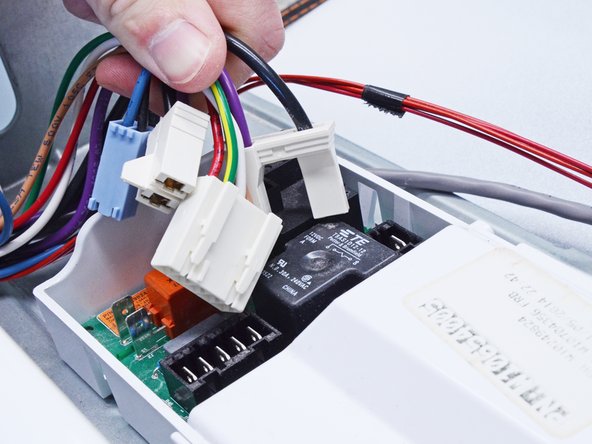
- Disconnect all the wires from the main board.
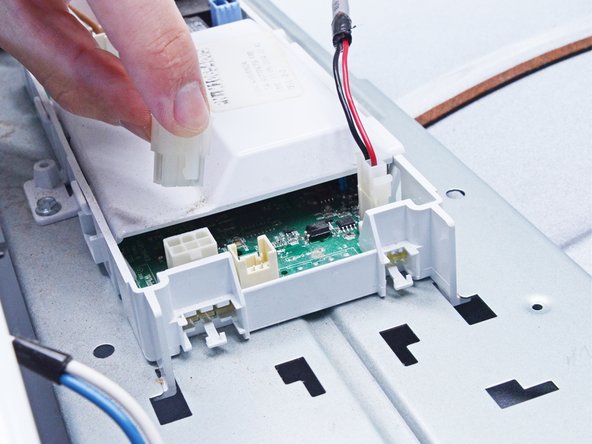
- Continue disconnecting the main board.
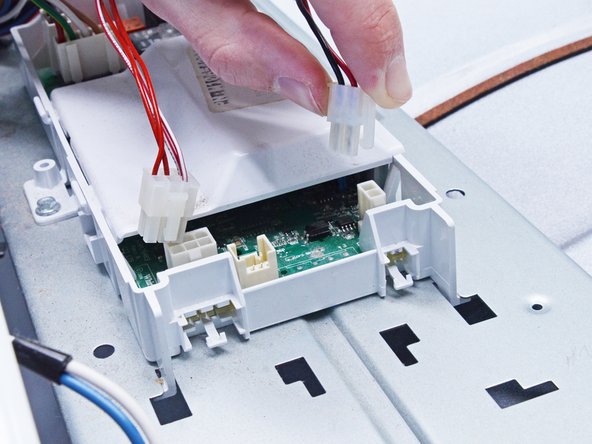
- Finish disconnecting the wires from the main board.
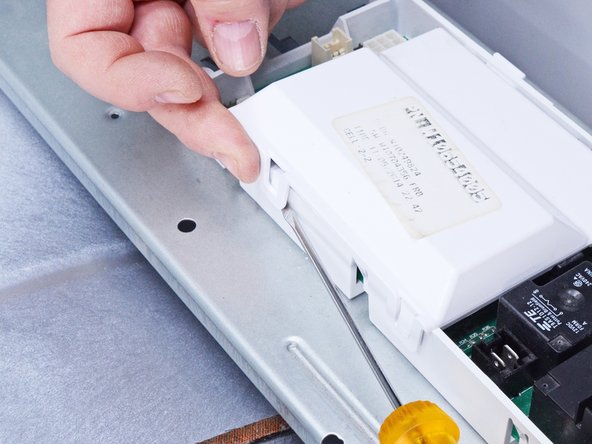
- Using a flat head screwdriver or a spudger, release the cover clips.
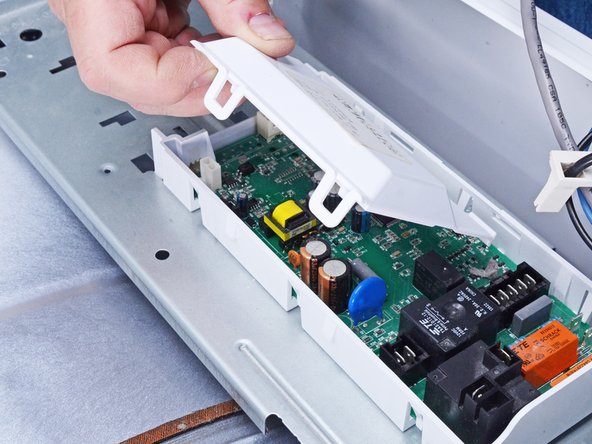
- Lift the cover to release the tabs on the opposite side of the main board housing.
- Remove the cover.
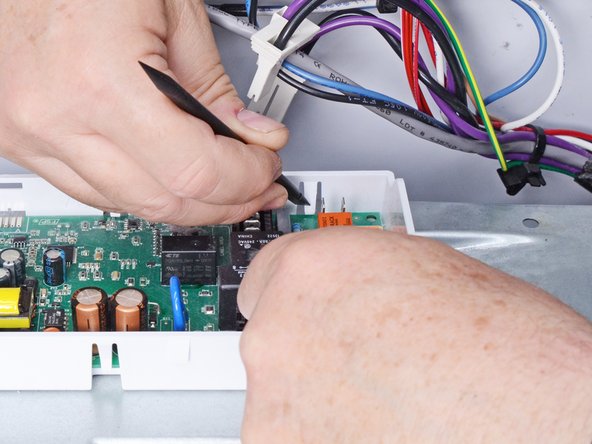
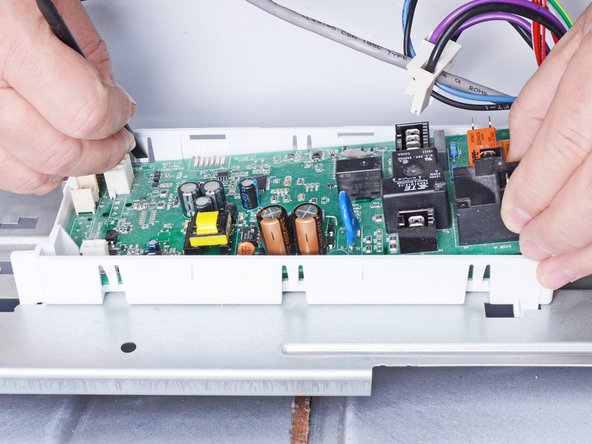
- There are six retaining clips securing the main board. Start at one end and work towards the other.
- When you're handling the main board, wear an anti-static strap if possible, or regularly touch the exposed metal parts of the dryer to prevent electrostatic damage to the board.
- Lift the board with one hand and use the other to release each clip with a spudger.
- As you go, keep a gentle upward pull on the board so that the released clips don't snap back into place as you work.
- Alternate sides of the board when releasing the clips.
- Release the remaining clips until the board is completely separated from its housing.
- Remove the main board from its housing.