Lenovo IdeaPad 3-15IIL05 Fan Replacement
ID: 161344
Description: Use this guide to replace a broken fan in your...
Steps:
- Allow your laptop's battery to drain below 25% before starting this repair—a charged battery may catch fire if damaged.
- Unplug all cables and fully shut down your laptop.
- Use a Phillips screwdriver to remove the ten screws securing the back cover:
- Six 7.6 mm-long screws
- Four 4.7 mm-long screws
- Plastic clips secure the back cover to the frame. You'll hear and feel the clips release.
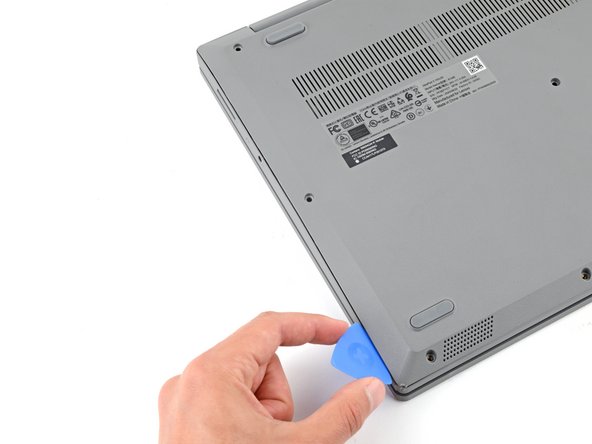
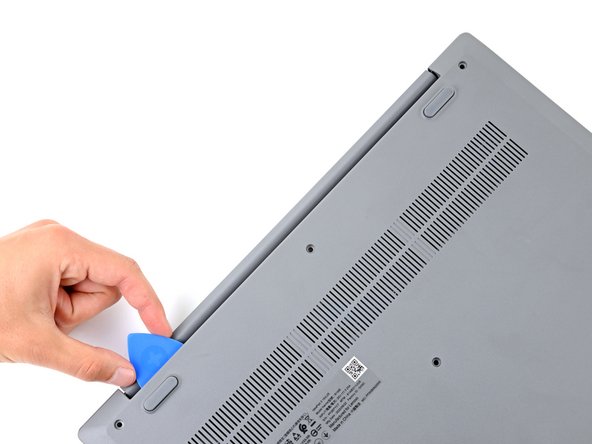
- Insert the flat side of an opening pick between the top left corner of the back cover and frame.
- Angle the pick down to about 45 degrees.
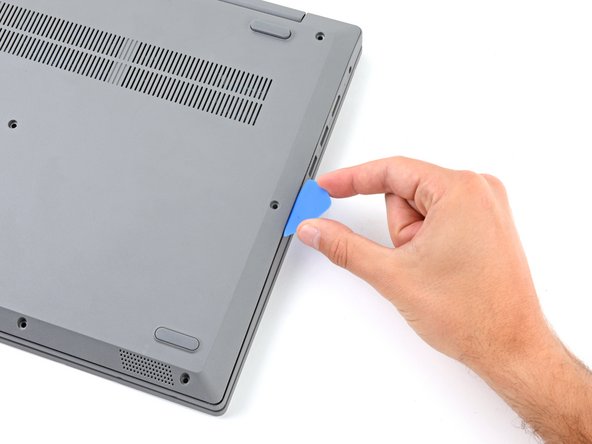
- Keep the opening pick angled down at about 45 degrees while sliding it along the front and side edges to help release the clips.
- Slide the pick to the bottom left corner of the laptop to release the left clips.
- Slide the opening pick to the bottom right corner to release the bottom clips.
- Slide the opening pick to the top right corner to release the right clips.
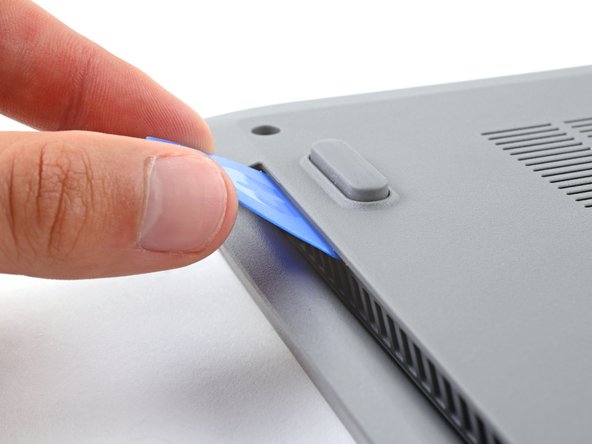
- Insert the flat end of an opening pick between the back cover and frame, to the left of the right hinge.
- Pry the back cover up with the pick to release the top right clips.
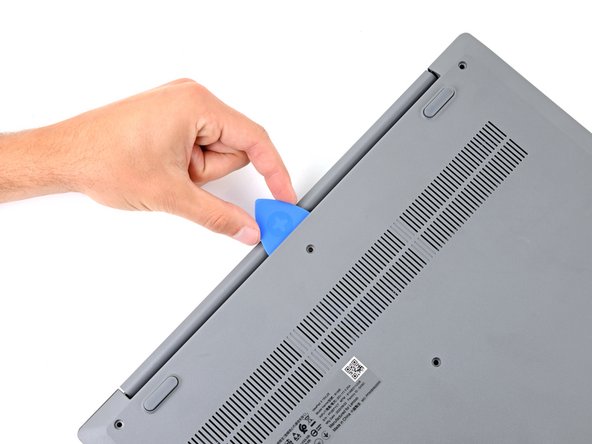
- Leave the pick inserted next to the right hinge.
- Angle the pick up to about 45 degrees.
- Slide the opening pick to the top left corner to release the remaining clips.
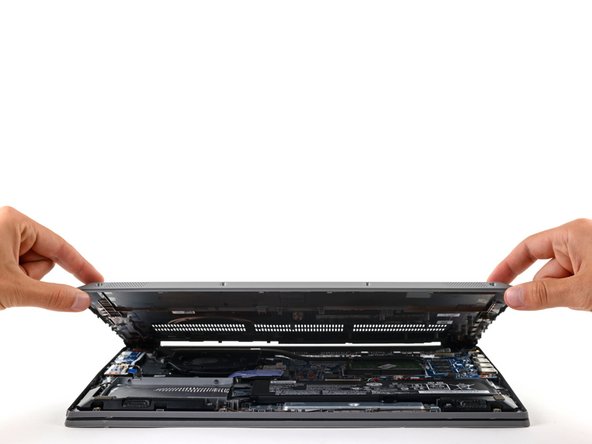
- Remove the back cover.
- During reassembly, lay the back cover on the frame and press firmly around the perimeter to engage all the clips.
- Use the flat end of a spudger to gently push the battery connector out of its socket on the motherboard.
- Push on alternating sides of the fan cable connector with a spudger to "walk" it out of its socket.
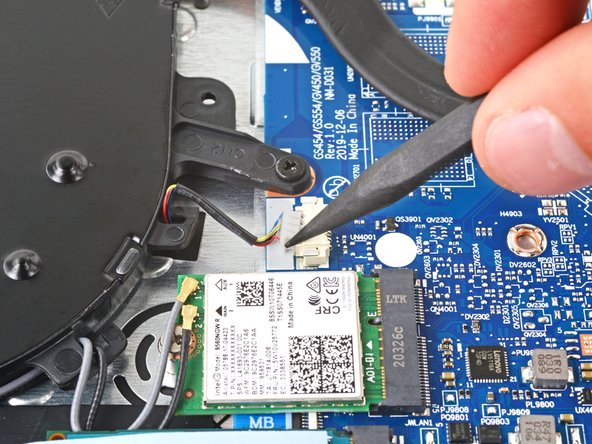
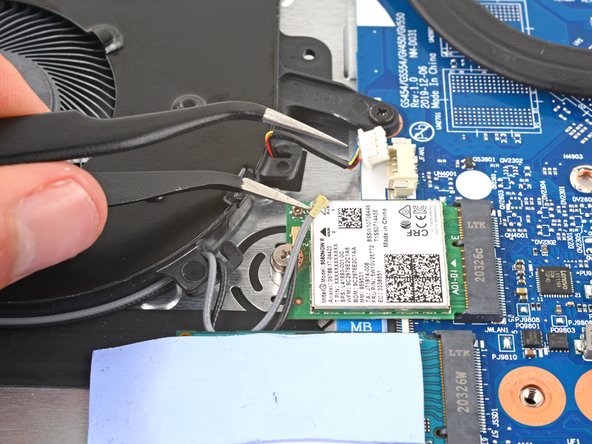
- Slide one arm of your angled tweezers under the head of the gray antenna cable connected to the WLAN card.
- Gently lift straight up to disconnect the cable.
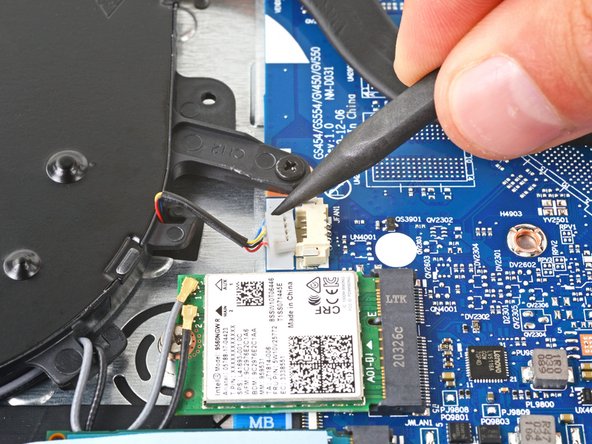
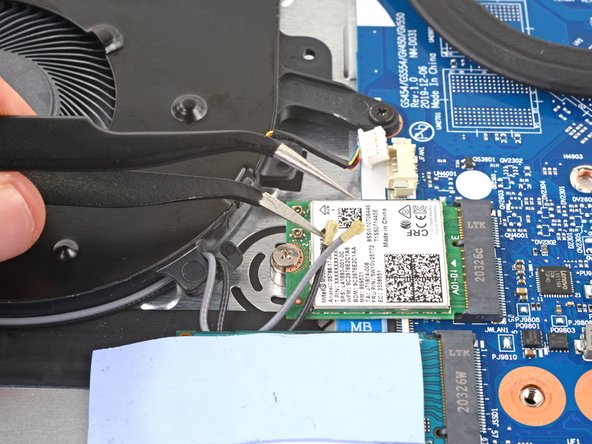
- Repeat the same process to disconnect the black antenna cable.
- To reattach antenna connectors like these, align the connector over its socket and press down with the flat end of a spudger. The connector should snap into place. This can be tricky and may take a few tries.
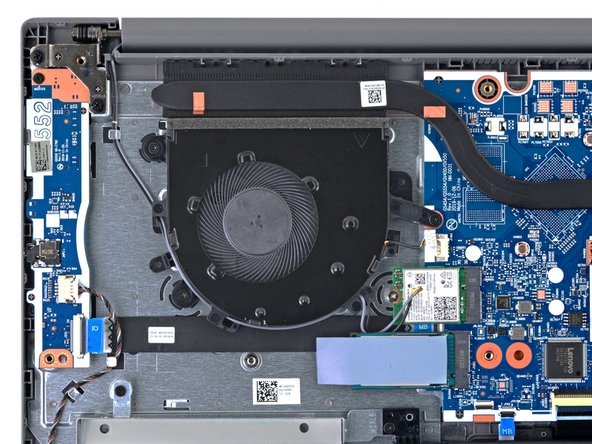
- Use a Phillips screwdriver to remove the three screws securing the fan:
- Two 4.4 mm-long screws
- One 5.6 mm-long screw
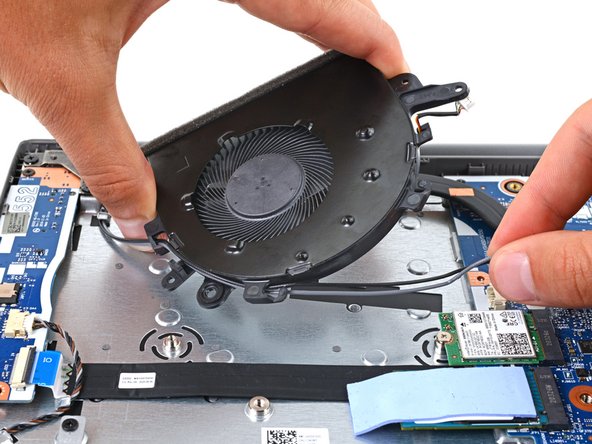
- Before installing the screws during reassembly, make sure the black and gray antenna cables aren't under the fan.
- Lift the fan up and gently guide the black and gray antenna cables out of their clips on the edge of the fan.
- Remove the fan.