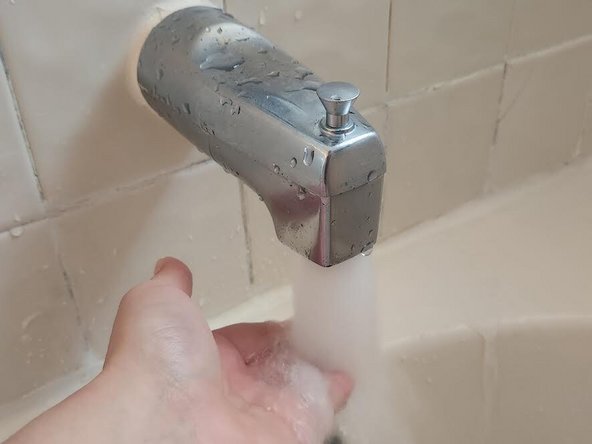
Moen Single Handle Faucet Cartridge (Model: 1225) Replacement
ID: 162826
Description: When a faucet starts to leak, it may become...
Steps:
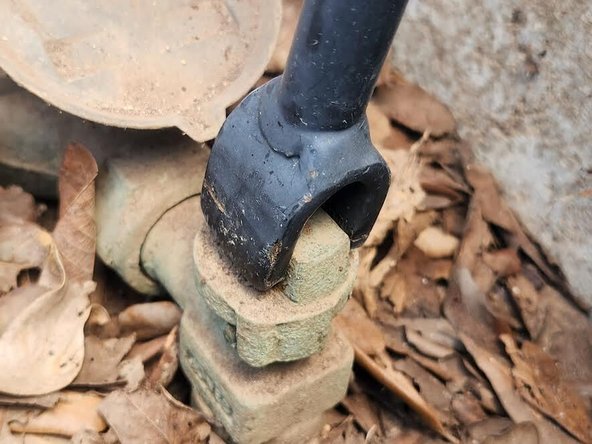
- Turn off the main water supply by inserting your meter key into the curb stop valve handle and rotating it 180 degrees counterclockwise to the closed position.
- If you have a gate valve, rotate the valve counterclockwise to the closed position.
- Open the faucet handle to relieve water pressure until there is no water flow.
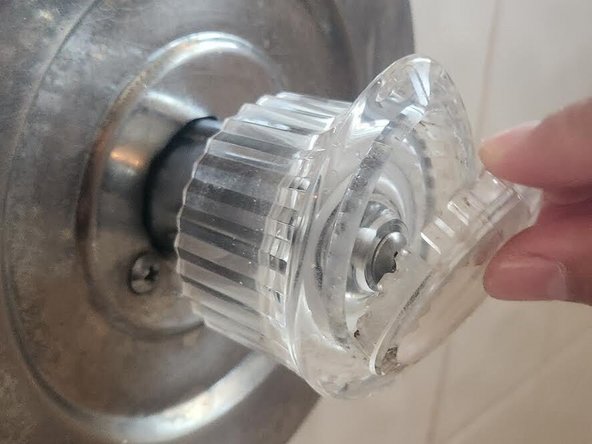
- Remove the handle cap.
- Use a Phillips screwdriver to unscrew the connecting handle screw (10-24 x 1-1/8" Button Head Phillips screw).
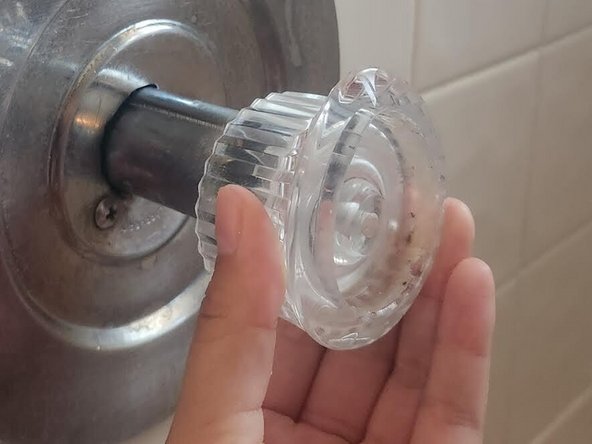
- Remove the handle.
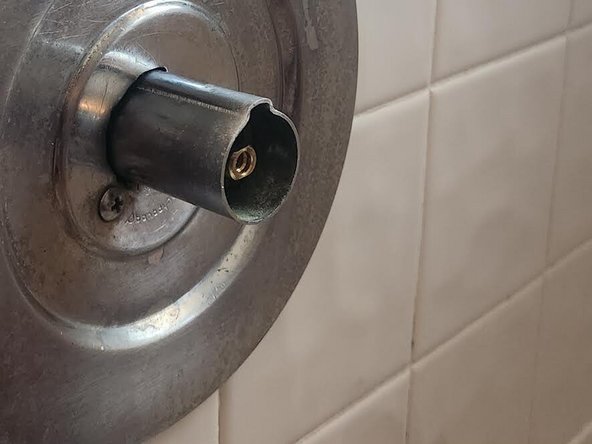
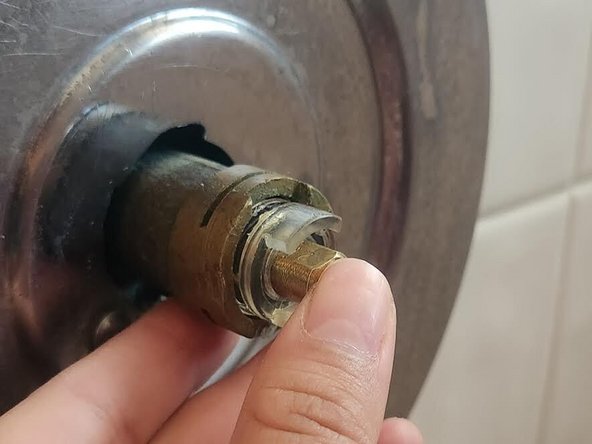
- Pull out the stop tube.
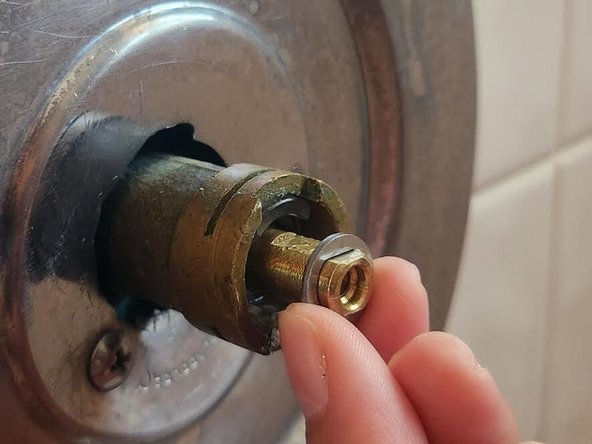
- Remove the washer from the brass stem.
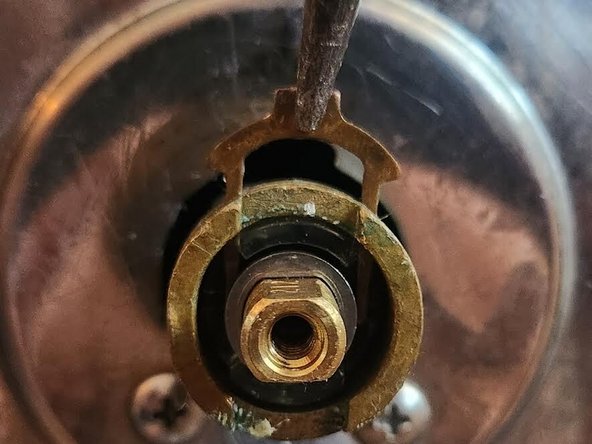
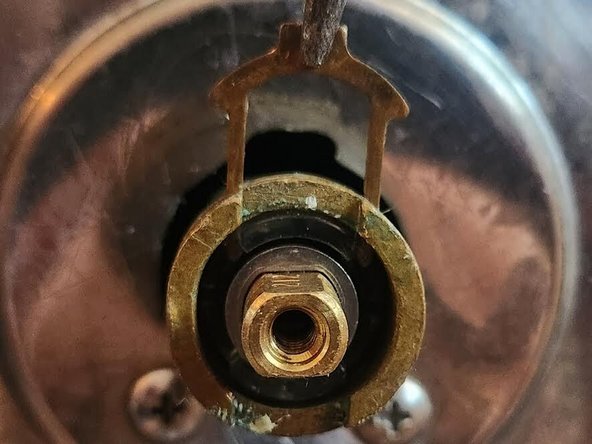
- Using needle-nose pliers, clamp the tip of the notch of the cartridge retaining clip and pull it upwards to remove.
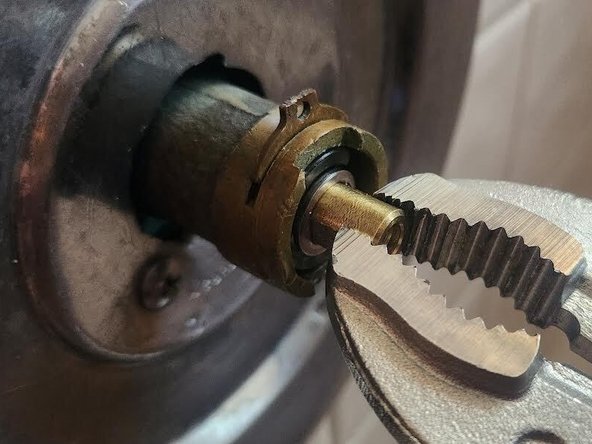
- Using a pair of vise grips, clamp firmly onto the brass stem and pull out the old 1225 cartridge.
- On the new 1225 cartridge, orient the volume control holes parallel to the floor.
- Insert the new 1225 cartridge into the valve.
- Insert the white twisting cap into the grooves of the new cartridge and push the cartridge into the valve.
- Remove the white twisting cap.
- Reinstall the cartridge retainer clip by sliding the clip into the valve.
- Turn on the main water supply by inserting your meter key into the curb stop valve handle and rotating it 180 degrees clockwise to the open position.
- If you have a gate valve, rotate the valve clockwise to the open position.
- Clamp the brass stem with vice grips and rotate it 90 degrees to the left, checking the water temperature for hot water.
- From this position, rotate the brass stem 180 degrees to the right, checking the water temperature for cold water.
- If the hot and cold operations are reversed, use vice grips to clamp onto the brass stem and rotate it 180 degrees from the original position.
- Push the washer onto the brass stem.
- Replace the stop tube by pushing it onto the valve.
- Insert the handle onto the stop tube.
- Use a Phillips screwdriver to screw in the connecting handle screw (10-24 x 1-1/8" Button Head Phillips screw).
- Replace the handle cap.