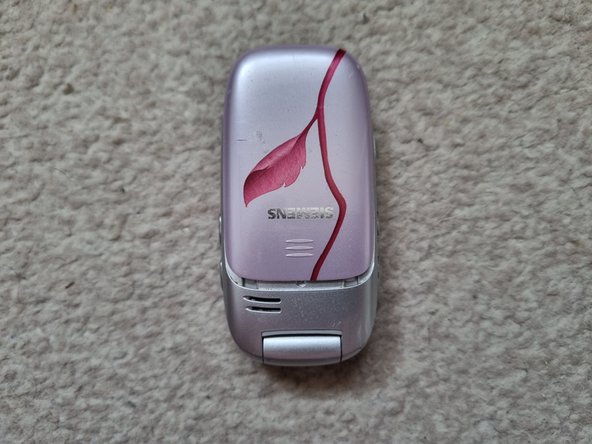
Siemens CL75 Motherboard Replacement
ID: 162852
Description:
Steps:
- To remove the battery cover push it with two thumbs away from the device.
- Though it's possible to remove the battery without tools it is very difficult and will likely result in splitting your nails
- Use a toothpick or spudger to remove the battery.
- Unscrew the 4 TR5 Torx screws. Two of which have warranty void stickers.
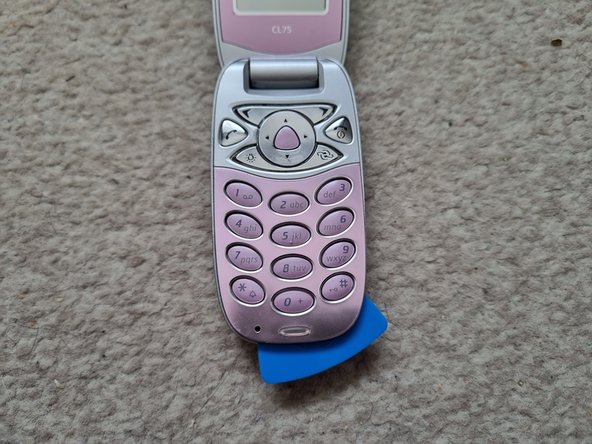
- Open the clamshell and insert an opening pick via the bottom corners.
- Pry around the sides of the device with an opening pick.
- The areas by the hinge are harder to remove. Take your time and go slowly.
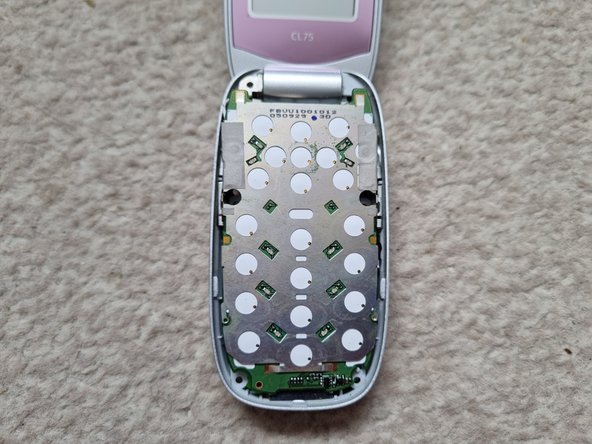
- Unclip the one half of the top side and then it should be safe to lift the button membranes out.
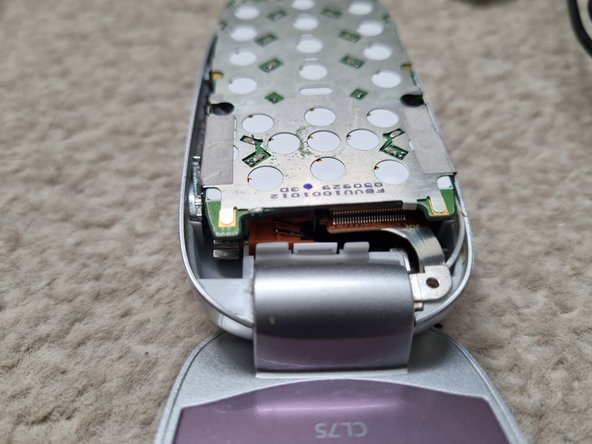
- Remove the one TR5 Torx screw holding the hinge and cables in place.
- The screw is smaller than the other screws do not mix them up.
- Do not remove the motherboard as it's still connected.
- The screen is connected via a ribbon cable underneath the board. Remove it with a spudger.
- Lift the board out, turn it around and place it on the left of the frame.
- The antenna is still connected. Do not break it.
- Use a spudger to disconnect the antenna by placing it under the cable and pulling it up.