Jura Impressa E4 - E8 (New Models) Brewing Unit Maintenance
ID: 162932
Description:
Steps:
- Never forget: disconnect the power plug!
- Remove all attachments: Coffee ground container, trester drawer, water tank and the coffee beans.
- Pull off the flap above the water tank to the rear.
- At the very bottom of the back is a hurdle: two oval head screws, they look like rivets. They can be unscrewed with a special tool. At iFixit, the Oval Drive Bit is part of tool collections, you can also get it at law dealers or find it on the Internet. The manufacturer wants to make it more difficult for us!
- You can also easily build such a tool yourself.
- Unscrew the two oval head screws.
- The side panel on the water tank side is still attached with two Torx T15 screws. Unscrew them.
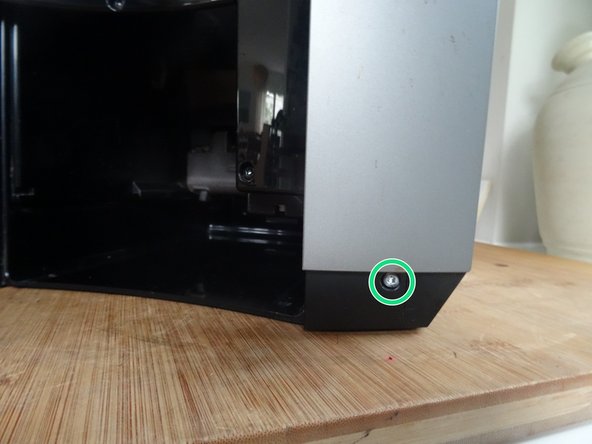
- The side panel with the switch is fixed at the bottom front with one Torx T15 screw. Unscrew it.
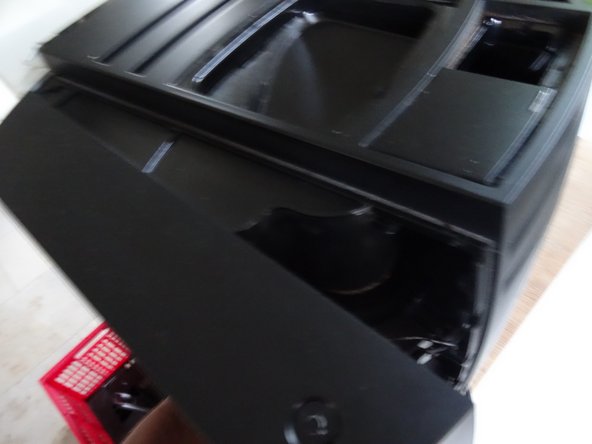
- Push the two side panels back a bit and pull them out at the bottom, then you can remove them. Do not remove the side panel with the power switch completely yet.
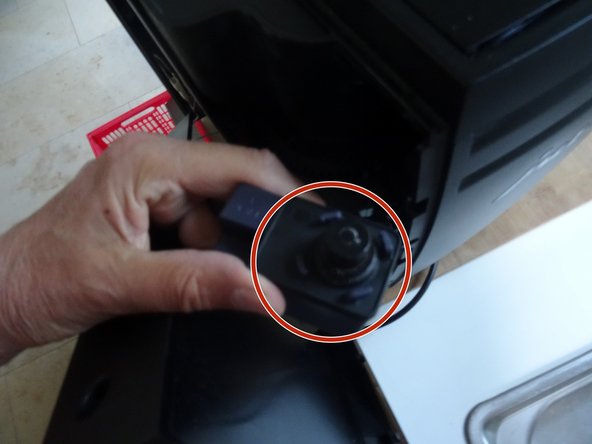
- Turn the power switch a little clockwise and remove it. Place the side panel aside
- Lift the side panel on the water tank slightly upwards and pull it out at the bottom edge. You can then remove it and put it to one side.
- It is a bit tricky to reinstall the side panel. Many bayonets have to be hooked in at the same time. It's easier if you push the water tank seal carrier up a little while you slide the side panel in. Then let it slide down.
- Pull off the grinder adjuster.
- Lift out the powder feed chute.
- Unscrew the Torx T15 screw on the bean hopper.
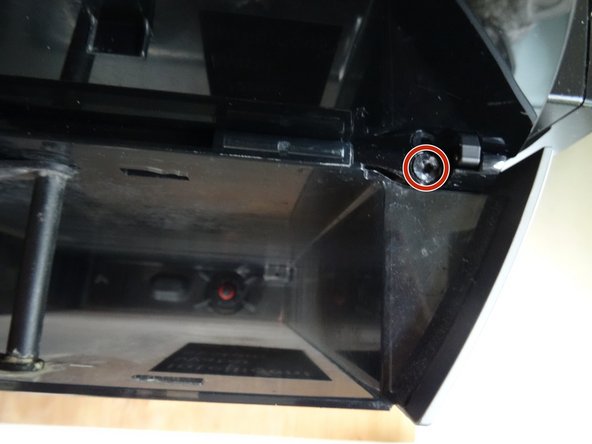
- Unscrew the last screw that holds the upper part at the front.
- Now you can remove the upper cover, it binds a bit.
- For most repairs, this is enough, you may also have to unscrew the back cover and remove it.
- Here is a view from above.
- Heater
- Grinder
- Sensor for the coffee powder
- This sensor is not available on all models
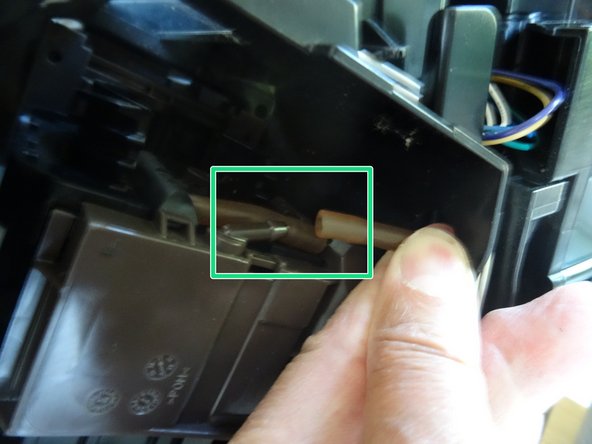
- There is a lid above the brewing unit. Begin by pulling off the silicone tube.
- Remove the Torx T15 screw.
- Unclip the lid the top and lift if off.
- Remove the Torx T15 screw and remove the drainage tube.
- Pull off the silicone tube from the top of the brewing unit.
- The unit is attached with three deep Torx T15 screws. You will need a long-shaft screwdriver.
- Remove the three T15 Screws.
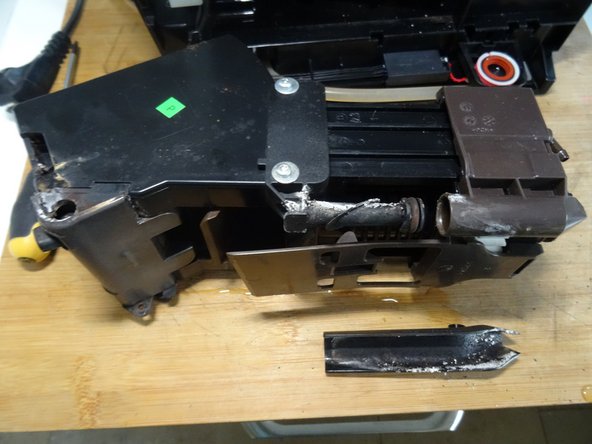
- Carefully lift the brewing unit out and remove it.
- The brew group is an evolution of the previous one and differs in a few add-on parts, which are easy to remove:
- Vacuum nozzle
- Vacuum chamber with coffee spout
- The vacuum nozzle (marked in green) is fastened with a holder. Unscrew the two Torx T15 screws on the holder and remove the nozzle. Replace the seal during reassembly.
- The vacuum nozzle slides into the vacuum chamber. To remove it, you need to push in a few latches and slide off the chamber.
- The subsequent procedure does not differ significantly from the previous brew group.