Lenovo ThinkPad X260 Cooling Fan Replacement
ID: 162939
Description: This is a simple guide designed to help extend...
Steps:
- Make sure that the device is unplugged and turned off.
- Flip the laptop from the front to the back.
- Start by pinching the switches on either side of the battery outwards.
- At the same time push the external battery, located in the back, upwards.
- Remove the external battery from the laptop.
- Loosen the eight 4.2 mm screws holding the back cover on using a Phillips #1 screwdriver.
- These screws should be held in place by a small plastic washer which secures them to the cover and should not be loosened. This is illustrated in the third image.
- Gently pull the cover off and set aside.
- An iFixit opening tool may make it easier to gently remove the cover.
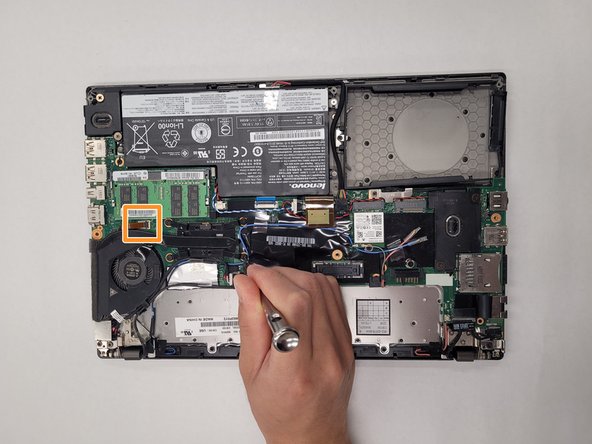
- Remove the four 2.9 mm screws that hold the cooling fan in order of 4, 3, 2, 1 using a Phillips #1 screwdriver.
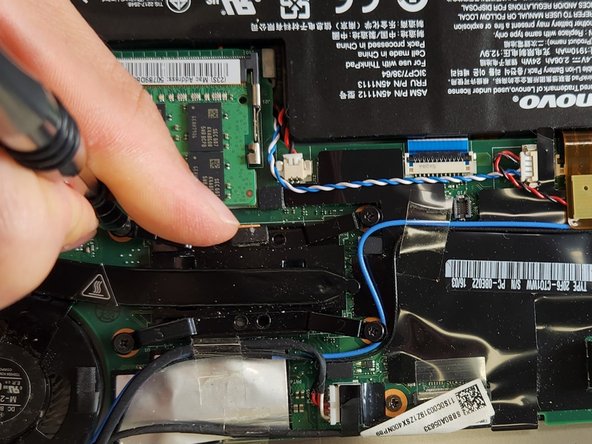
- Gently lift the plastic retaining flap to disconnect the ribbon cable.
- The plastic that holds the ribbon wire in place is a black lever on a tan block.
- Gently remove the wires which run along the fan.
- Remove the old cooling fan.
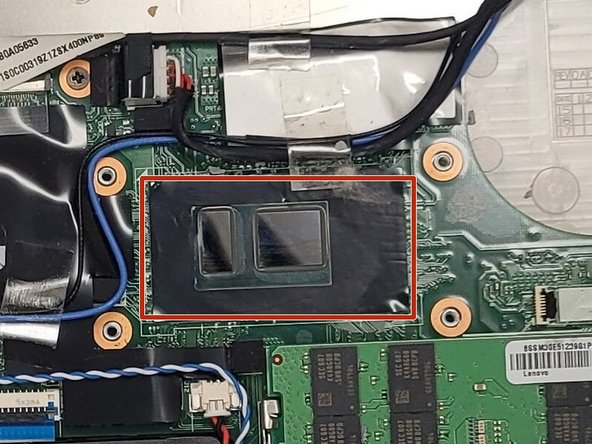
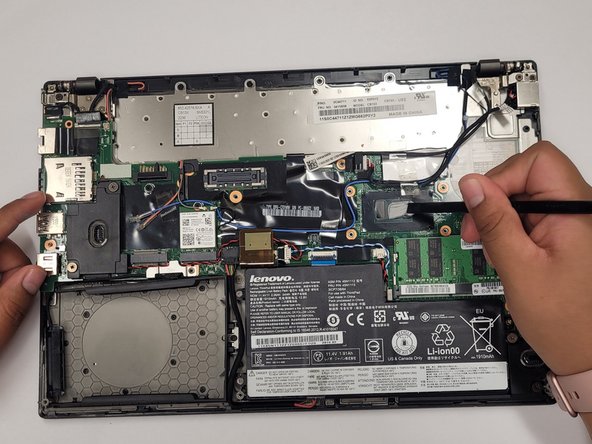
- Clean the old thermal paste off of the CPU.
- The CPU, when clean, should have a glossy black finish.
- Apply new thermal paste to the CPU.
- Place the new fan in position and secure by reatching the screws in the order of 1, 2, 3, 4.