KYVOL CYBOVAC E20 Motherboard Replacement
ID: 163003
Description: If your KYVOL CYBOVAC E20 breaks down randomly,...
Steps:
- Start by laying the device on a flat surface with the logo facing up.
- Flip the device over.
- Remove two 1 mm screws using a Phillips #00 screwdriver.
- Remove the cover.
- Lift the battery.
- Press down on the top of the white connector.
- Remove the battery from the vacuum.
- Remove both sweepers by pinching near the base of the brushes and pulling up.
- Remove four 10 mm screws using a Phillips #00 screwdriver.
- Lift the wheel to detach the tensioning spring. This step requires you to first press down on the wheel, then detach.
- Disconnect the wheel motor from the power supply.
- Repeat the process for the other wheel.
- Flip the device over.
- Remove the eight 15 mm screws on the device's underside using a Phillips #2 screwdriver
- Remove the eight 10 mm screws with a Phillips #2 screwdriver to remove the bumper.
- Disconnect the sensor wire from the front of the device.
- Remove the dust bin from the device.
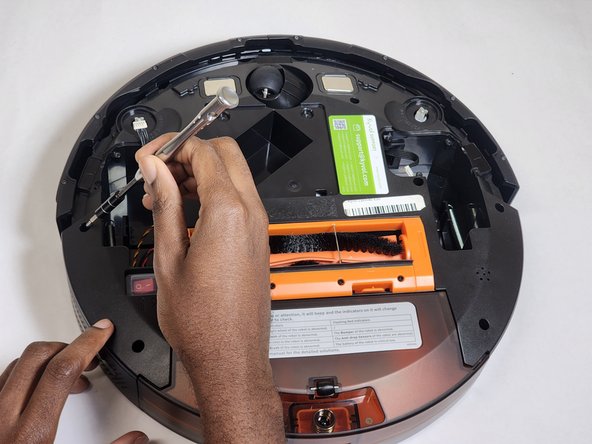
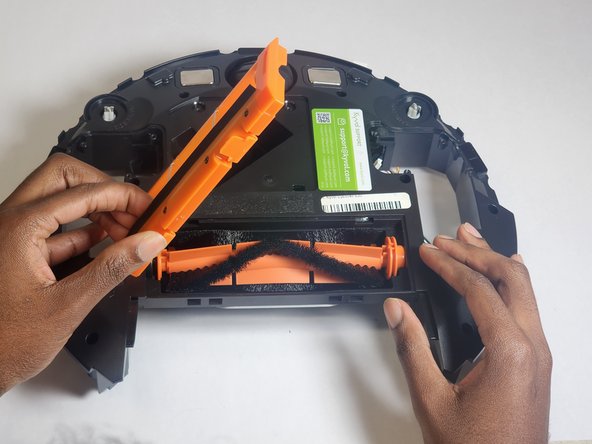
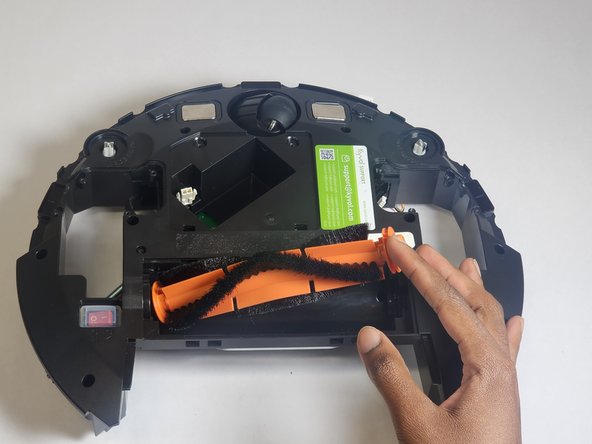
- Remove the main brush from the bottom of the device.
- Remove the orange cover, then pop the brush out of its compartment.
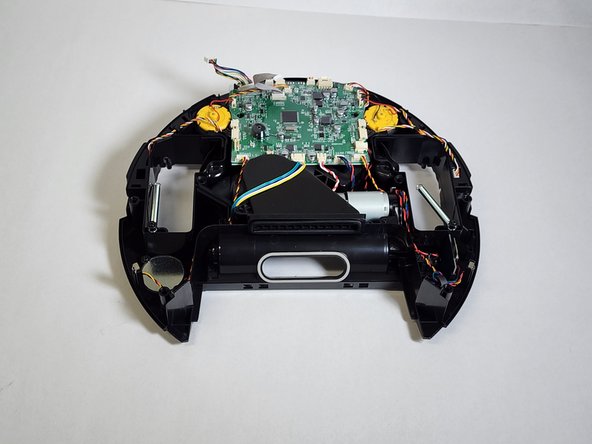
- Disconnect the ribbon cable between the top and bottom halves of the device and remove the top half away from the rest of the body.
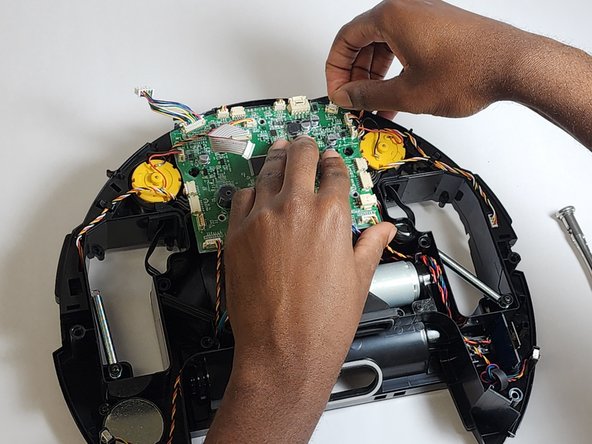
- Remove the three 10 mm screws from the motherboard using a Phillips #2 screwdriver.
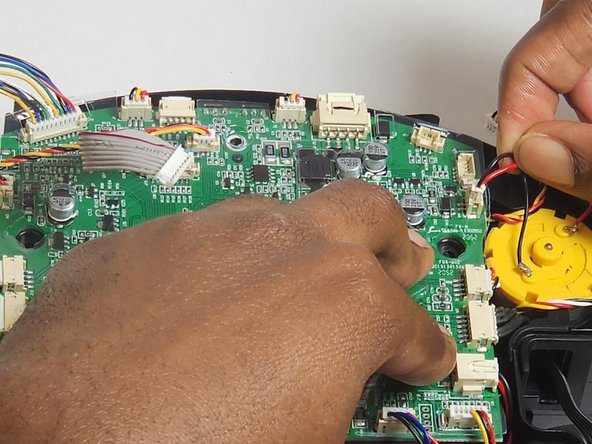
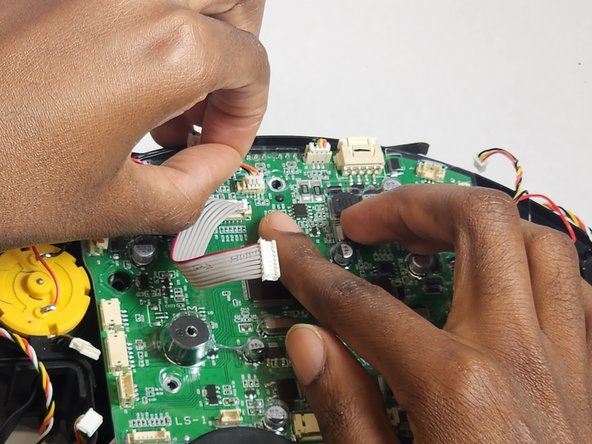
- Detach the connections on the motherboard carefully.
- Continue removing the connections up until you are done removing all 19 of the motherboard connections.
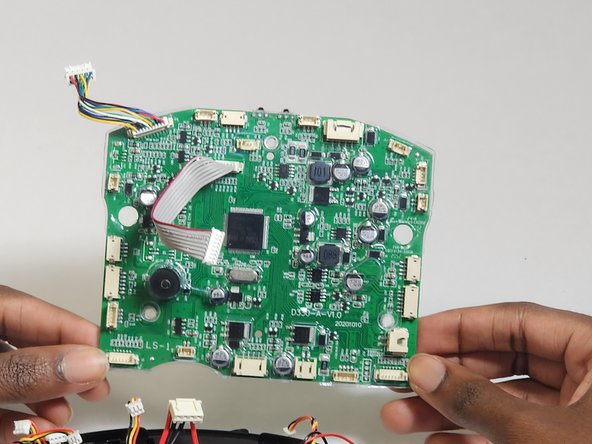
- Once all plugs are disconnected, lift the motherboard out of the device.