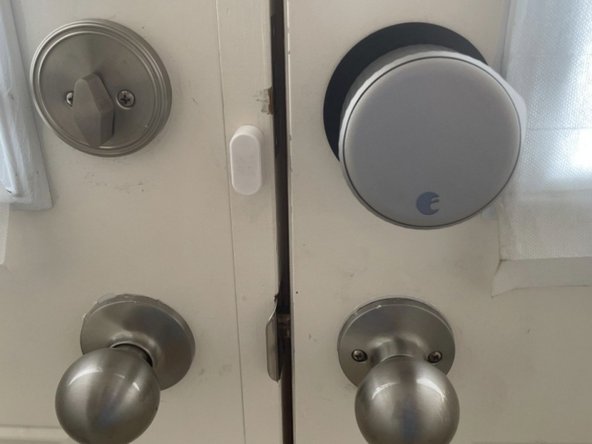
How to Replace a Manual Door Lock With An August (4th Gen.) Smart Lock
ID: 163089
Description: This guide will demonstrate how to replace an...
Steps:
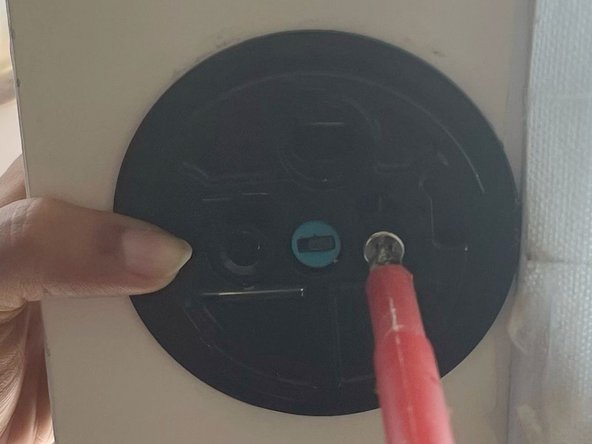
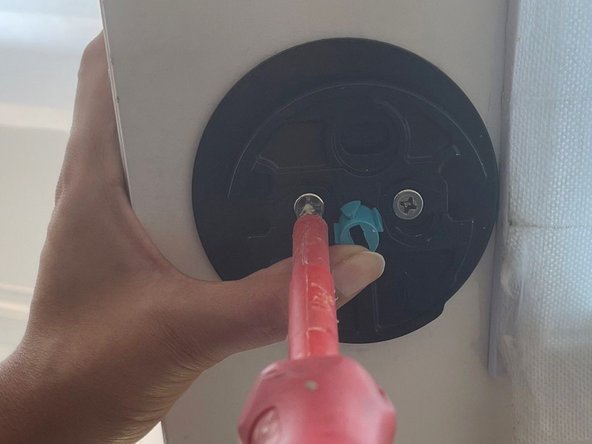
- Unscrew the lockbolt of the old door and remove it.
- Match the adapter to a position where it fits into the middle hole of the door’s lock spot.
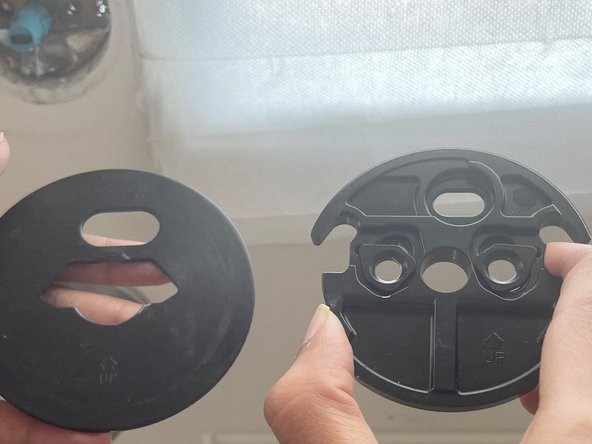
- Attach the two door mounting plates together, aligning the holes between the two plates.
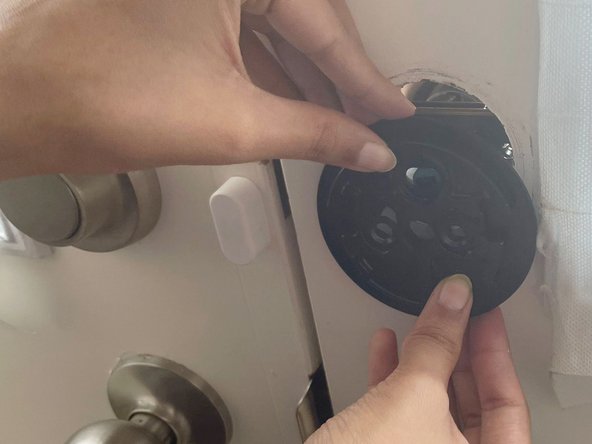
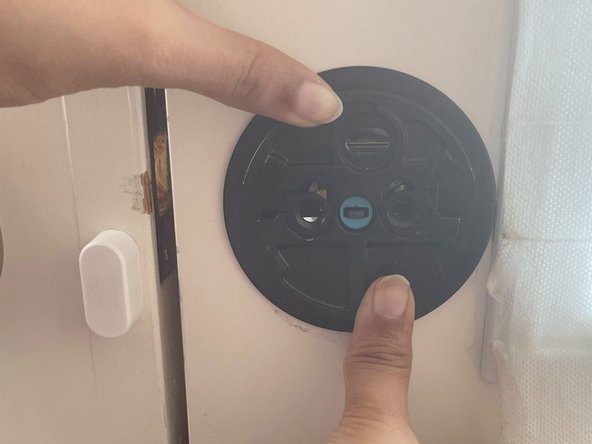
- Once attached together, flip it the other way and attach it to the lock spot.
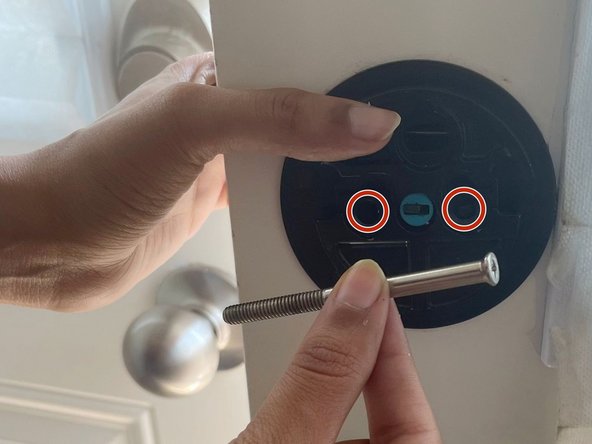
- Screw the screws back in.
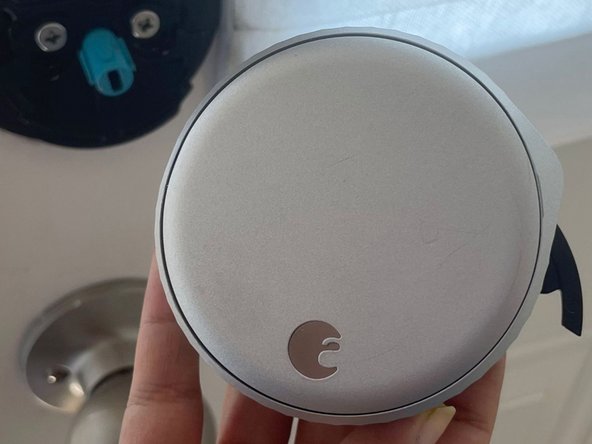
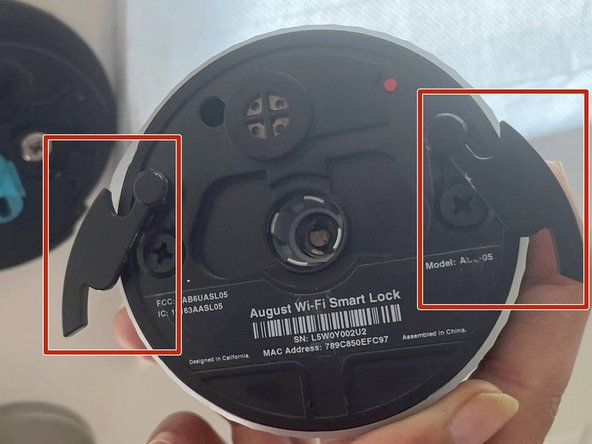
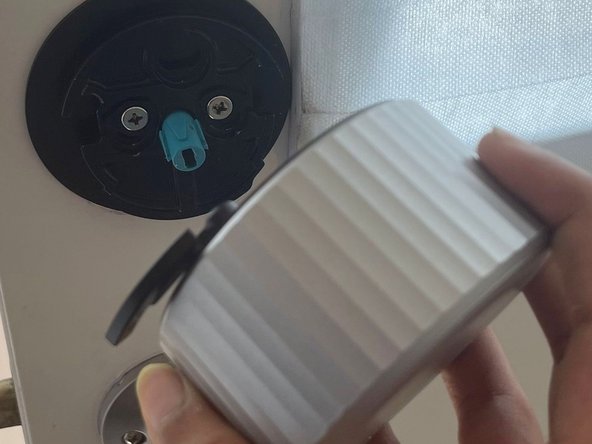
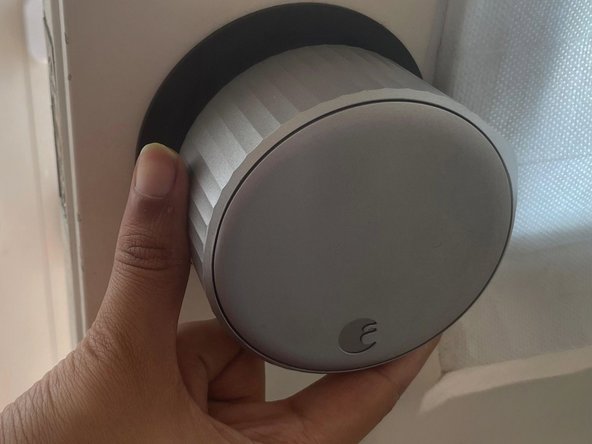
- Flip your August Smart Lock (4 Gen.) so that the back faces the door.
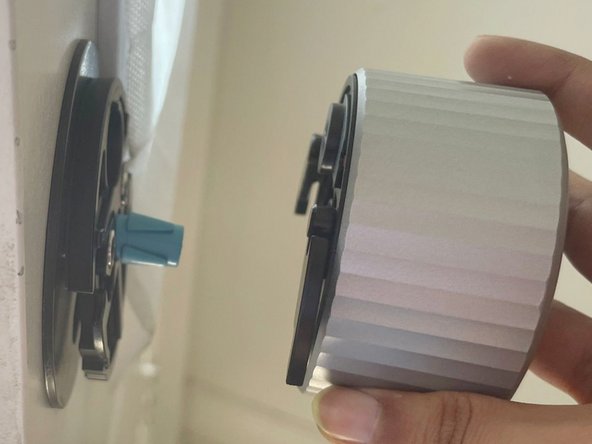
- Make sure that both of its side wing latches are still open.
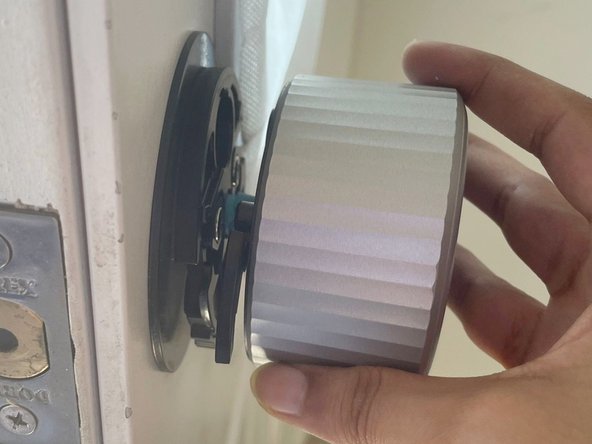
- Attach the lock to the mounting plates, matching it in the center of the adapter’s tailpiece shape to see how it fits.
- This may take some rotating to see how it can fit on best.
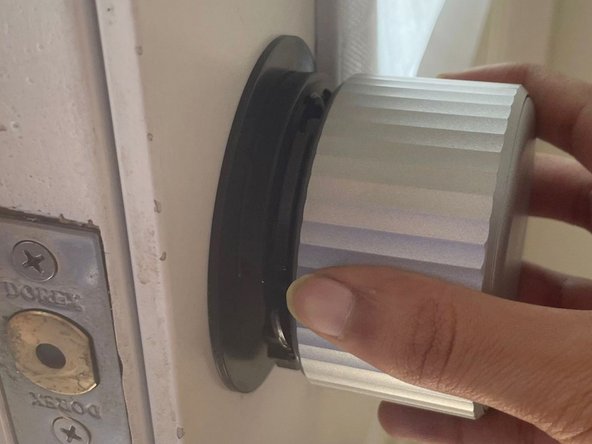
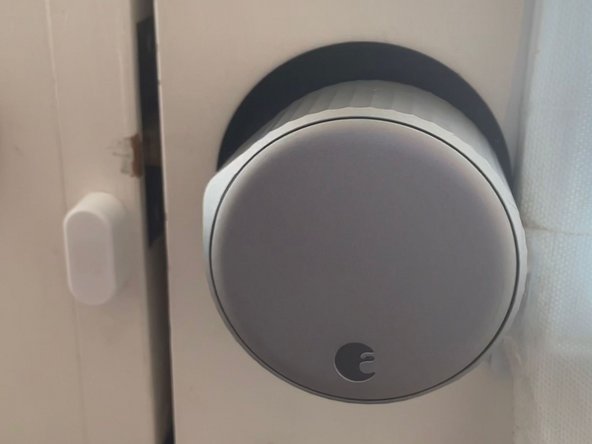
- Once fit, proceed to close both of the open wing latches on the smart lock.
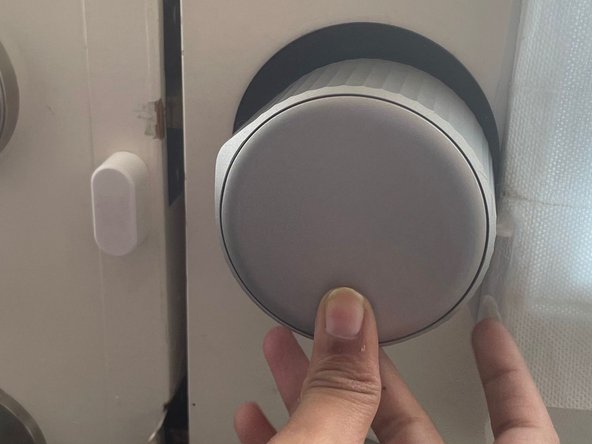
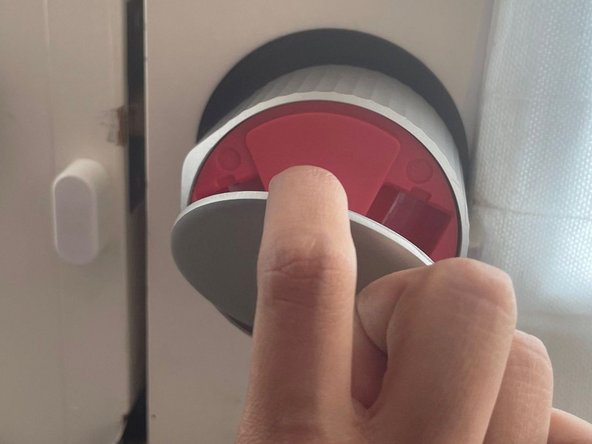
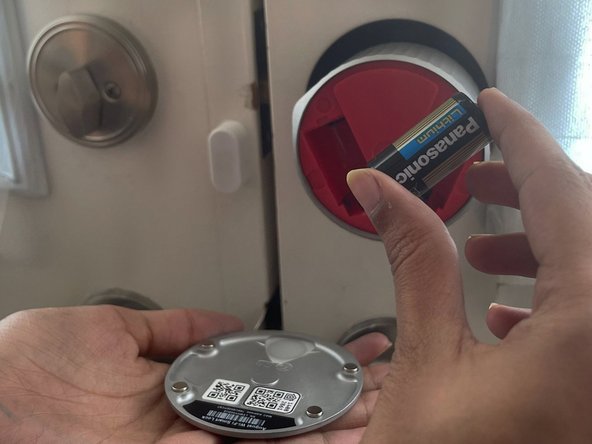
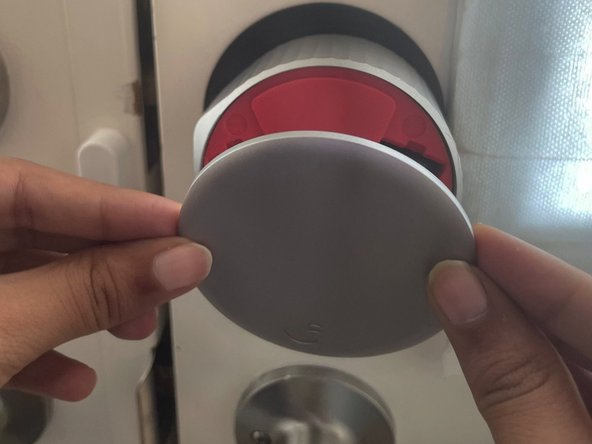
- Gently push on the ‘August’ logo on the front cover of the electronic lock to lift the front cover (the magnetic buckle).
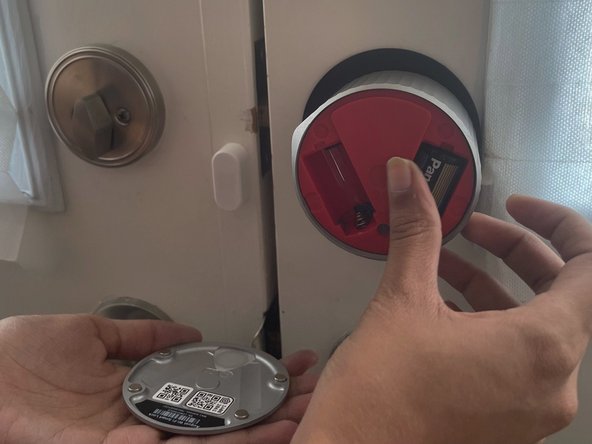
- Here, you will find the batteries’ placement area.
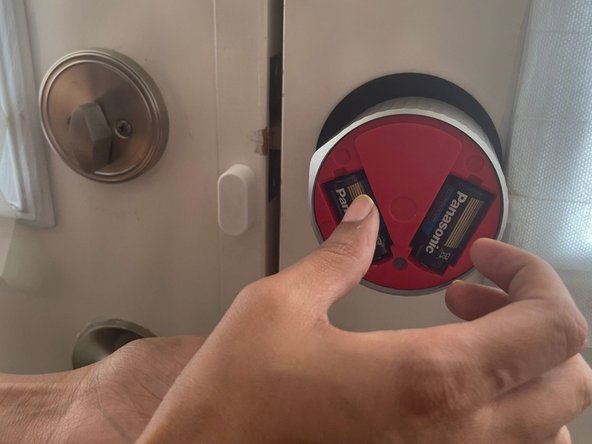
- If sealed, remove/tear off the plastic seal, then put the given lithium batteries in their designated area.
- Make sure to place them the right side up - keep in mind that the negative attracts the positive.
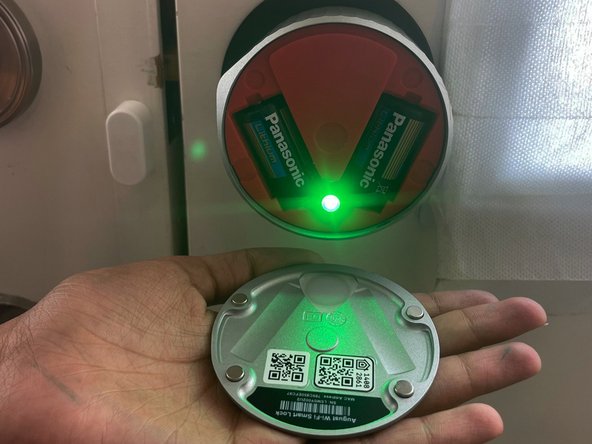
- After doing so, you’ll see the ‘August’ Smart Lock flash a green light.
- Once that happens, put the front cover back on.
- Download and configure the August Smart Lock application on your cellular device.
- Follow the on-screen instructions to connect to your lock.
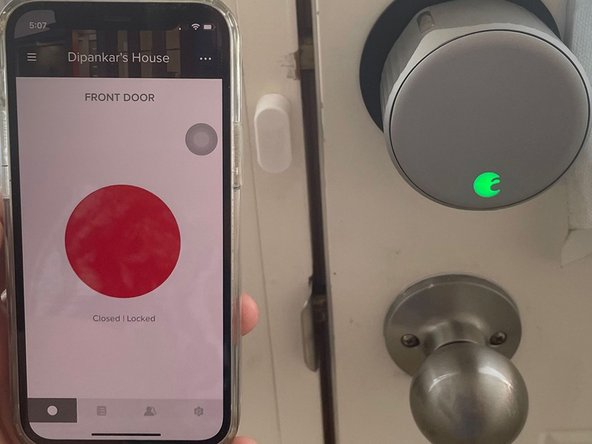
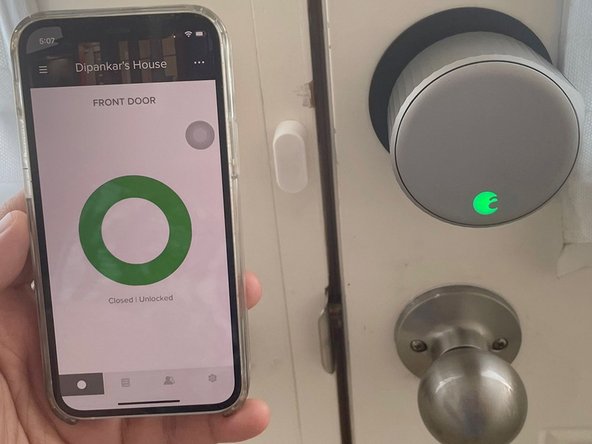
- Pay attention to the light coming from the logo as you proceed.
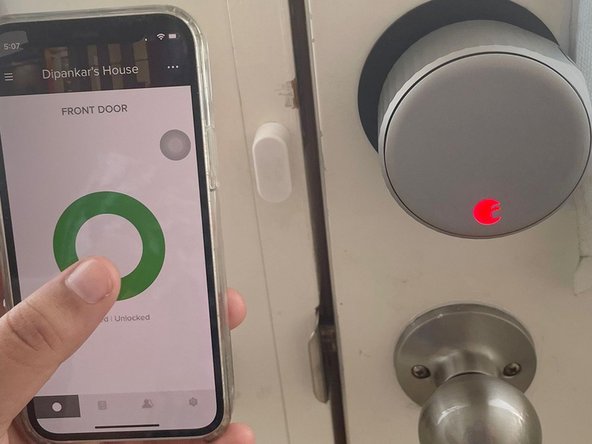
- Once done, test the application by pressing your phone screen to lock your door.
- Test the application again by pressing your phone screen to unlock your door this time.
- Your new Wi-Fi controlled smart lock should now be ready to use at any time.