Bosch Pro Animal BSGL5ZOO2 Motor Replacement
ID: 163137
Description: In this guide, I'll show you how to replace the...
Steps:
- Disconnect the power plug from the mains.
- Remove the hose by pressing the two catches on the sides.
- Remove residue bag G8.
- Remove HEPA high efficiency hygiene filter 579496 VZ154HFB
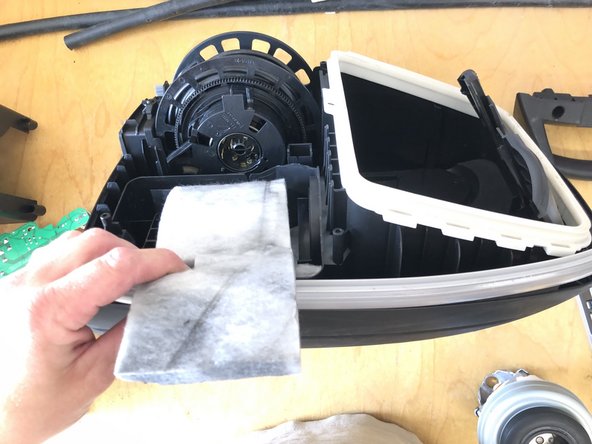
- Remove motor protection filter 578863 VZ01MSF
- Use the spudger to lever the start button upwards from the front and remove it.
- Loosen the 6 screws with the screwdriver.
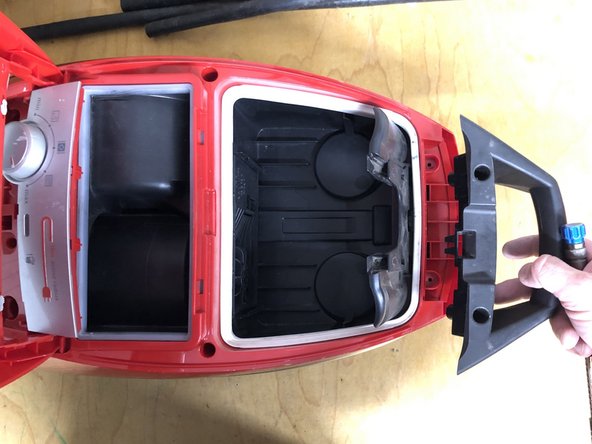
- Remove front grip.
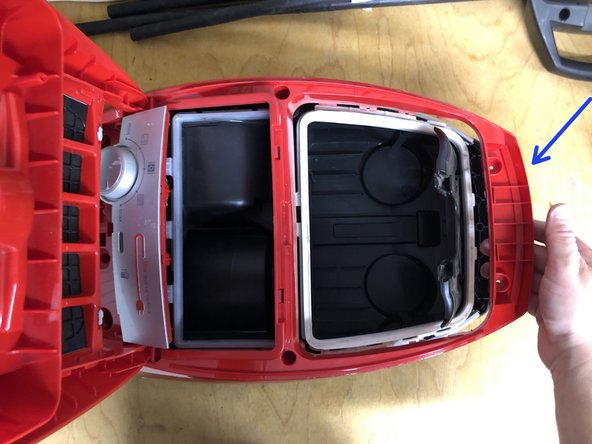
- Lift the top of the housing from the handle side
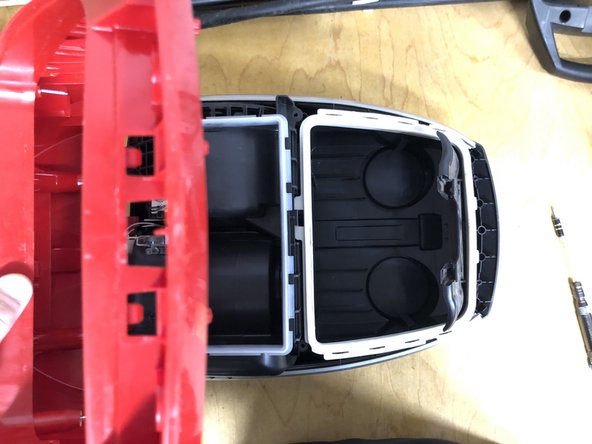
- Remove the top of the housing towards the rear.
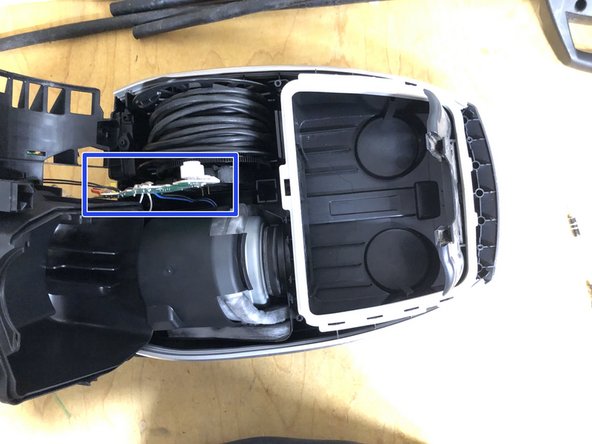
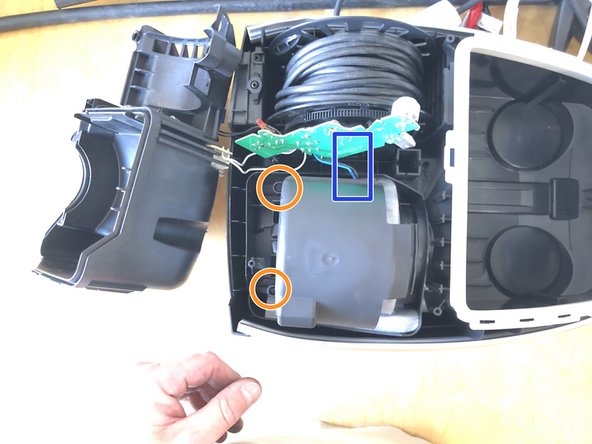
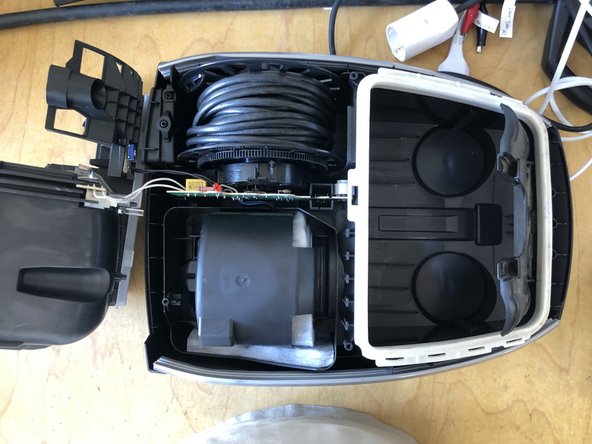
- Remove motor cover towards the back.
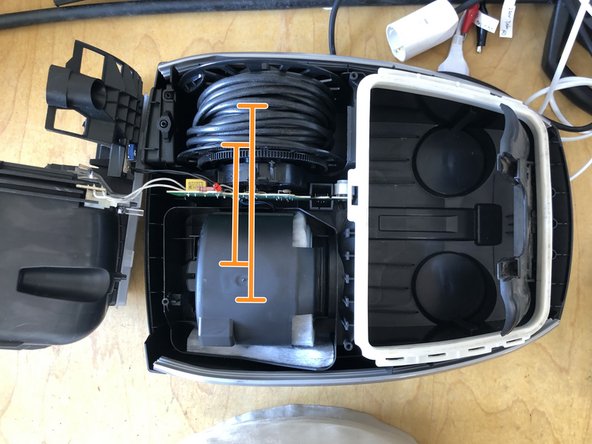
- Carefully remove the circuit board from the guides of the cable drum.
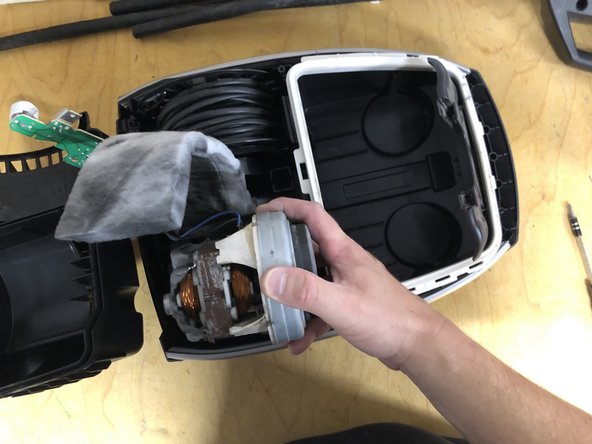
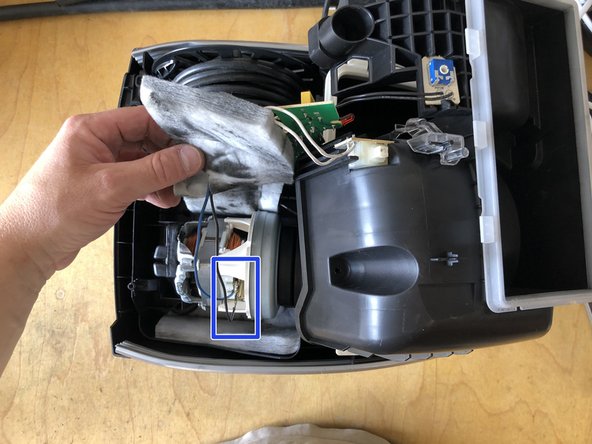
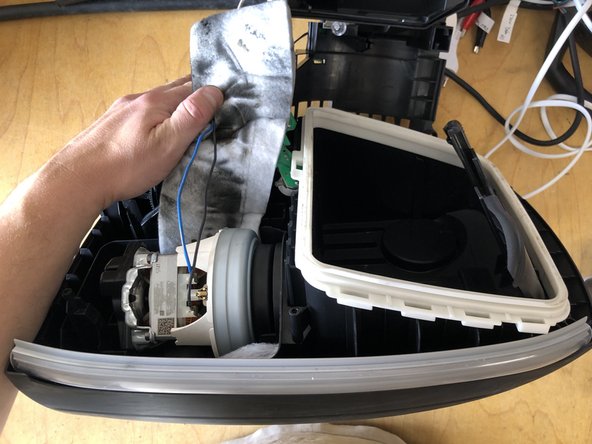
- The motor is now accessible.
- Attention: Unplug the device from the power outlet!!
- Removing the Motor
- Disconnect the cables / terminals from the motor.
- Dispose of the motor (scrap metal).
- Insert the protective fleece the right way around and with the cutouts properly aligned.
- Unpack the new motor.
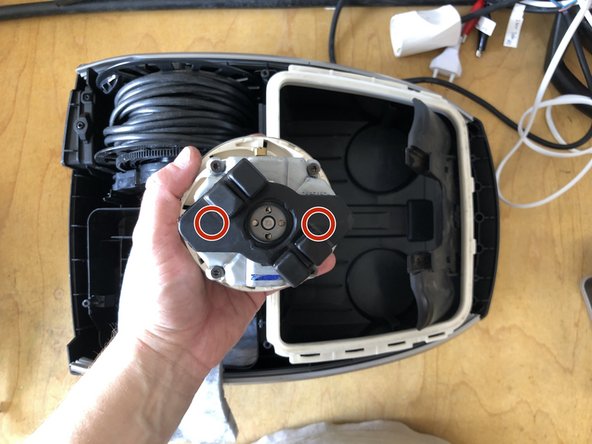
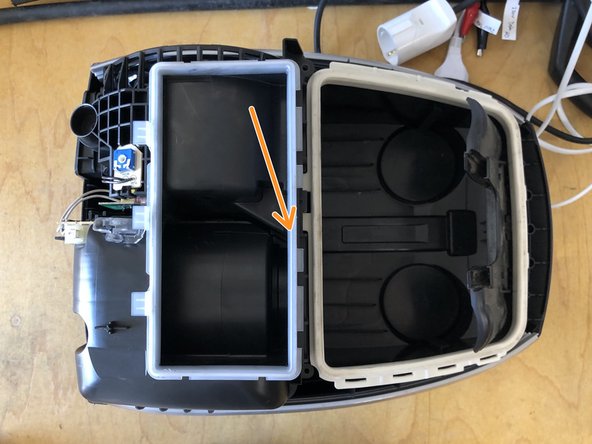
- Checking the Fit of the Blower Seal
- Insert the rubber mounts into the round cutouts.
- Press the rubber mounts and the blower seal firmly into place.
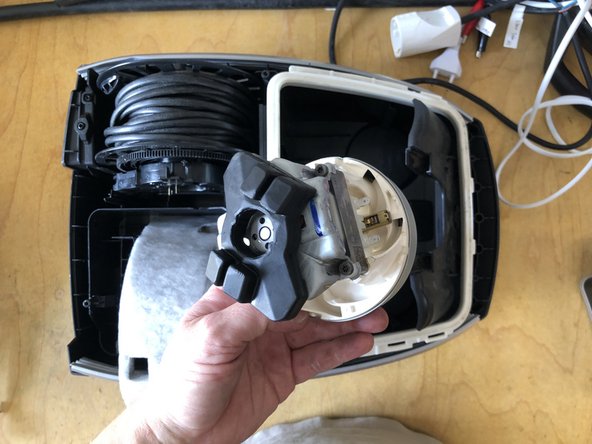
- Place and insert the motor with the rubber mount into the guide.
- "Check that the motor is seated properly in the mount and in the housing.
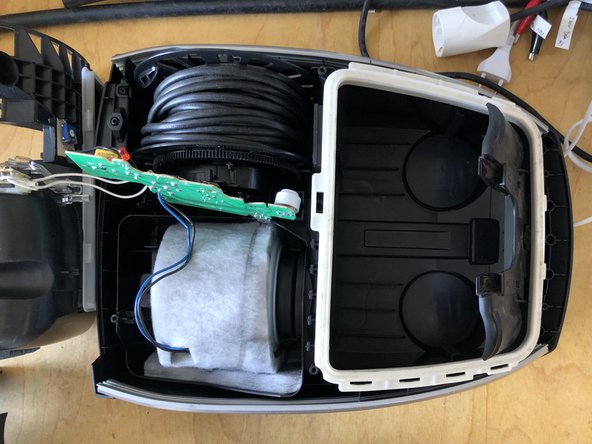
- Guide the cables through the cutouts in the fleece.
- Firmly push the cables / spade connectors onto the terminals (there is no fixed assignment of the poles).
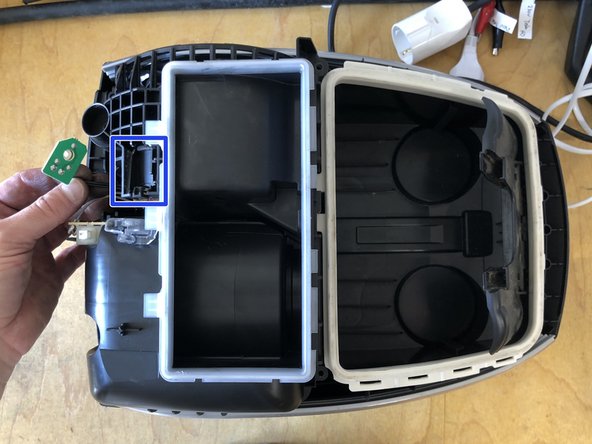
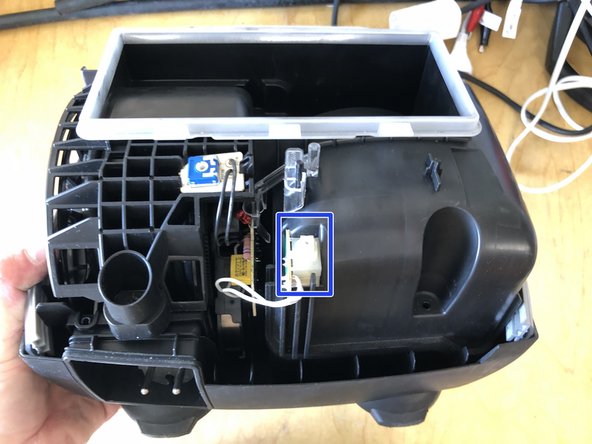
- Release the rotary dial's board from the holder (pull back the clip).
- Place the control board on the fleece, in front of the guide rails.
- Place the motor cables into the cable guide of the motor cover.
- Place the motor cables into the cable guide of the partition wall.
- Move the motor cover downwards in the guides.
- Slide the control board into the guides.
- While doing so, make sure that the terminals of the cable reel are inserted cleanly into the rails of the control board.
- Check the correct seating of the circuit board."
- Place the cover on.
- Clip the rotary dial's board into the holder.
- Snap the cover into the holders by pressing it downwards.
- If you feel confident enough, you can test the vacuum cleaner for the first time now.
- Caution, if you are not sure which parts you can safely touch while they are under voltage, then skip this step and only test the device after it is fully assembled!
- Plug in the power plug.
- Press the On/Off switch.
- The motor should now work as usual.