Lenovo ThinkPad E570 Fan Replacement
ID: 163248
Description: Is your Lenovo ThinkPad E570 overheating, givin...
Steps:
- Turn the laptop over so that the bottom is facing upwards, with the battery facing away from you.
- Loosen two captive 5 mm screws on the back panel of the laptop using a Phillips #0 screwdriver.
- Slide the panel towards you, then gently lift up to remove.
- Insert the flat end of the halberd spudger underneath the battery to free the it from the adhesive.
- Unplug the connecting CMOS wire from the motherboard.
- When reassembling, apply gentle pressure to the new CMOS battery with the adhesive pad facing down.
- Remove the single 5 mm screw using a Phillips #00 screwdriver.
- Remove the SSD from the laptop.
- Using an opening tool, carefully remove the black and white coaxial cables that are connected to the Wi-Fi card.
- Remove the single 4 mm screw from the Wi-Fi card using a Phillips #0 screwdriver.
- Carefully grab the card and pull outward to remove it from the laptop.
- Using both hands, push out the two buttons beneath the outer edges of the battery compartment.
- Pull out the battery from the laptop.
- Remove the three screws in storage area. Then, remove warranty strip.
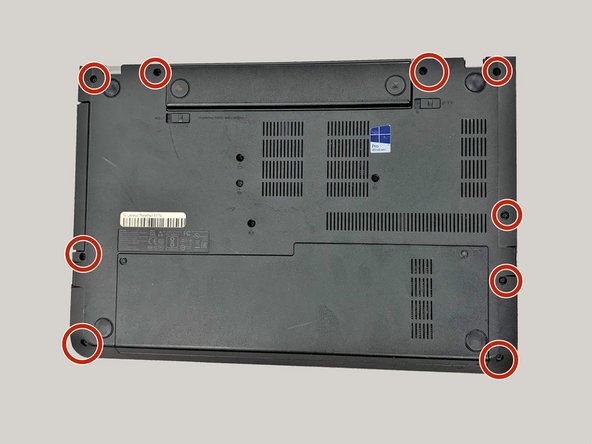
- Remove the three 4 keyboard screws in the middle of the casing and all the outer casing screws.
- After removing the screws slide the disc drive out.
- Use size 0 bit to remove three 3 screws on frame under disc drives and Flip over laptop to open it.
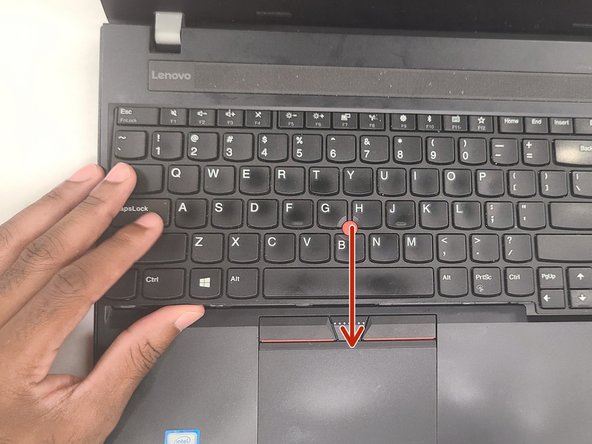
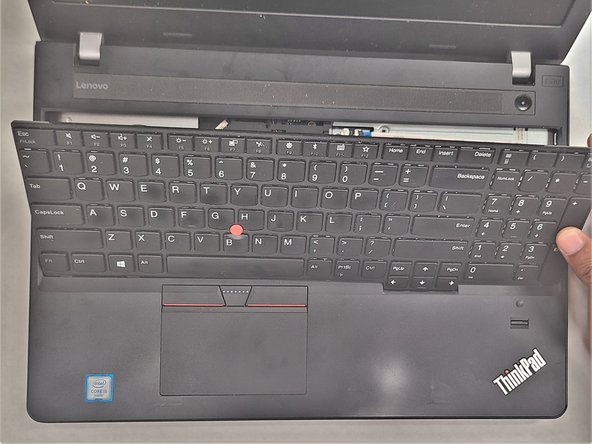
- Gently press against the keyboard to slide it up and out. Then gently flip the keyboard over.
- Disconnect the keyboard cables.
- Disconnect fingerprint sensor.
- Disconnect mouse cable.
- Disconnect speaker cable.
- Disconnect power button cable.
- Remove front casing screws.
- Wedge the casing apart.
- Remove the motherboard screws.
- Remove the screen cable by pulling the tab back.
- The mother boards should be able to be removed at this point and flipped over to get access to the CPU chip and the fan.
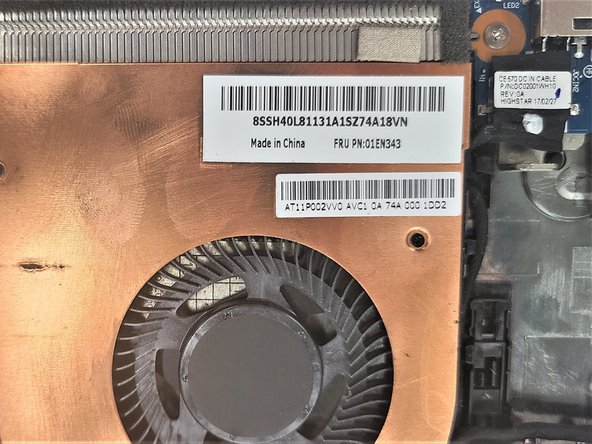
- Disconnect Fan connector and remove the screws from the heatsink and replace the fan. (Fan part number)